Category Archives: other

My right hand fell off

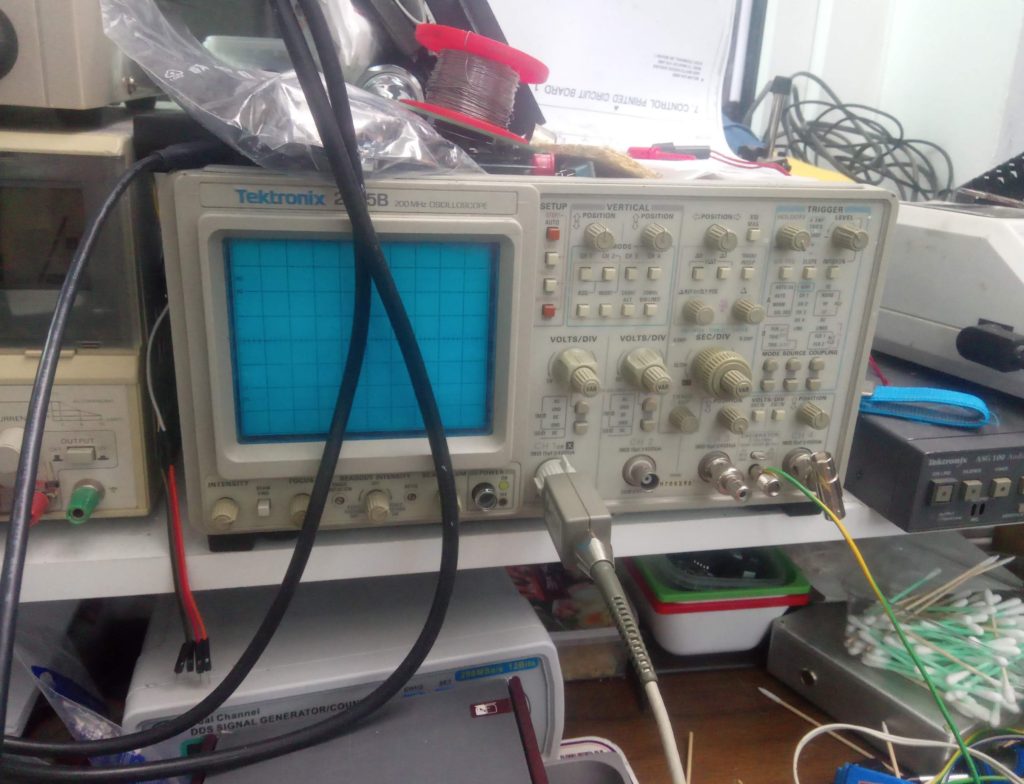
There goes the saying you don’t know what you have until you lose it. One day my Tektronix Oscilloscope started to misbehave. It is one of the last of its kind. It is analogue at heart but computer controlled. Sort of hybrid between the old days and the days to come.

I haven’t really appreciated how good tool it still is despite it’s age up until it broke down. While the digital scope I have is super powerful and packed with intelligence this machine is just so much quicker to use and the reading gives you immediate idea about what is going on.

I was forced to take a break from all my day to day repairs and dwell into the world of unknown. I never worked on oscilloscope before and I never worked on anything with CRT screen where several kilovolts are present. While the service manual is exceptionally thorough in test procedures and calibration steps it doesn’t really tell you where to look when tests fail or something is not as expected.

I was very fortunate to find internet group of enthusiasts on groups.io who live and breathe vintage Tek scopes. The level of knowledge in that group is mind blowing. Some of the original design engineers are there and continue improving and supporting those ancient beauties.

There were two possible causes for my problem. One was leaked capacitors on the A5 computer logic board cause corrosion and key reference voltages end up all over the place. My oscilloscope had these leaked but the damage was not yet severe. It was caught the last minute I’d say.
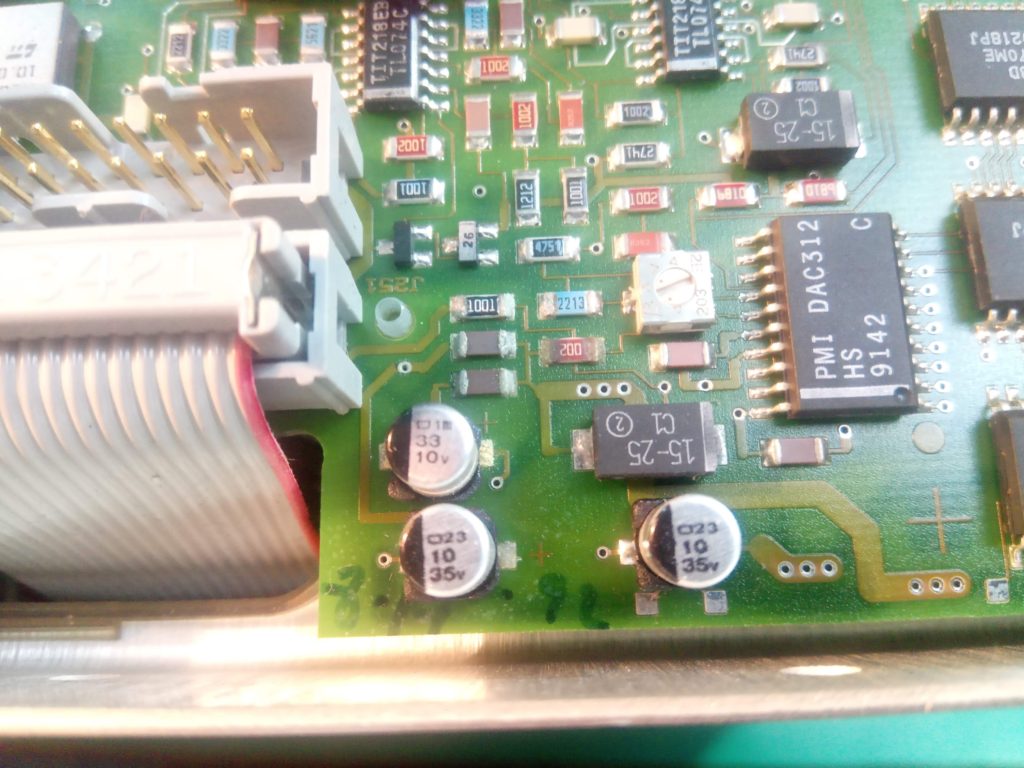
I had to remove all the smd components in vicinity, thoroughly clean the PCB with demineralised water and activated flux in several rounds to ensure there is no residue of the electrolyte. Next was inspection under microscope, removal of the mask where traces already started to corrode, repair of the traces, new application of solder mask and finally put back the components.

It was solid 11 hours of surgical work but the outcome was good.

Since Tek used tantalum caps in later revisions which don’t tend to leak or go bad I replaced the original SMD aluminium electrolytics with tantalum caps.

When all this was completed I to my surprise found out the problem remains the same . The root cause was failed hybrid chip in charge of mixing signals from all 4 inputs as well as readout generator together before it’s sent to final vertical amp stage and CRT.

I’m very happy to have the Tek 2445B back in shape once more.

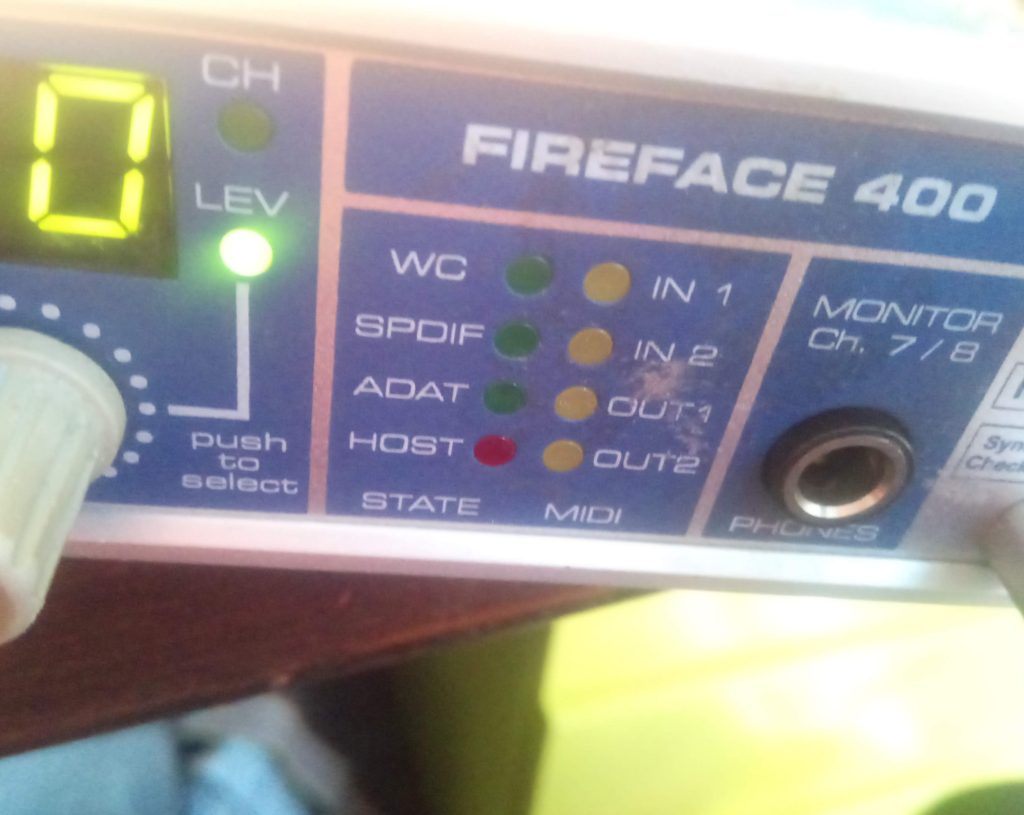
RME Fireface 400

This sound card came in for repair with issue reported as not being visible to the computer and oddly freezing up. Customer also admitted he was “poking around with a voltmeter and may have shorted something”

Initial evaluation of the PSU section discovered few things. He reported initially it was working fine and lately it was only working when powered from the FireWire interface. External PSU wouldn’t work.

The way the PSU circuit works is there is a LM2596 5 switch mode converter which makes 5 V out of the external PSU 9-21V. At this stage selector switch decides if this power is used or the 5V from the FireWire interface. This 2596 was running on very odd frequency way lower hen the specified 150kHz. Also the associated filter cap was totally gone. ESR of 100Ohm and the same for the other cap after the second coil. This 5V Is then converted to +-12V by yet another switch mode regulator LM2588.

This one had better caps used (Nichicon specified for high ripple application) and these were all ok.

There are few more regulators one tiny switch mode making 48V phantom and two more linear regulators making 3.3 and 5V for the ADC and DAC chips.

Once the PSU was all sorted with new LM2596 and new low ESR high ripple caps, all voltages were stable and without ripple. Following this repair sound card was stable without any freezing up.

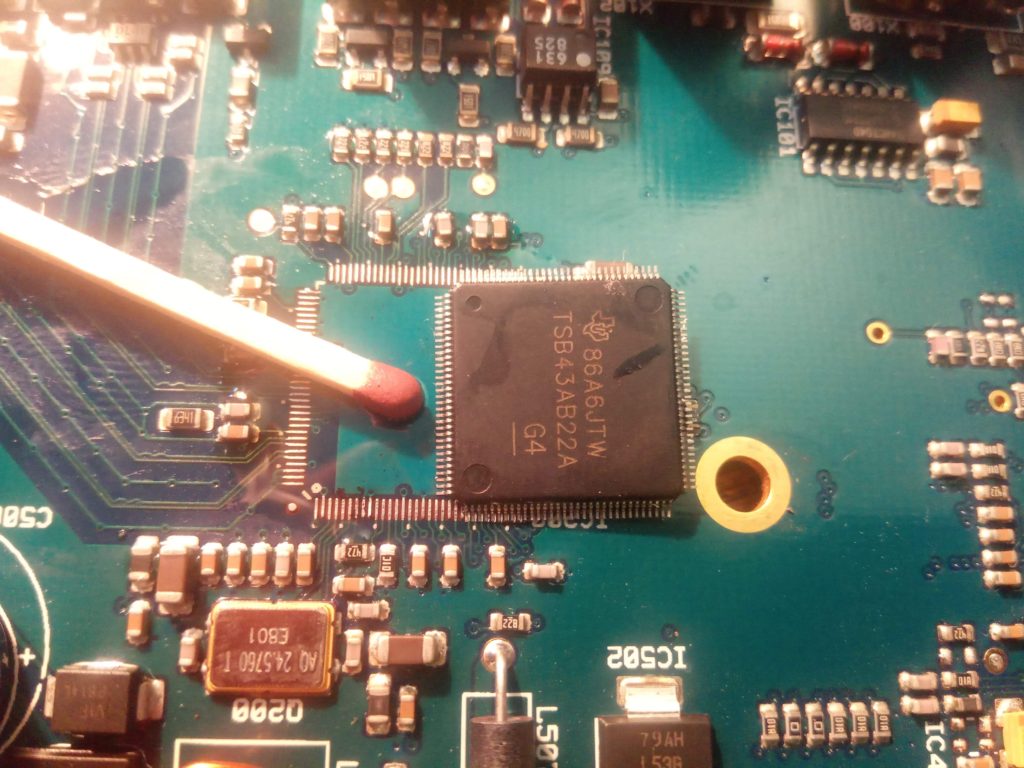
The FireWire HOST issue was caused by ESD which zapped the ESD protection on first port as well as it took down the FireWire controller IC.

I am really not well equipped for SMT. All I have is $30 hot air station, simple basic soldering iron, microscope, flux and solder wick.

It took fair amount of heat to get the controller chip off. It is a 4 layer PCB with extensive cooling ground planes. I slowly warmed the whole PCB to try to lower the heat expansion stress on the board and then focused the heat on the controller chip. I usually set the hot air station to 335 Celsius for 40/60 leaded solder or to 350 for unleadded. This time however I had to raise the temperature to 370 to be able to melt it and remove the controller chip. I was worried it would damage the PCB but it lasted well without any damage.

Main culprit

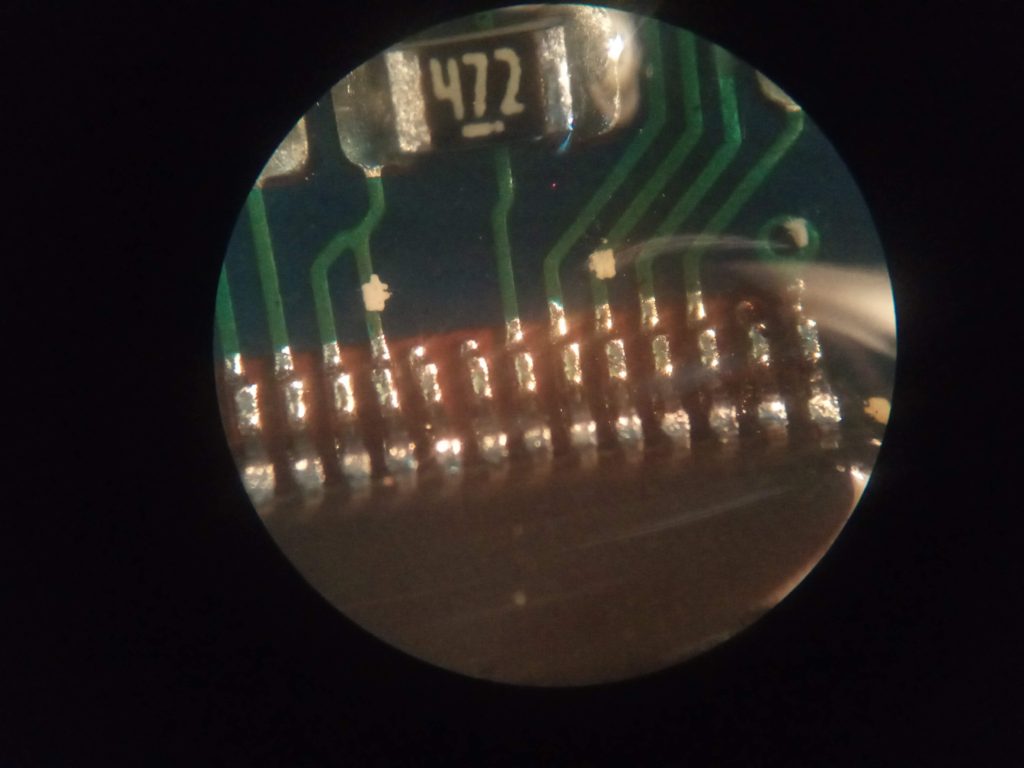
Soldering the new one back in was even harder. Its on the edge of my hand soldering skills.

Professional equipped for SMT would probably diss this but for me I’m happy with the outcome. Its soldered on, there’s no damage to the traces and the card worked ISH.

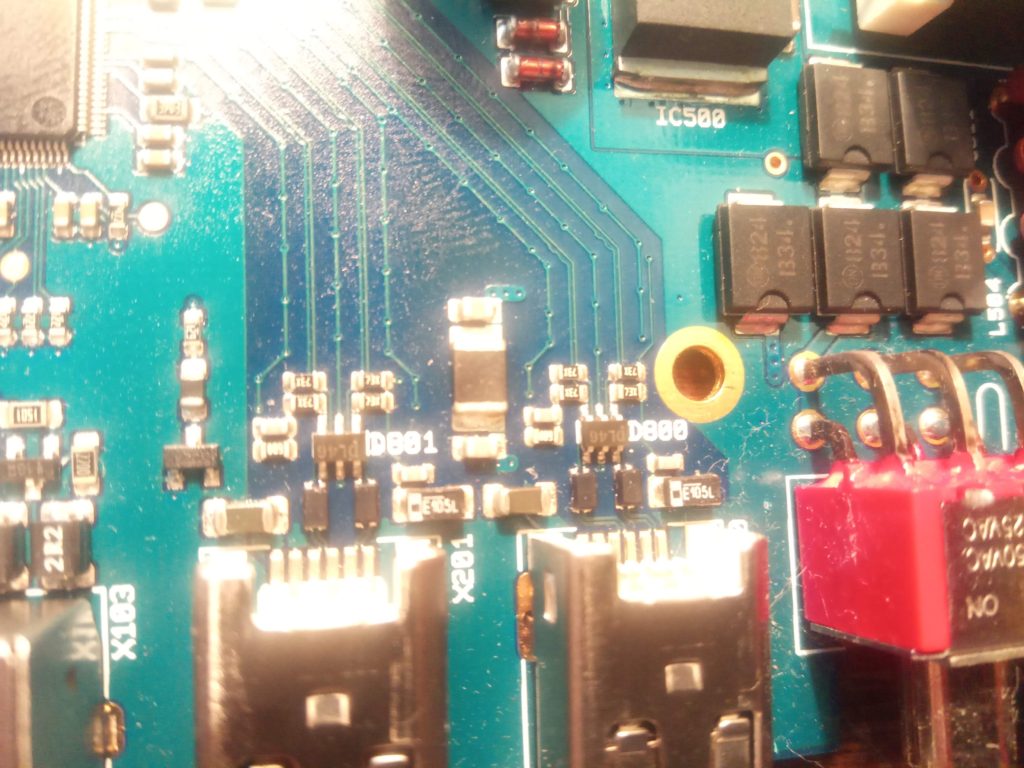
When I swapped the controller I noticed only one FireWire port works. Further evaluation and measurements narrowed this down to the ESD protection device. When I removed it for the purpose of testing both ports worked just fine. I ordered new part and it’s going back where it belongs. ESD is a serious problem for these. This time the protection wasn’t enough and it took down the controller as well.

DPA DAD4099

DPA4099 suddenly died within recording session. Input dual transistor labeled 3Ft was the culprit. Had to order it from Mouser. There are two types used throughout 1Ft and 3Ft, they are BC847/857 respectively.

I wouldn’t normally post about such a small repair but it was my first SMD repair. I recently acquired microscope and hot air station.


I need bit more practice but I hope it’s acceptable outcome. It works and that’s important.


For those new to SMD I learned few things.

  1. use loads of flux, more is better then not enough
  2. add leaded solder before removing the lead free, it makes things easier
  3. solder wick is your friend
  4. 340 degrees is enough
  5. kapton tape helps protect surrounding devices from displacing
  6. excess solder can easily be removed afterwards as long as there’s a plenty of flux


RTW Porta Monitor

This Porta monitor had what appears to be common fault. It would sometimes fail to boot, it would boot but the display would turn off while still glowing dimly after few seconds following bootup. Failure was caused by the SMPS LM2577ADJ. It would start passing 15V instead of 9.5V and the display would turn itself into protection mode. It appears voltage is gradually drifting away from the set 9.5V and eventually will lead to failure of the panel itself in certain cases but most of a time it can be caught in time and repaired before further damage is done.

It is the first sort of TO220 ish based chip with 5 legs screwed to the heatsink.

Thanks to somebody at GroupDIY for identifying the voltage issue which helped me find and eliminate the fault

Dynacord Echocord S62 and S65

It must be Echo season,  I have now 5 tape echos in for repair. Dynacord Echocord Super 65 was not working at all, however it was in incredibly good shape otherwise I don’t think this particular piece done many active hours because there wasn’t a lot of wear on the original heads and everything was in perfect order except the motor which clearly had some moisture induced damage. Shaft was rusted in the bearing but I managed to free this up, clean and lubricate.

I had the pinch roller refurbished, cleaned the heads and made a new loop out of master BASF tape, but I struggled to get this rolling, it wouldn’t spin on adagio and even on presto setting it would stop eventually. I was puzzled for quite a bit and learned several lessons.

1) master tape is no good for echo loops, it is too thick, abrasive and sticks to the brass heads.

2) Brasso polish is great for refurbishing worn tape head surface, it made it roll with much less resistance

3) tension settings and pinch roller pressure settings are extremely important, even a slightest tweak makes whole lot of difference to the overall ability to spin freely, especially at low speeds

With mechanical problems out of the way it was time to check electrolytic caps and they were generally OK with exception of the main PSU filtration. Non functional Magic Eye indicator was caused by faulty diode as well as faulty EM84 itself.

Main issue was the combined pot / pull switch which had to be taken apart cleaned and reassembled Echo is working flawlessly since.

I have also replaced burnt light bulbs illuminating the  selector switches. It’s a beauty to behold


I expected the Super 62 to be easier to repair because Nachhall function was working and the only missing bit was the Echo functionality…. I couldn’t be more wrong. This piece gave me proper headache to repair and countless hours of head scratching.

Capacitors were generally in really poor state, all the Electrolytics were measuring very high ESR and even several of the ceramic caps had problems. I rarely ever see ceramics to be the problem but these wax sealed units probably somehow soaked up moisture and became partly conductive which resulted in valve self oscillations.

I have eventually decided to do complete recap.  This was especially surprising because just 3 years younger unit S65 was nearly perfect in this regard.

After the recap this unit was still only partly functional but substantially quieter. There was remaining issue with insufficient voltage on the erase head. Problem was eliminated by replacement of ECC82 with new known good example. After proper cleanup of the combined Pot/Switch I could hear faint echo coming through on Echo 2 settings but not so on 1 or 3. I measured the selector switch and had to de-solder entire board and take the selector switch cluster apart and clean thoroughly.

Now I was at the point where I really didn’t know what to do, it appeared as if there was a bad valve socket for the Ecc83 acting as a playback head amplifier I could hear clearly when I tapped one of the heads with screwdriver but only faintly when I did the same with the other.

The root cause of the problem ended up being bad playback head, after desoldering it one of them measured 1kOhm but the other was open circuit so when I was tapping the bad head what I was hearing was just a cross talk from the other head!

At the moment I’m facing challenge with sourcing replacement playback head and may have to have it custom manufactured which would sadly result in already largely uneconomical repair to become entirely uneconomical. Nearly 40 hours of time in total and it’s still not running. I hope there is some spare head lying about.


Tascam Portastudio 424


Another day, another field repair, this time on multi-track cassette recorder.  It took me a while to locate, PCB had a hairline crack all around the ground plain pad  where the input power connector was located.

Half an hour job from start to finish.


Vermona Automatic Drummer

Very quick in flight repair of non functional Vermona drummer in the mid of the recording session.

Fuse holder in the PSU section was so corroded it stopped working.

srubbed it clean temporarily to let the session continue and later on I’ll replace the PSU caps and solder new fuse holder in.