Category Archives: Organs / Synthesizers

Fender Rhodes 1970

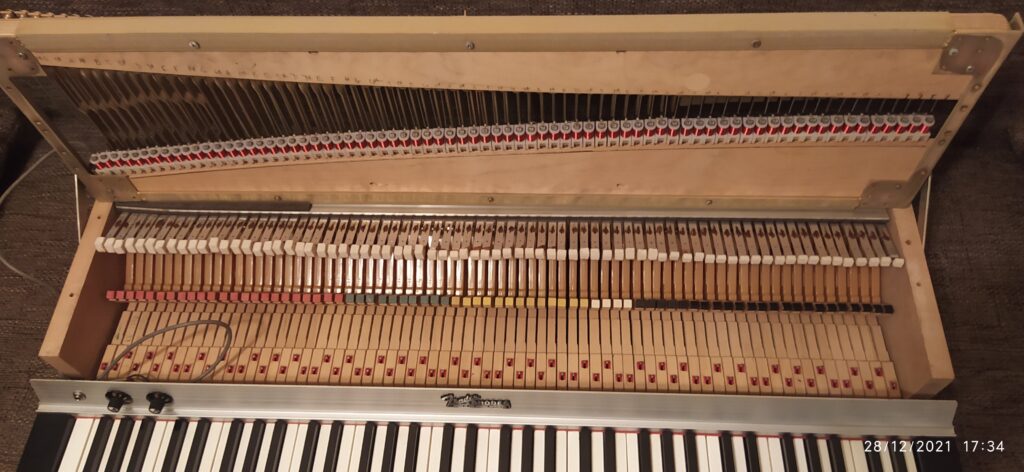
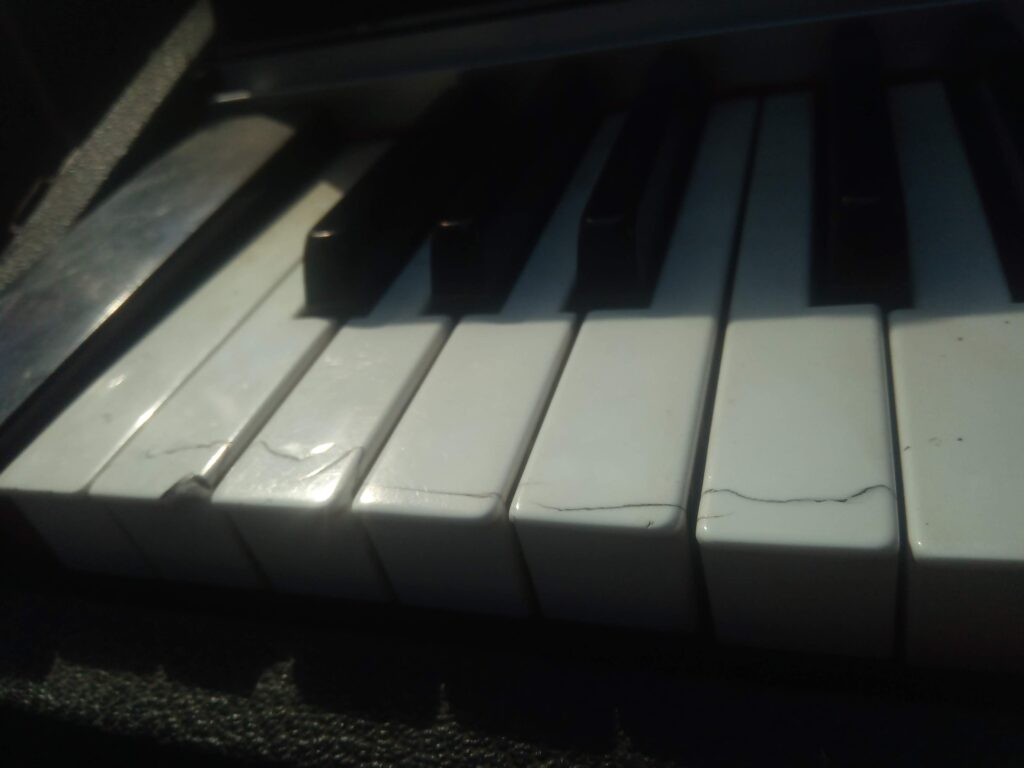
Compared to my last Rhodes endeavor this restoration was a blessing. This instrument had the most beautiful key bed I have seen to date. No slop, all keys made from one piece of wood, only barely warped if at all, Marcel pedestals with pristine felt and nice and (following my new treatment) tight hammers with barely any sideways slop.

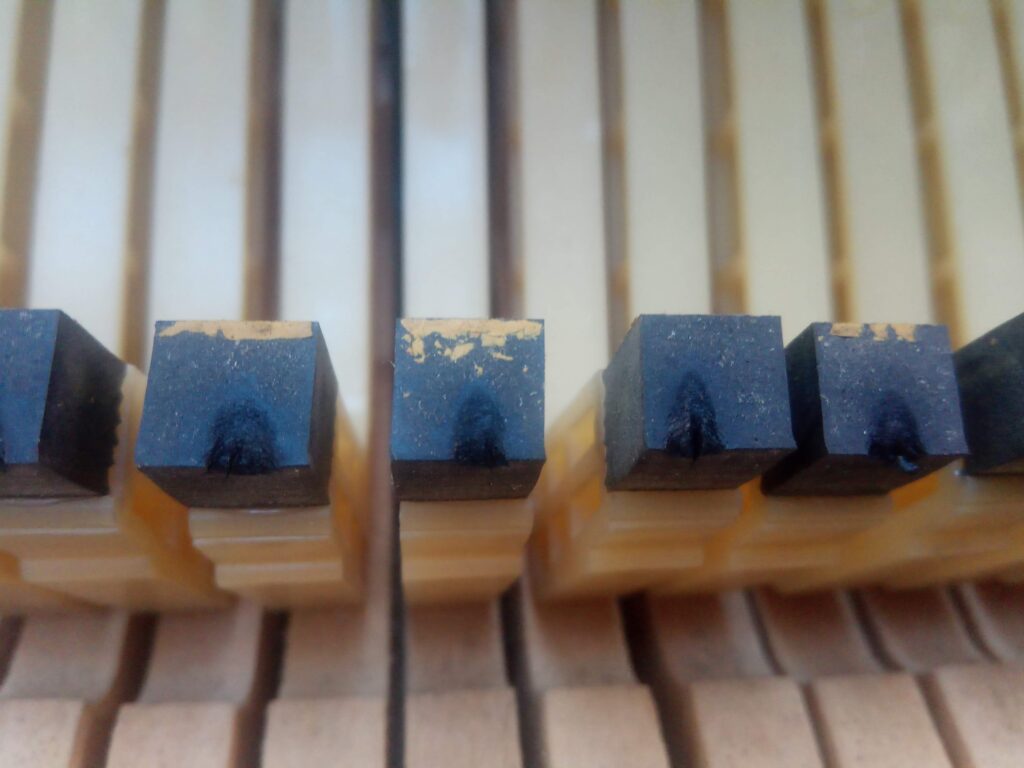
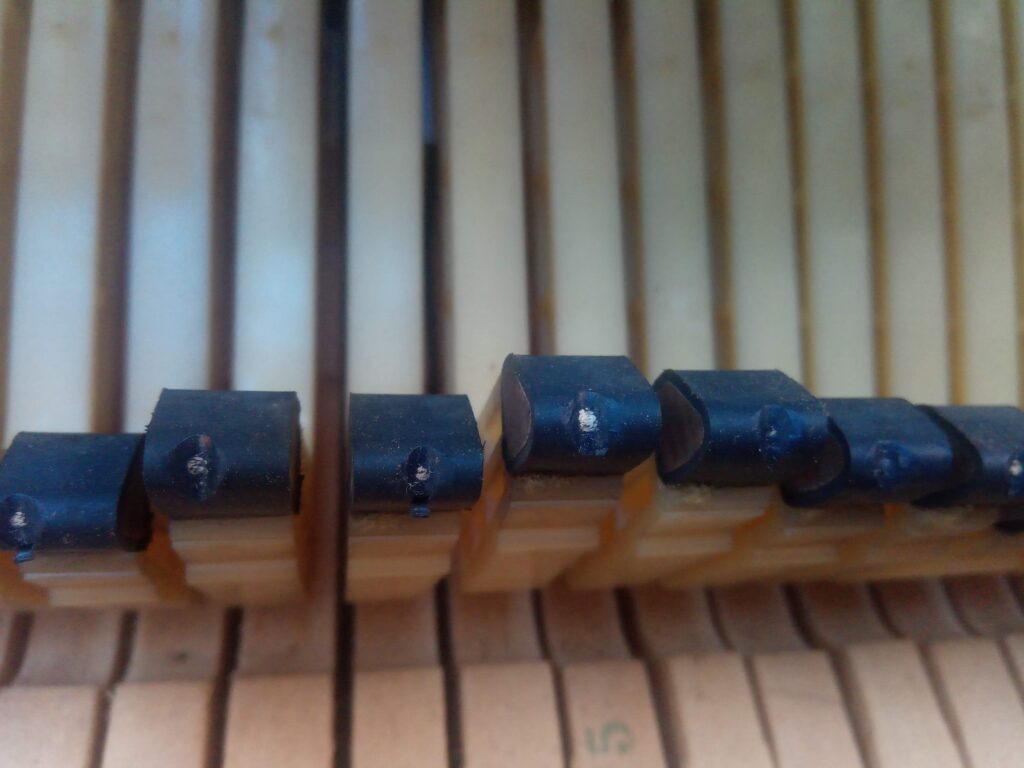
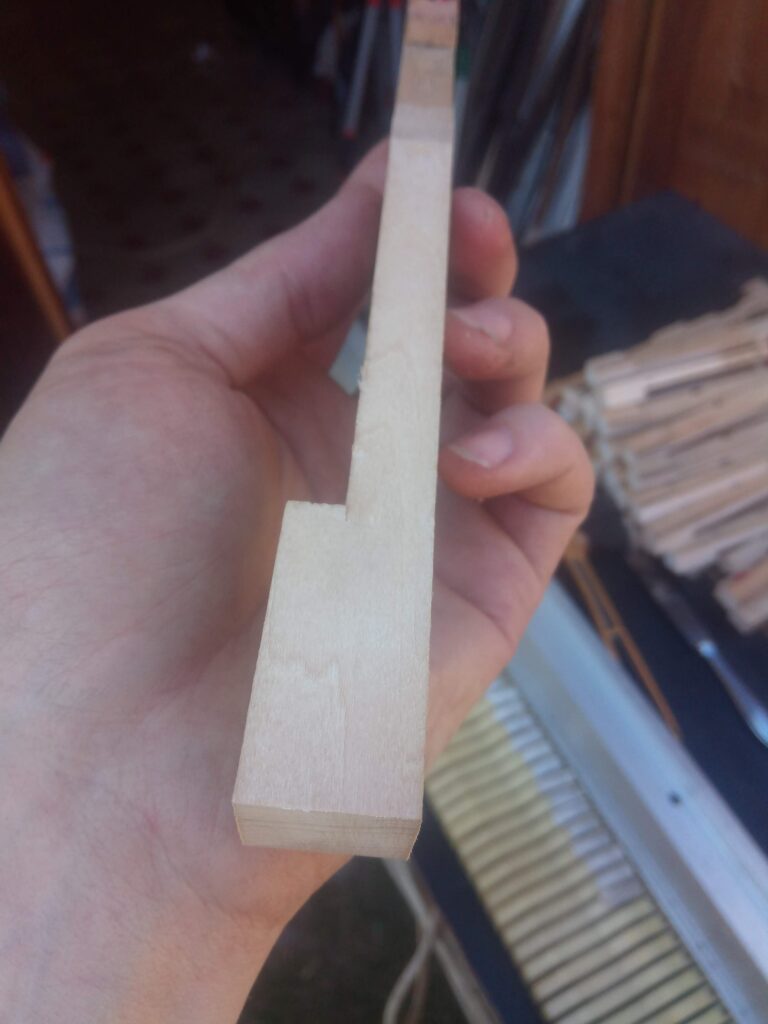
I had a few hammers which were too loose and worn and I was ready to scrap them so I decided to try what would happen if I apply hot air 130-150 Celsius to the flange. It proven to be excellent method, plastic becomes soft and very slightly shrinks which took away all the slop and the hammer I was about to scrap was suddenly as good as new. This method also allowed me to straighten some of the hammers where the wooden part wasn’t glued 100% straight

When I was done with all the keys, it was a pleasure to just change hammer tips and damper felts and the magic immediately happened, the most gorgeous experience beautifully responsive to touch with full dynamic scale.

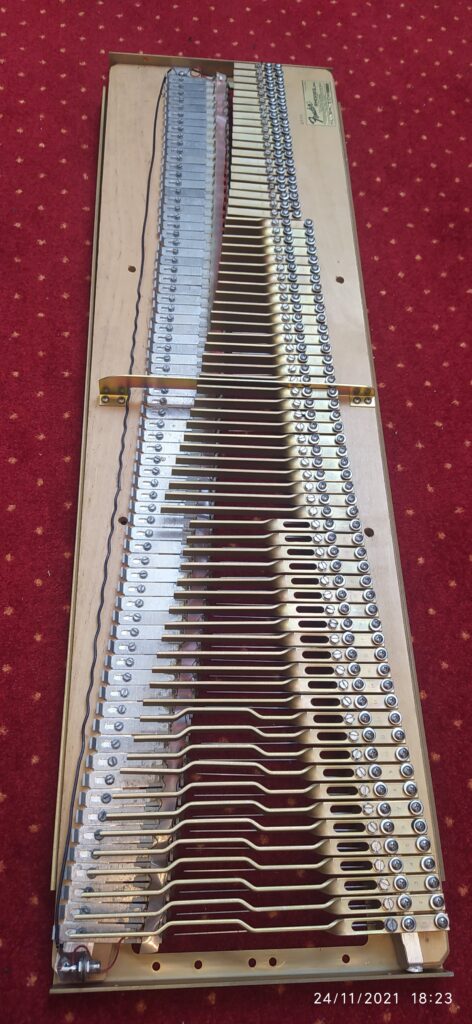
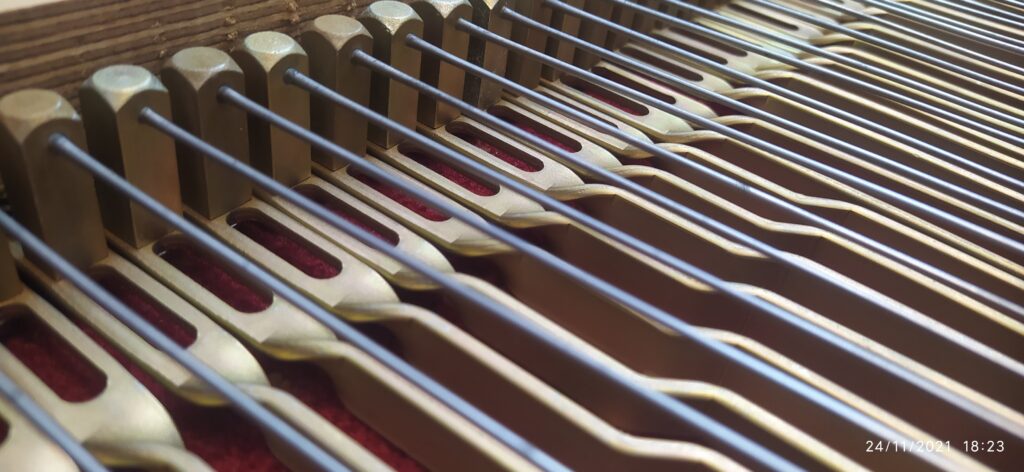
The only bad part was the harp. It suffered severe corrosion to all the tines and tone bars. Most were like the bottom example or worse and one pickup wasn’t working, luckily the pickup wire corroded away at the top so I was able to fix it.

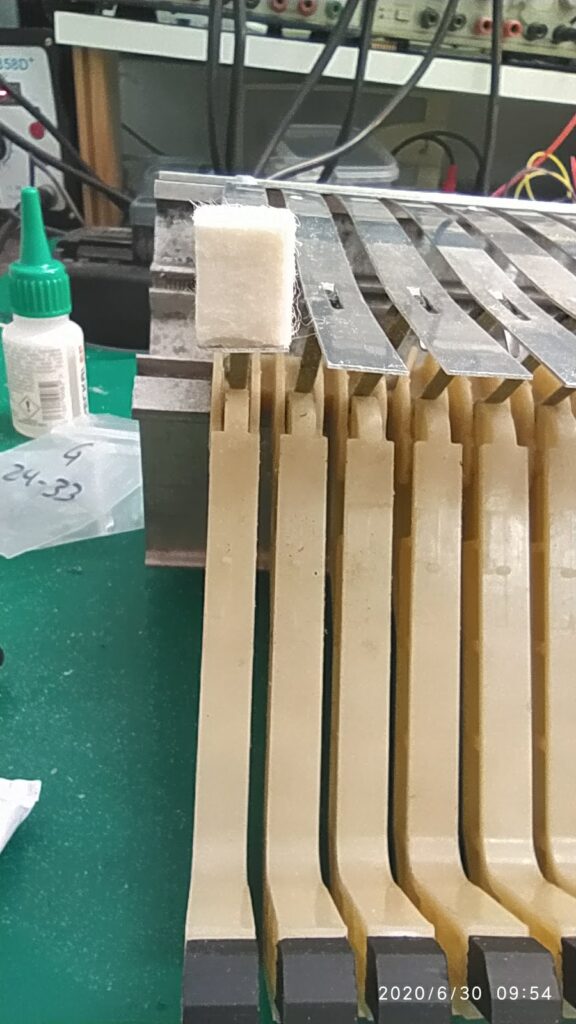
Harp frame, tone bars and tines went for re-plating and I must say they did wonderful job masking the tines with heat shrink tube to prevent the tine itself from being plated. I only used nano protection oil to prevent further corrosion.

By far my most enjoyable Rhodes restoration to date.

Rhodes Mark II the Clint Eastwood edition

This was a tough lesson learnt, I was approached by the customer if i could help them look at some Rhodes they want to buy, I said, why not if you are willing to pay for the time I will do that. When I arrived the sight was pretty dire, broken keys, missing tone bars completely rotten case. I told him, it can be saved and made playable and gave him some cost estimate, what I didn’t expect was he came back and said well all the gear I have is in A+ shape, could you make this one also A+? I should have said at that point that we better pick better candidate to turn it into A+ instrument but the challenge was on.

I enjoyed some good old school key bed ironing just to find out I couldn’t find any key tops the right size to fit Rhodes, so I had to individually file them to size one by one. Slow and steady was the key to success.

its a slow but rewarding process

Next step was to tidy up the rest of the key bed, put new cashmere into some of the key bushings and adjust others to ensure it all fits well. Little I knew what devil was in play there. It was 1980 Mark II and I’m to this day not sure if it was from the factory or some play of time, but nearly every key had a different number and was made from different piece of wood therefore warping massively each in a different direction. I had to remove the hard wood blocks at the end of the key and mill it to make it not stick and interfere with each other. It was impossible to have both the key pedestals flat square and uniform and front of the keys. they were too badly twisted to achieve that so I had to make some sort of compromise. Next steps were routine installation of miracle mod, new hammer tips and damper felts. There was about 8 hammers in the middle which were so worn I had to replace them.

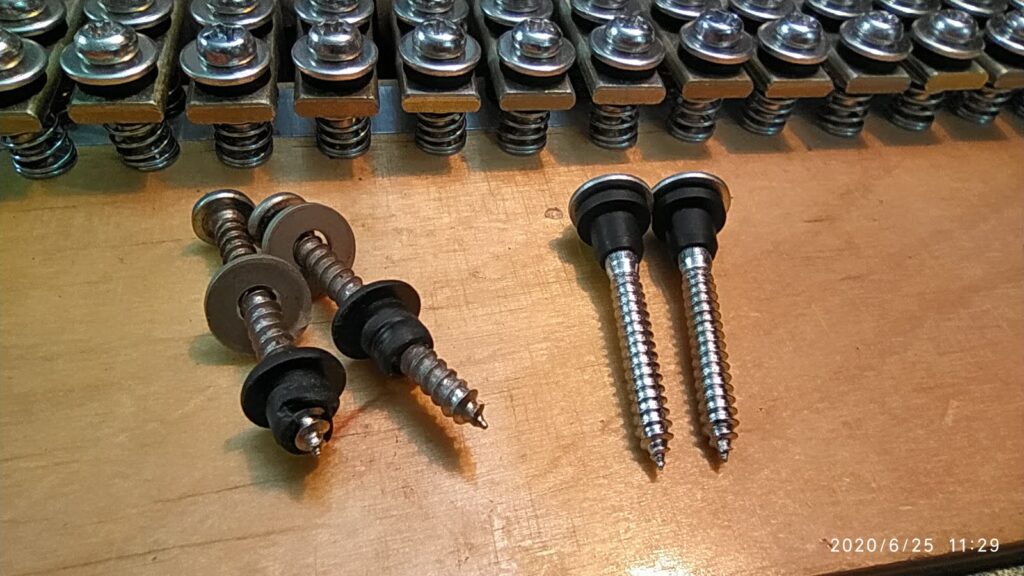
Next thing to look at was the harp, the oversize Vintage Vibe grommet screws were a real life saver here because original screws were already so loose it wouldn’t hold properly, I was amazed at the sheer amount of sustain this change brought. I went for full set of grommets screws washers and springs and the transformation was definitely worth it.

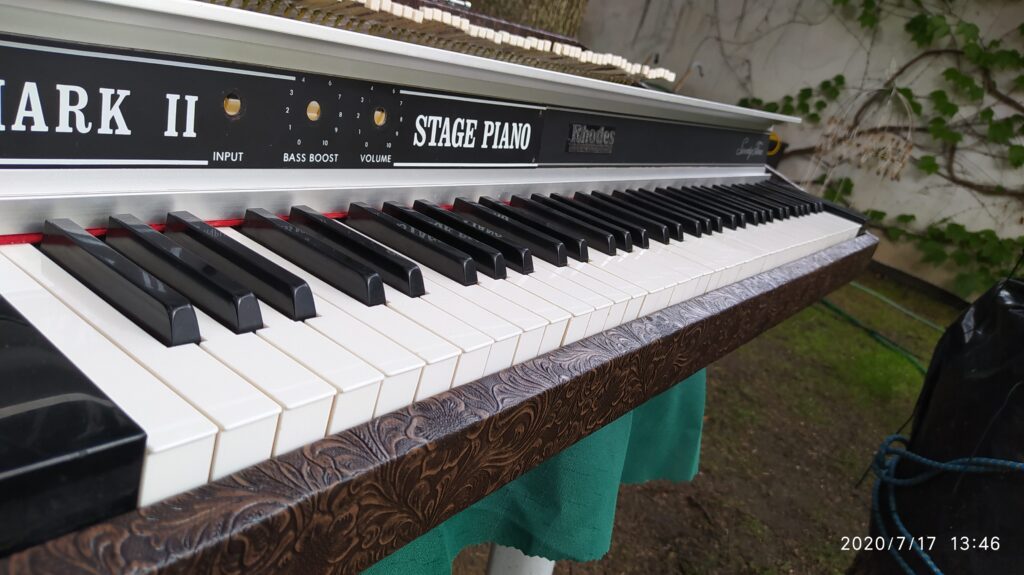
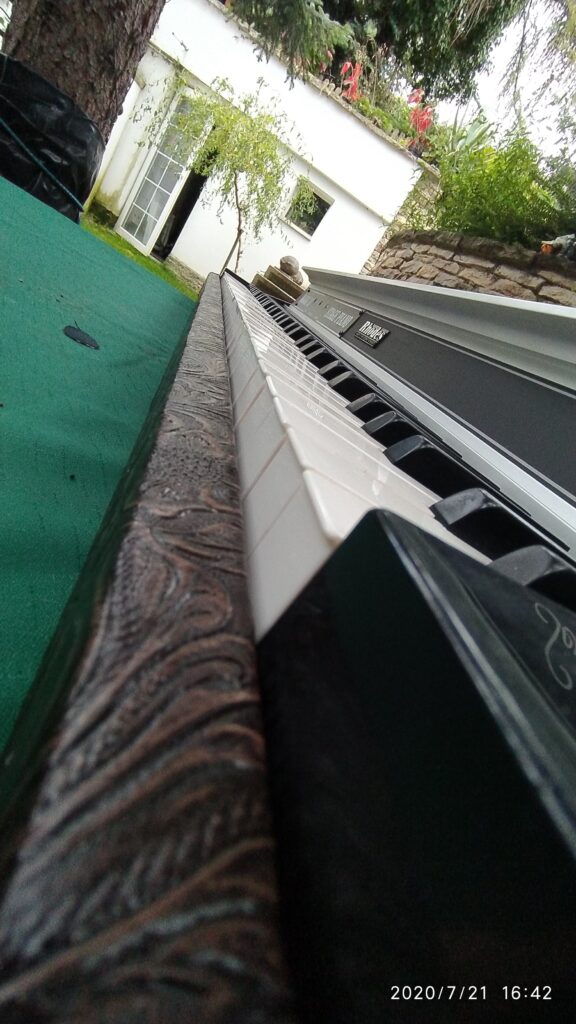
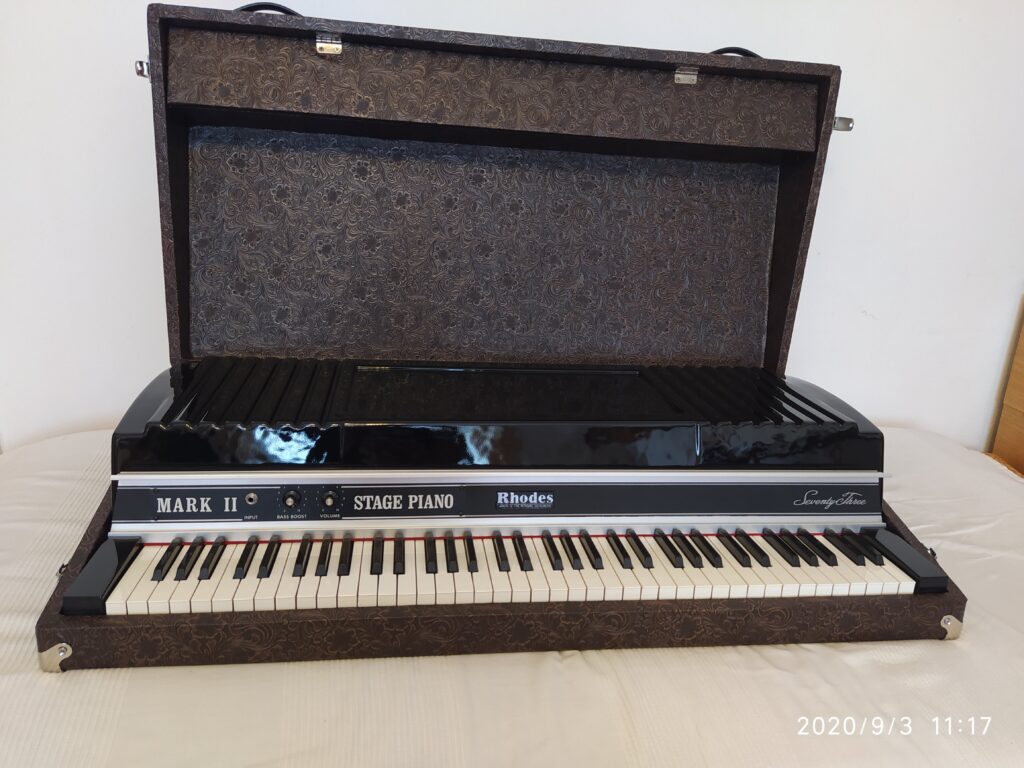
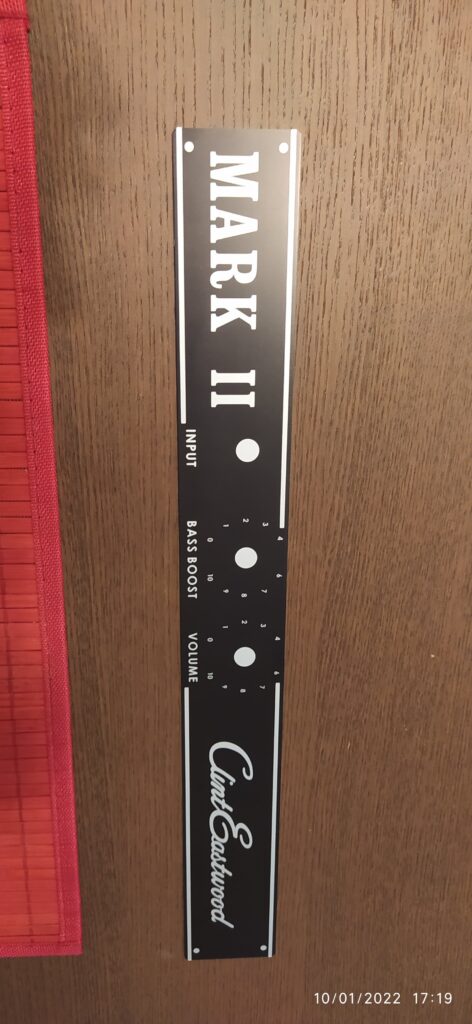
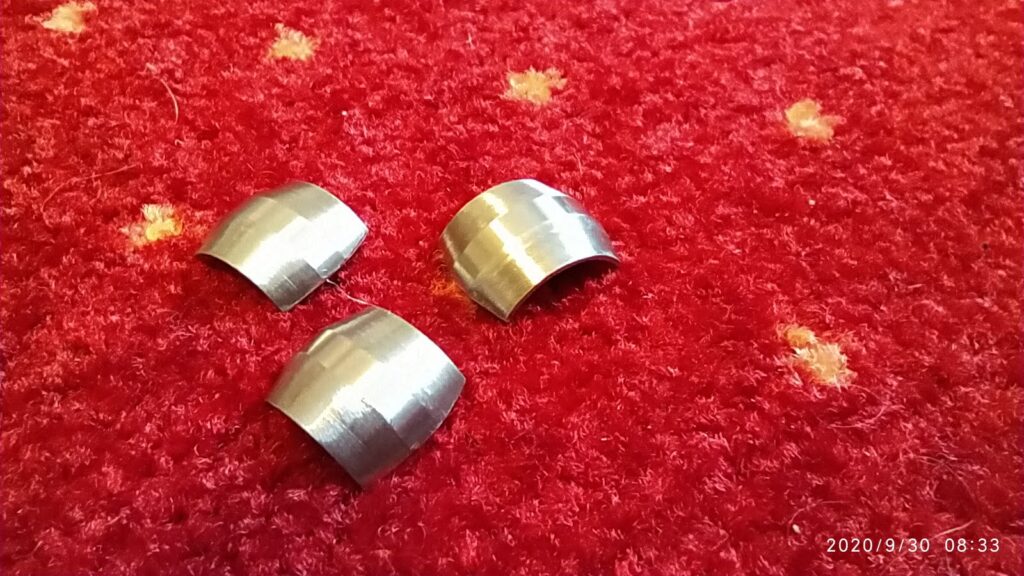
Next thing to do was the cosmetic aspects. I personally was shocked to find out he chose the country western style Tolex to go with, but at the end it kind of grew on me when he mentioned the part of the idea to dedicate it to Clint Eastwood and make a new sub panel. I had the legs sent to be re chromed, added Vintage Vibe pedal rod, Sand blasted and powder coated the pedal, made new couplers on the lathe and had the top cover repainted to match the rest of the piano combining the shiny chrome and cowboy leather.

Hardest part was to get rid of the double strikes at hi velocities. The root cause was too much wear in the hammer comb/ hammer bushing making it even more bouncy then usual. I for sure know it would have been easier to start with nicer instrument, but it was epic journey with happy end. I had to readjust the key bushings once more when the piano settled in its new home, different moisture and temperature made it warp a bit more and some of he keys became sticky.

Story about Emu who wanted to be Theremin

It all begun as a straight forward job. When the EMU Emulator II HD plus arrived it was working and booting correctly and only one channel was not making any sound. Customers request was to replace all the buttons and sliders, install DREM Winchester HDD Emulator, fix the silent voice and put new display retrofit in there. I started with pots, sliders and display to have any further work eased by having reliable controls. All went well.

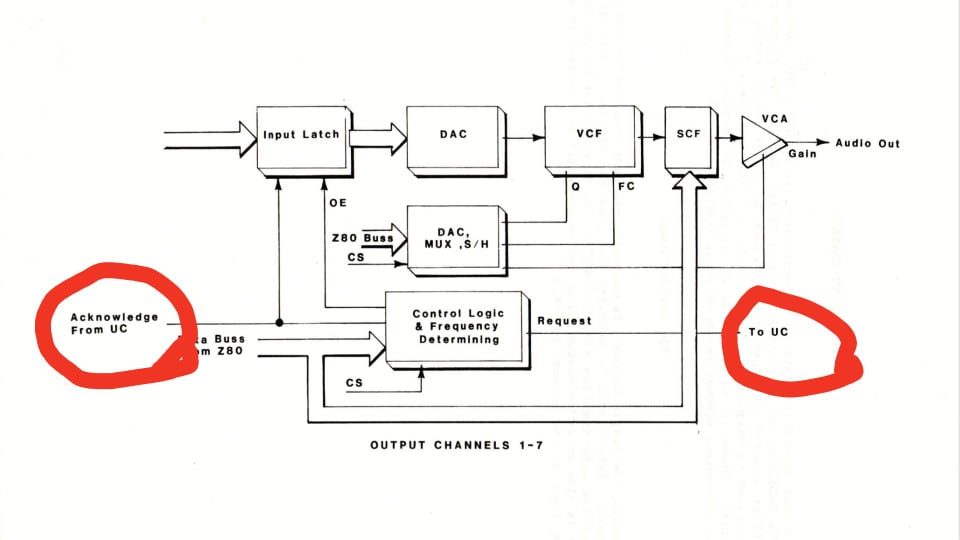
Next step was to find why the voice isn’t producing any sound. There was nothing on the output, I was releved there was also nothing at the input of the super rare switched capacitor filter chip as well as the rather expensive VCF chip. There was also nothing coming from the DAC and nothing coming in. I could see data at the input of the latch but there was no acknowledge signal triggering the latch. When I looked into how is the request generated I found one clock missing coming from Intel 8254 timer. Swapped the 8254s around and confirmed the culprit.

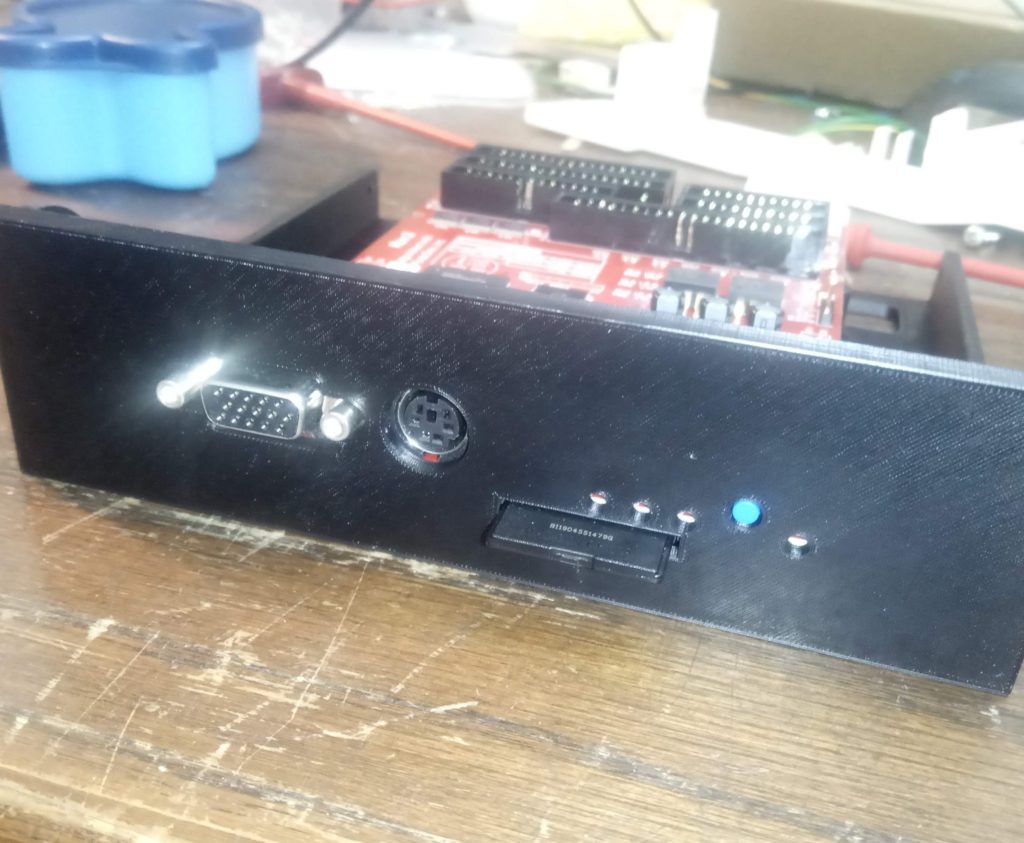
At that point all that was needed was to install the DREM and jobs done. I 3D printed the bracket, mounted it according to the instructions and I was hoping for it to work.

When the installation was done I was getting format error while I was able to run even HDD tests and they would return no errors, but as soon as I tried to access the data WRONG format message would appear.

cut the long story short there were two issues, I used 1:1 cable for the MFM data cable but it required the connector to be crimped the other way around. That took some head scratching to discover. However when I tried to access it I would still get wrong format message.

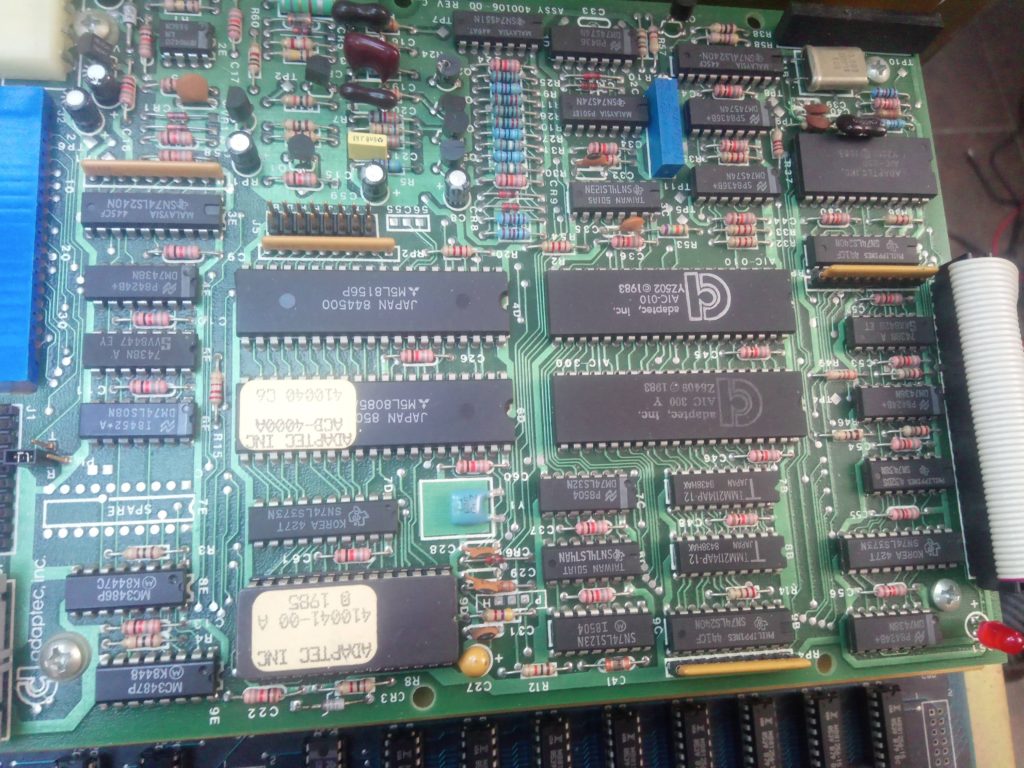
EMU II HD + has one of the earliest SCSI implementations from the time the standard was just being formed. Its not using full SCSI implementation to communicate with ADAPTEC ACB4000 Winchester HDD controller for its missing parity bit and ATN attention signal. Because of this it is not possible to just use SCSI to SD or SCSI HDD directly connected to the interface but the solution requires this ancient and rare Adaptec controller. With no documentation to hand and several custom Adaptec chips I was not giving it much hopes to be able to repair it but when I probed the HDD MFM balanced data lines with scope instead of the logic analyser I noticed one line is a bit dodgy. This was driven by chips very known to me from my endeavors with SSL 5000 series mixing console the RS422 drivers by Motorola. I replaced this and finally the whole thing was working and I took EMU to friend who has all the sound libraries so we could load this onto DREM SD card.

There I noticed the new display customer provided for installation suddenly lost few lines but it only did it after solid warm up. I ended up fatching different display but it wouldn’t work at all in this installation. I asked about this on Facebook group specialized on music gear display retrofits and luckily enough Ray Bellis, bless his cotton socks, chimed in with an idea to swap one of the IC’s in the display driver circuit from HCT version to LS version. Suddenly new display was working correctly. This has something to do with display pulse timing alteration. I do not fully understand why such a small speed variation can make it or break it but I’m happy it works.

Now with everything working it was finally time to close the lid, tighten the screws and give a good news to the owner.

Here came the trick, it would boot and work reliably with the lid open but it wouldn’t boot with the lid closed and it would even stop working whenever I tried to close the lid down. I tried all the possible things and connections which could be moving during the process but I could move press bend the PCB and all the connectors and cables as much as I wanted but it would still play reliably. When the lid was closed things would stop and the machine would freeze. I couldn’t understand what’s going on, why would just a proximity of the lid cause the CPU to crash.

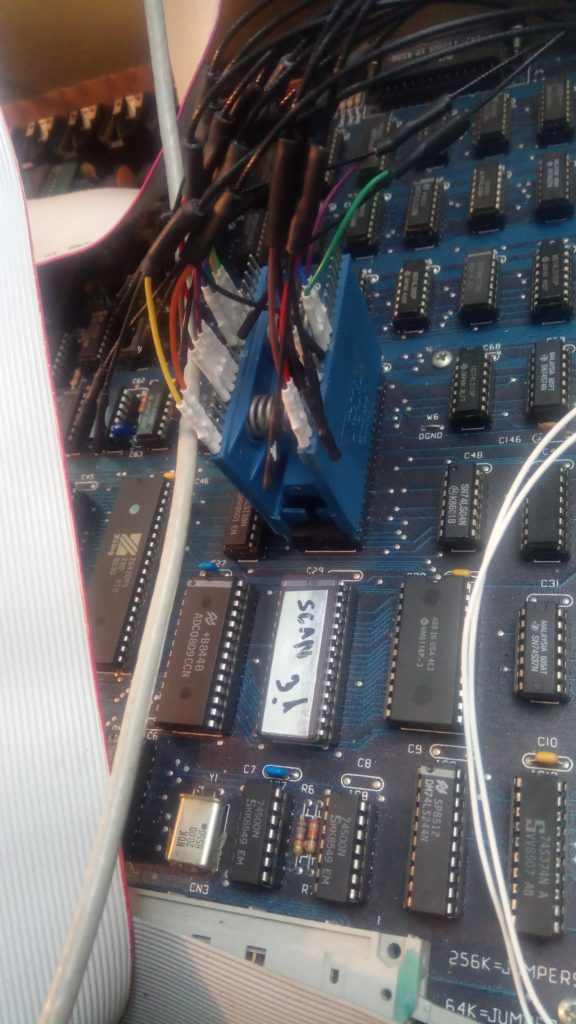
Several hours of head scratching and brainstorming later I checked clock signal for the Scanner z80 CPU and I didn’t like what I’m seeing

Voltage was correct, frequency was correct but there was this ghosting as if it was jittering like mad. Then I noticed I could modulate the signal with getting my hand closer and further and that was finally something to focus on and track down. It was digital Theremin, I could make it dance like mad and I could even make the clock disappear just by waving my hand above the circuit boards in specific manner. This particular behavior was then tracked down to bad contact in one of the IC sockets in charge of the clock. Finally I was relieved I can finally close the machine down.

Beware Ostriches, EMU’s can be very mischievous and this one didn’t want to leave me. I closed the lid, turned it on and nothing!!!!

Display was just showing full block of squares and the boot sequence would hang after 3 clicks through the hard drive boot. I suspected while I fixed the one socket problem other may have happened elsewhere. After consulting the service manual I knew the problem is the Scanner CPU related so I checked all the data lines, address lines, clock, reset as well as all the other pins and all was behaving normally. There was nothing to suggest something is wrong, after a bit more sniffing around the components associated with scanner CPU boot process I noticed the CTC Z8430 is suppose to generate 3 timers on the output pins which are used as interrupts. I could only see one signal and others were all doing nothing. I once again checked this time on the CTC whether it has all the data lines all the address lines chip enable and all the other signals it needs to do the job and to my surprise all were OK. At this point it was not funny anymore, I tested different CTC but it was doing the same, all the input signals were correct but there was wrong output! The only explanation could be that there is something in the boot sequence before the CTC and its failure makes the CPU not to initialize this peripheral. The only way to find out was to use the analyzer and de-compile the Z80 instructions.

The boot sequence was quite long and because I only have 16 channel logic analyzer I could either decode instructions or addresses, I didn’t have enough channels to do full disassembly. After digging through about 500MB of data and going through the boot sequence step by step I finally found the problem. Somehow between the last working test and the lid closure contents of 2 bits within the Scanner EEPROM got corrupted and returned to FF state. How utterly unlikely! I burnt new Scanner EEPROM v 3.1 and everything is working reliably since.

Well fought mighty EMU, but you were defeated after all!

To the dustbin and back again, the story of Roland TR-707

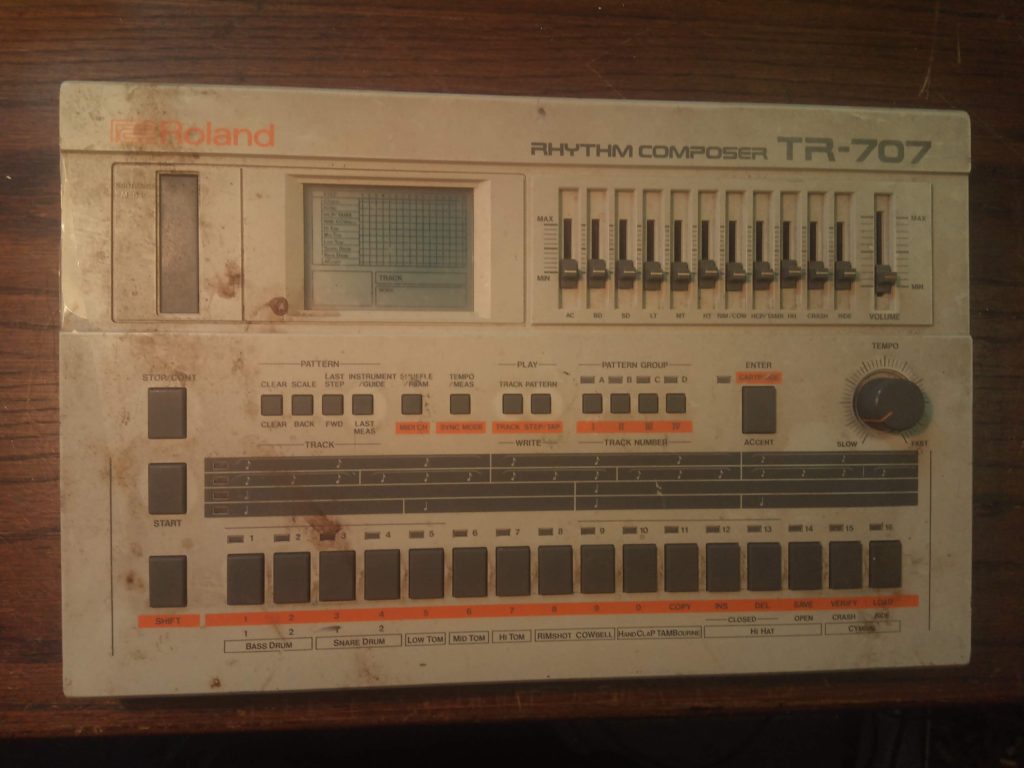
Original state as found

I was contacted by the customer that he found 707 by the bins. He sent me picture and I knew Id need rubber gloves to work on this one but gladly accepted the job. I was quite surprised apart of the missing battery tray lid everything was there and undamaged.

following a proper bath in soapy water the case looks simply brand new. Awesome condition

When I had the unit clean enough to touch it thorough inspection revealed there was a crack in the PCB where the power connector resides. It is the most frequent place to get fractures as the unit falls on the back while the connector is plugged in.

cracked PCB
tidy up
reinforcement added
final repair before the crack itself was reinforced with glue.

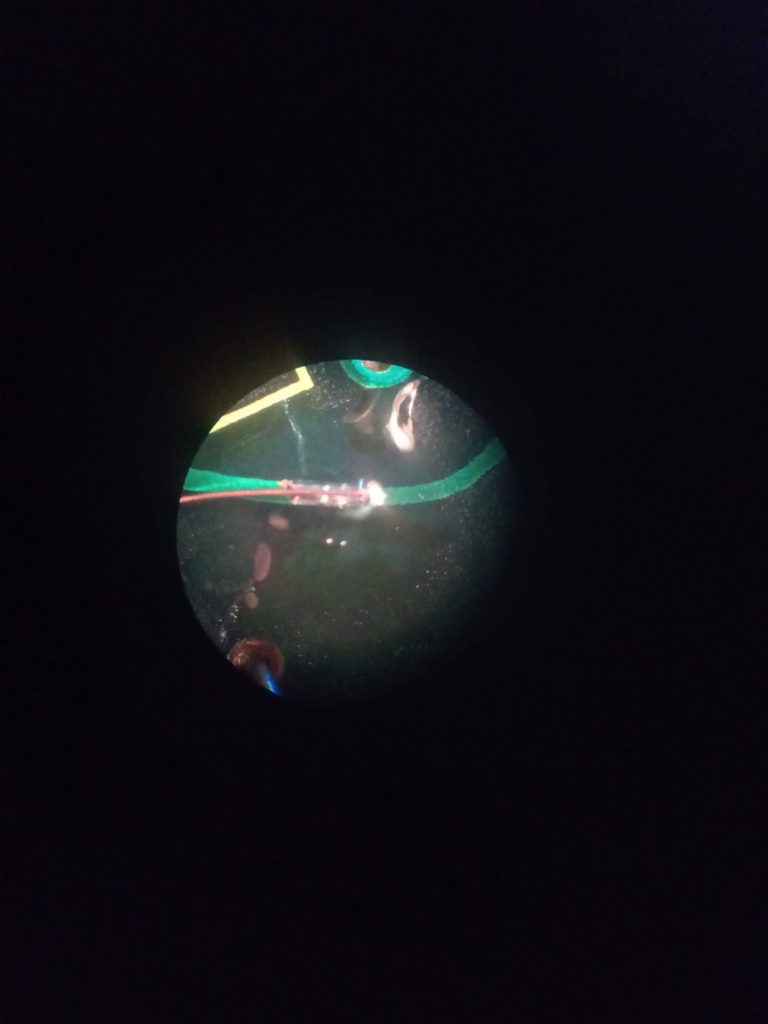
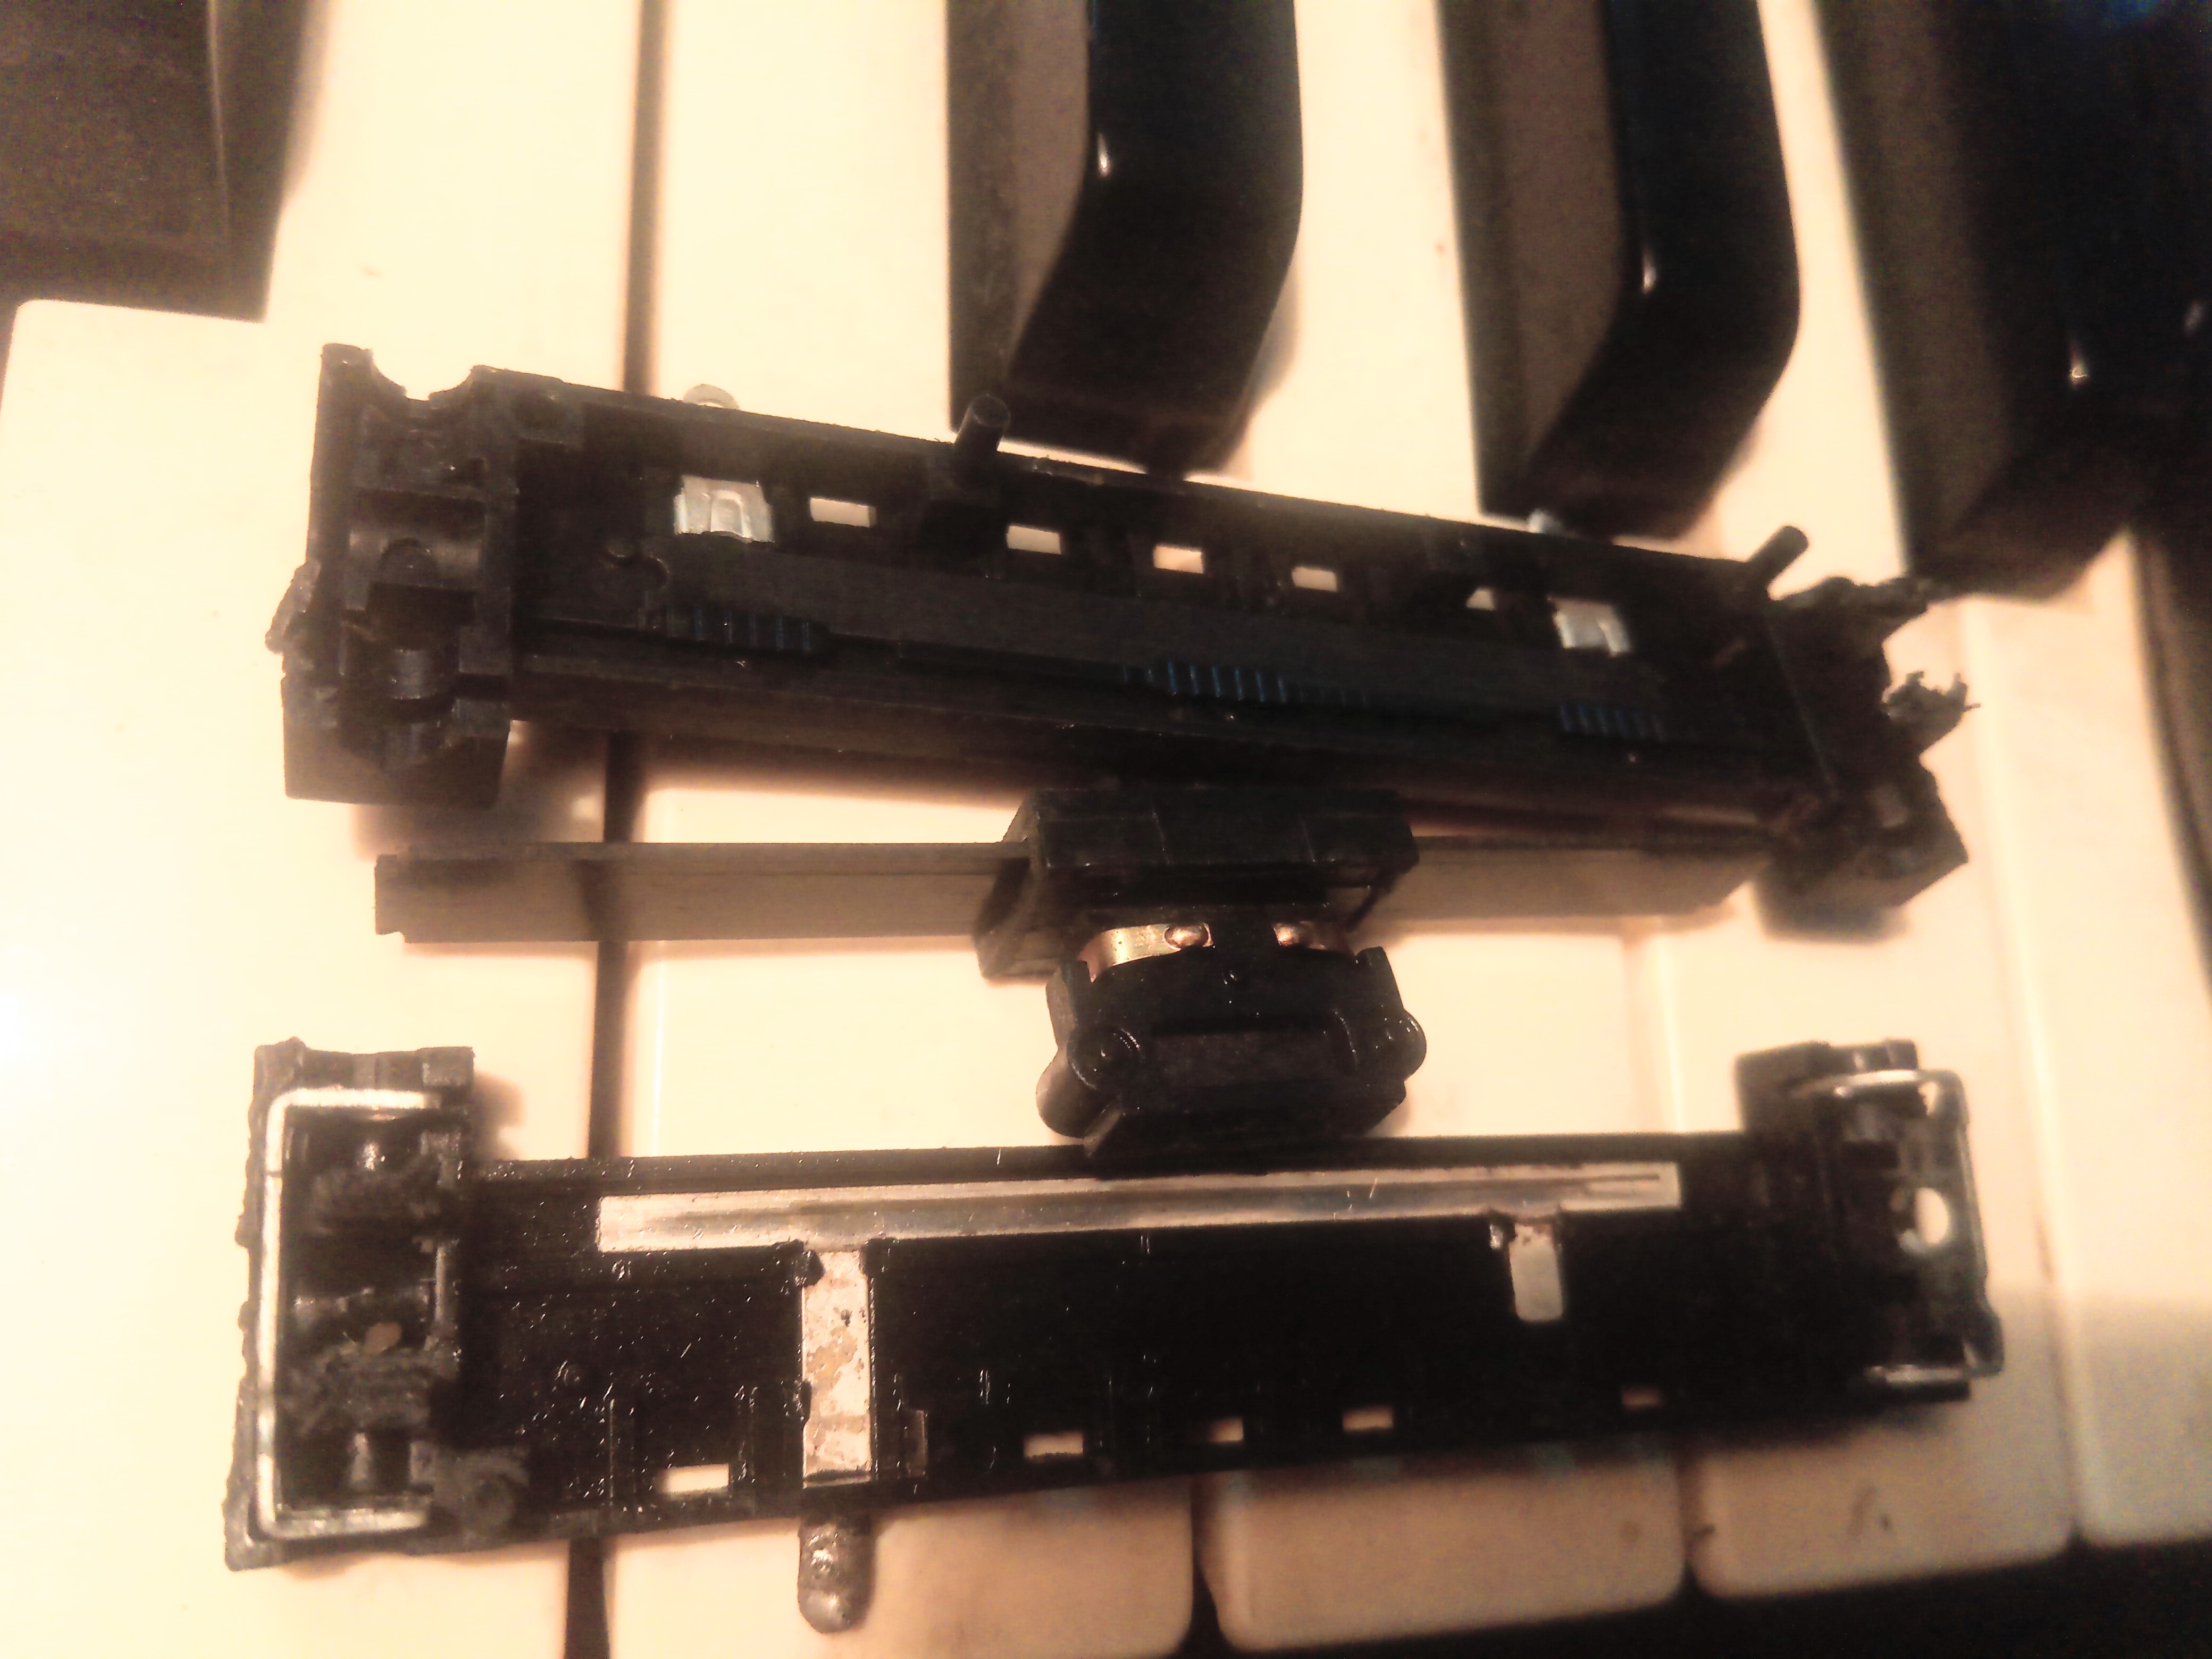
Following the broken trace repair unit sprung to life and booted alright. Unit was however acting very oddly and most of the sounds were crackly and distorted. It was caused by open circuit or intermittent circuit on the slider pots. I took all of them, apart and carefully cleaned and put them back together. This brought all but two of them back to life. Final one to tackle was rimshot/cowbell. Carbon track looked ok but it behaved as if the leg of the slider pot came detached from the carbon track underneath the plastic. I had to carefully remove the plastic and then i applied conductive paint. It restored most of the connection but there was another part of the track I had to fix with carbon paint.

Sadly it is not possible to source replacement sliders for those anymore. It would have been much easier just to fit a new set of sliders and be done with it.

OXFORD SYNTHESIZER COMPANY – OSCar

Another visitor as of late was OSCar. The only problems with OSCar were damaged tracks of pots which I had to replace from same size but different mounting version of OMEG pot. These conductive plastic pots don’t last very well. They wear through pretty easily. 9 out of 28 were already worn through the tracks causing the erratic behavior. Other then this, it was just completely dead NiCd battery which partly leaked but lucky enough the leakage was contained withing the plastic wrapper and didn’t cause any havoc with the PCB.

There was a bit of a problem when loading software using SysEx. The file available on the web labeled as factory patches was corrupted and wouldn’t finish upload.

Luckily there is this version also available which is fine. I have uploaded it here as well to make sure it won’t get lost.


I noticed the original SysEx file was signed as SSL Oxford. I’m not sure exactly what the story was but OSCar and SSL consoles are somehow related it appears. Possibly same company or acquisition, I don’t know?

Working SysEx

OSCar_unknown


Badly worn track of OSCars pot

Moog – Micromoog Synthesizer

This machine came with but one problem. It was noisy with fair bit of hum.

Upon opening I could see that nobody was there before me, immaculate original condition, completely unmessed with. Nice and clean outside and in. The hum problem was caused by loose harness. There is a harness which needs to be strictly routed on the side and it’s held in a plastic clip. This clip was originally attached using double sided tape which dried out and the clip detached.

So this was literally 1 minute repair job. The only other thing to do was to clean the pots and blow out the dust.

Winner!

Farfisa Soundmaker

This Farfisa Soudmaker made it to my desk in style on the wheelbarrow.
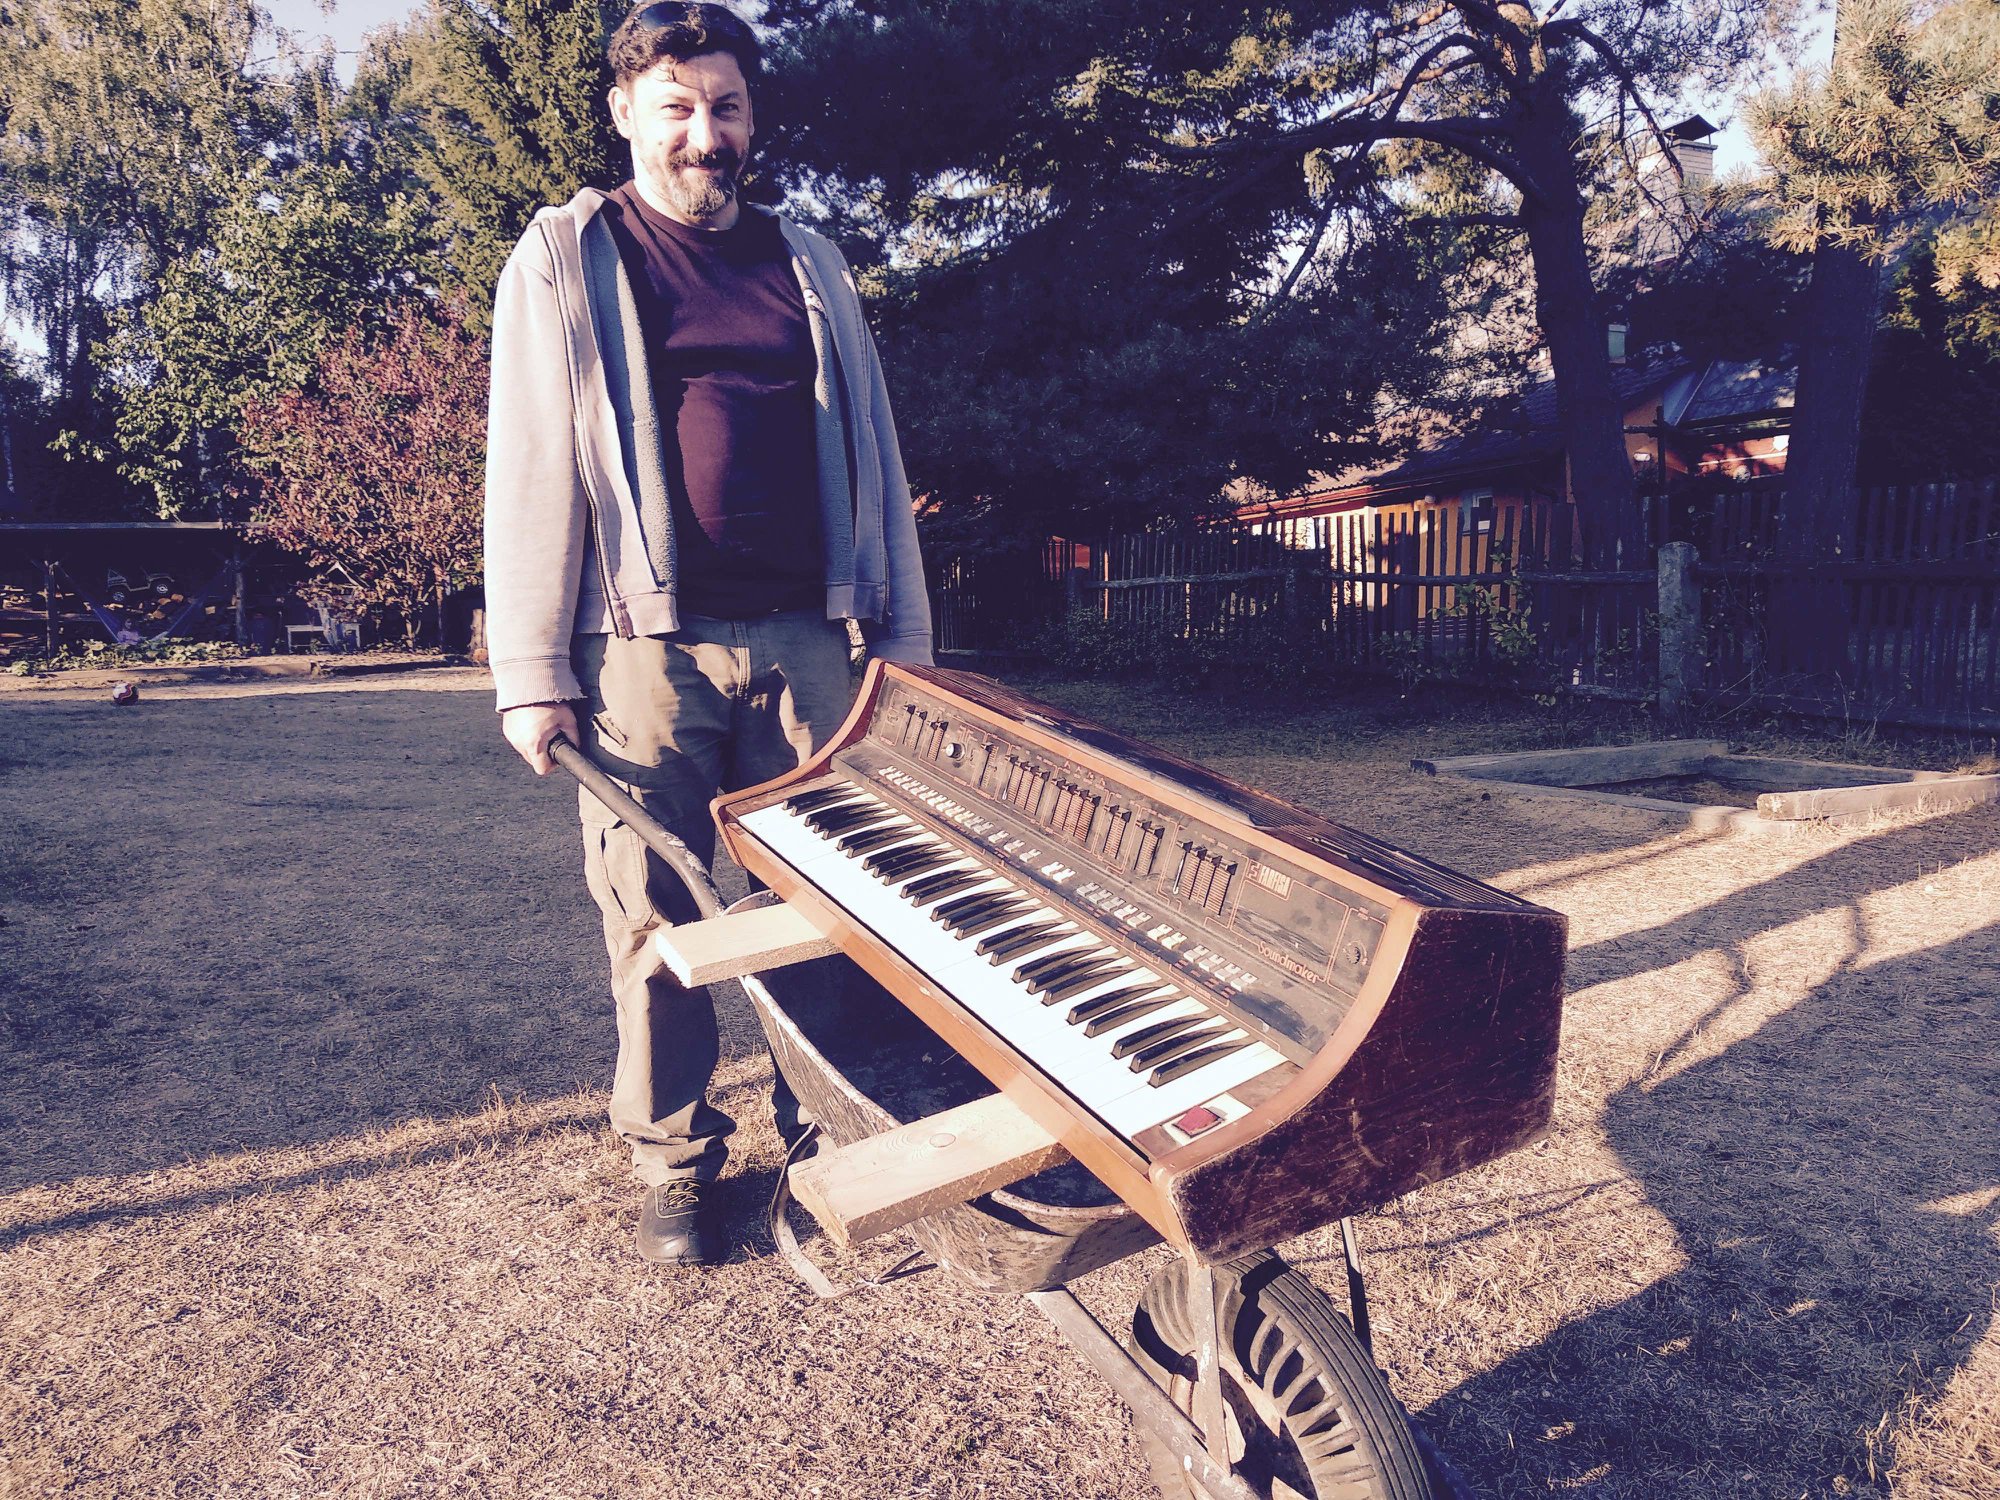
What I didn’t expect was quite how many hours will this take me to bring back to life.

First things first I started with check of the PSU following thorough cleaning job of all the slider pots to see what the overall state of the instrument is. Each one taken apart, cleaned and lubricated and contacts adjusted if required to ensure good contact between the slider track and the wiper.
 

Symptoms were following.

  1. Persistent crackling shooting noise coming out.
  2. Poly section would work except of about 6 keys but the volume was jumping up and down and fading completely from time to time. Strings were the only thing without any issues.
  3. Mono section would play only one tone regardless of the key pressed unless portamento was on. In such case random changes to tone were happening from time to time but it was very unreliable.
  4. several of the presets had dead led diodes
  5. one of the preset switches wouldn’t react
  6. aftertouch wasn’t working
  7. oscillator wouldn’t react
  8. brass vibrato would only attempt to vibrate when you turn it on for fraction of the second and stop

I started with cleanup of the key contacts, springs were completely black with years of sulfate corrosion
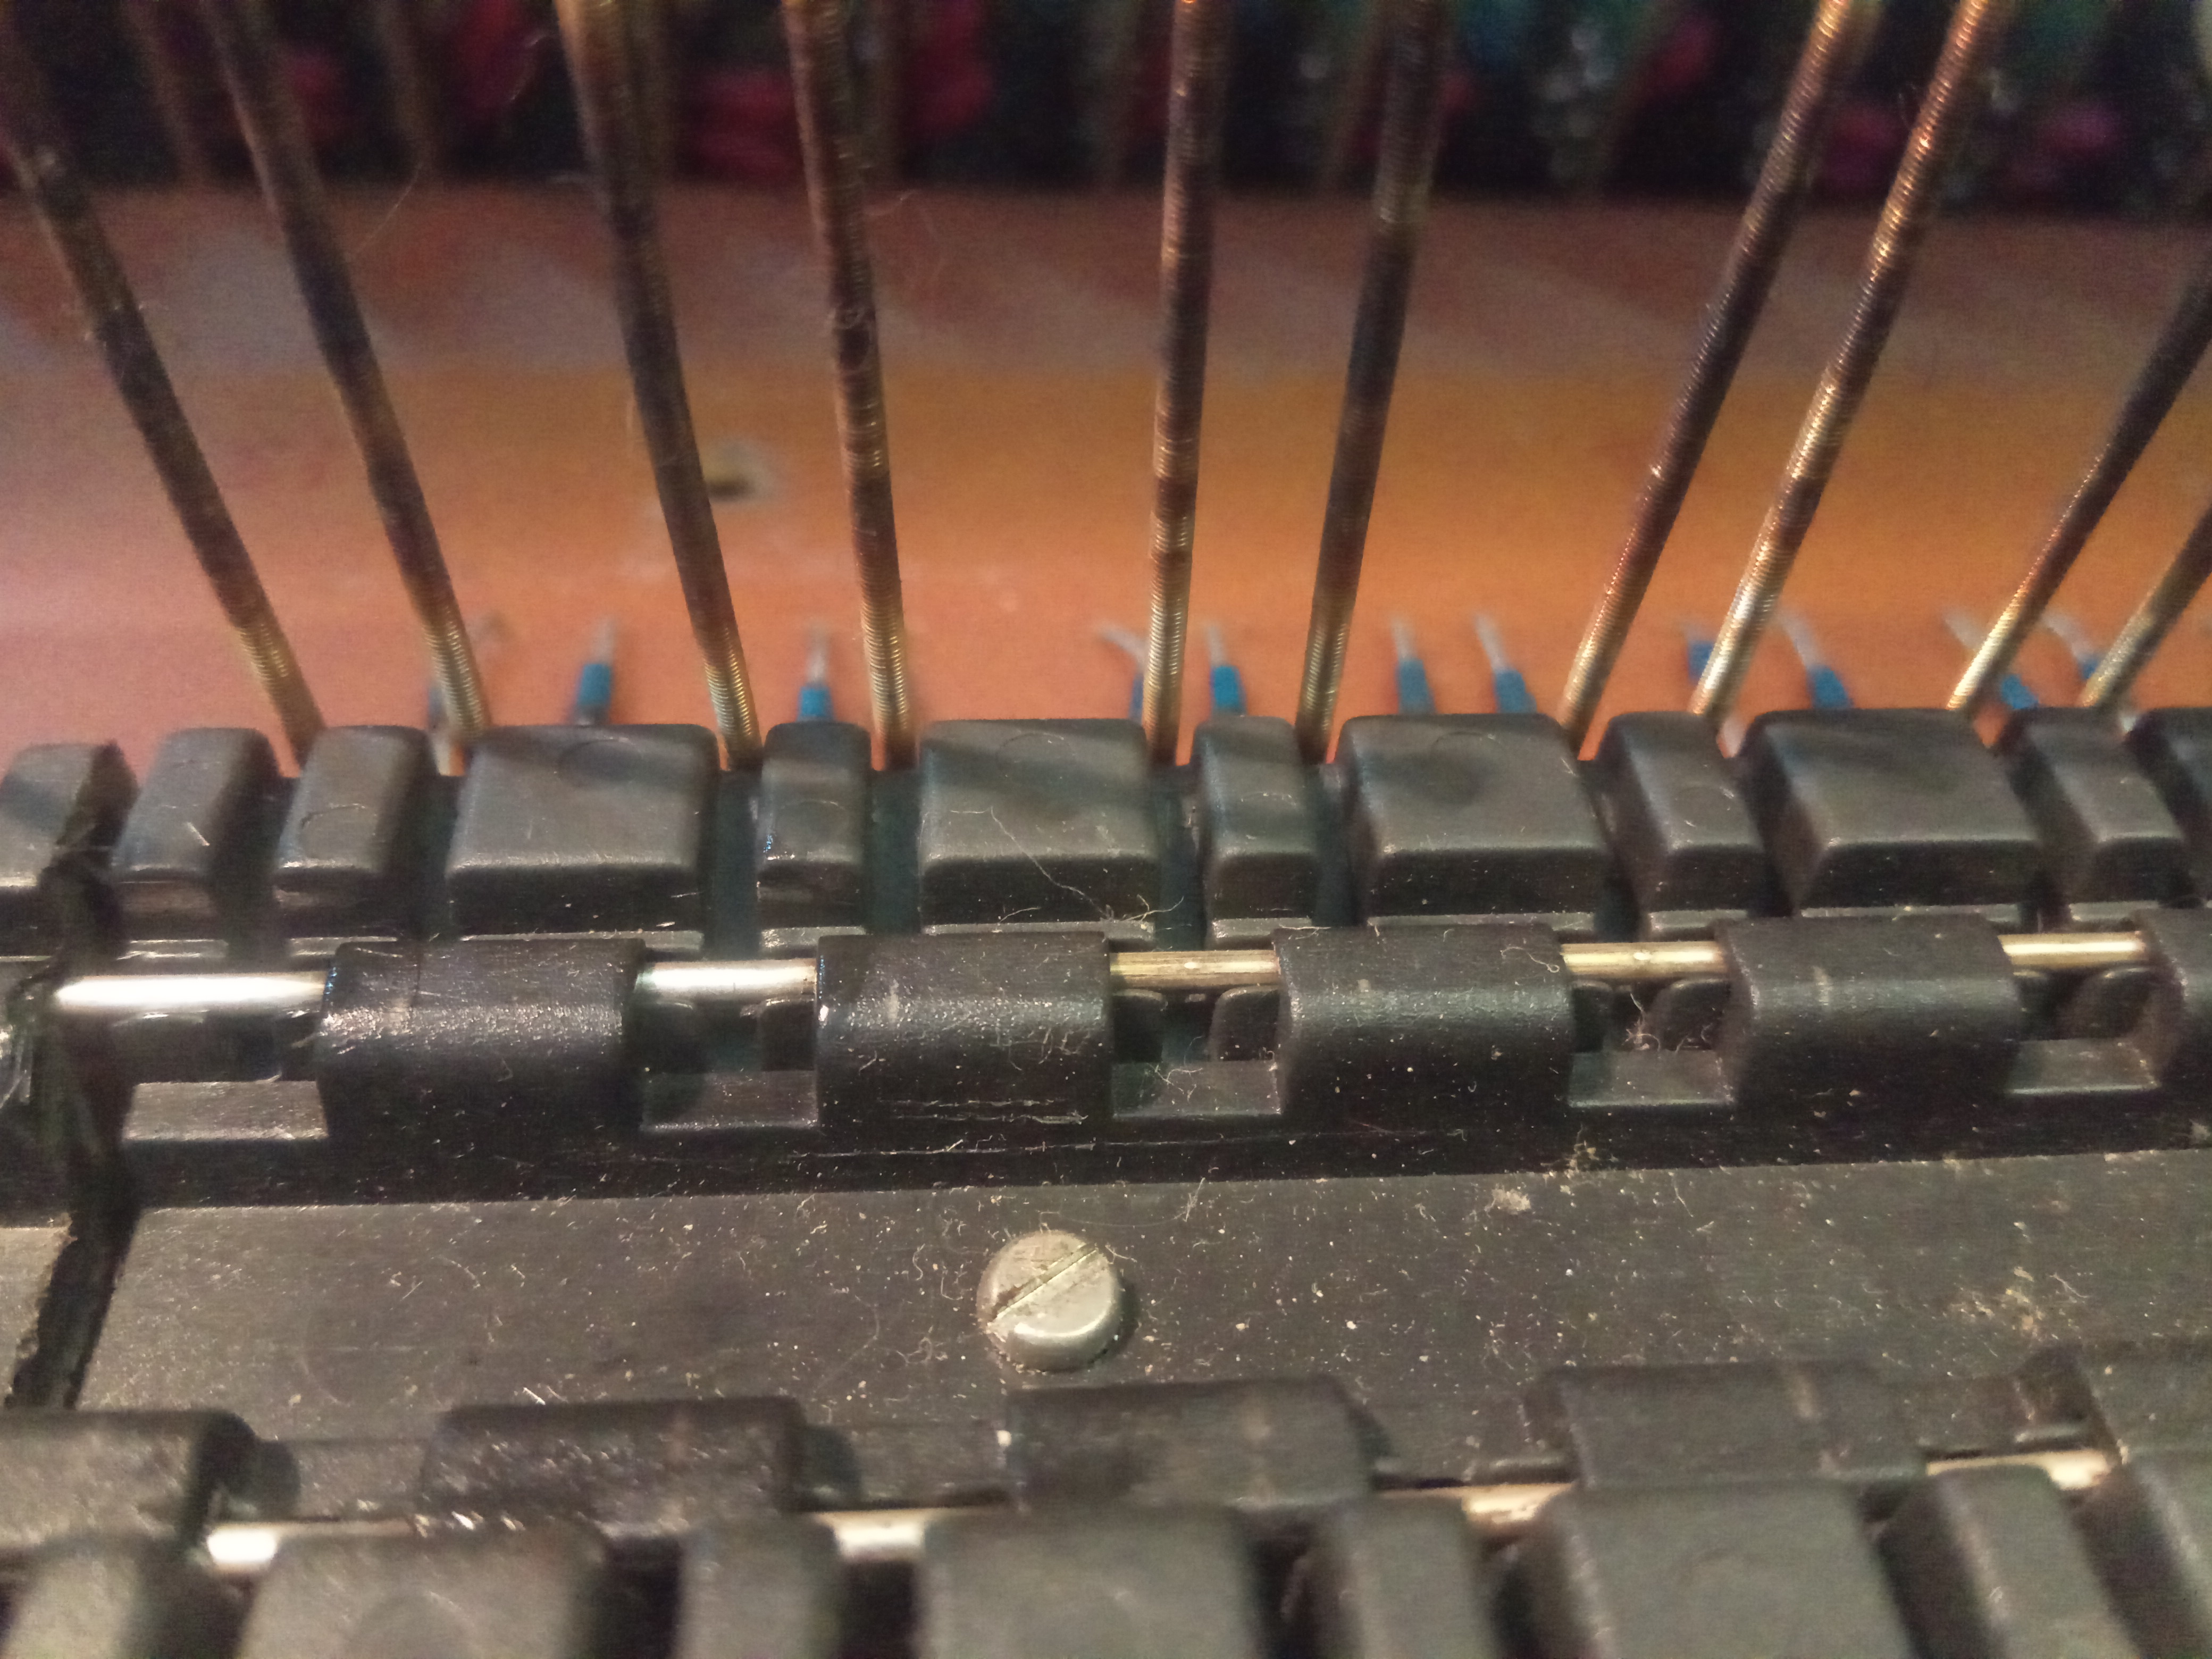
It was possible to clean it with Kontakt 60 and fiberglass brush following a proper wash with Kontakt WL

After this procedure all but one key were working fine, top C had a spring stretched and “repaired” by somebody before me. I couldn’t get this into proper working order and I had to replace the offending spring.

At this point poly section and strings were working perfectly all the keys made good contact. Mono section was still completely messed up and wouldn’t react consistently.

I traced the signals and master clock was stable up and running, priority latching circuit was correctly selecting the right hand most key, top octave generator was all good and logic circuits responsible for Octave information were working as well. I had clean square wave corresponding accurately to any key pressed. This was rather puzzling because same note would come out of the speakers. The way this synth is designed this oscillator square wave signal is converted into needle pulses 150-200nS in length.  This signal is combined with 1MHz clock derived from the top octave oscillator clock. There are two other clock generators. Mono generator and Portamento generator with variable frequency based on the portamento slider setting.

Core of the signal generation board designed to provide portamento functionality consist of chain of 3 4bit magnitude comparators 74C85. If you press any key this information is coded into 12 bit word. When next key is pressed bank of programmable counters 40193 starts counting either up or down up until it reaches the same note and both sides of the comparator are equal.  If the Portamento is OFF it uses the mono high speed clock to reach the final note pretty much instantly or if Portamento is ON it uses the slow portamento clock and reaches the destination note more slowly which creates the portamento effect.

The trouble was I couldn’t get consistent results, I tried to swap some of the ICs in the circuits responsible for the portamento function with new ones, but it behaved differently every time I touched it. Fellow tech from Facebook group helped me tremendously by suggesting this could be caused by bad sockets, these white Italian sockets are prone to make bad contact. I therefore decided to swap them all out and replace with gold plated precision sockets to be able to work on the problem methodically.

After all the sockets were replaced situation got lot better, with portamento ON mono section would play all the notes in the low octaves correctly but would jitter around and be noisy when it reached higher notes or when the Portamento was OFF it would only play few notes and then turn silent.

At this point I was finally getting consistent measuring results and I established that all 3 clock sources are good quality, correct voltage and proper squares.  I could see the outputs from dividers at the top as well as the outputs from programmable dividers at the bottom. I even ended up comparing each on the oscilloscope and noted down the Hi/low states for each of the 12 inputs. trouble was at higher notes it wouldn’t stop at equal value. the >< output from the comparators was constantly oscillating between values

At this point i could also swap out 40193 for new or 4520 for new and the issue remained exactly the same. Finally the socket nightmare was out so it was very likely the issue were the 74C85. I purchased replacement  pin compatible CD4585 but it wouldn’t work with them.  Puzzled with the result I even simulated the circuit on standalone breadboard and there the CD4585 worked just fine. It took me several hours of head scratching before i ordered the much harder to get 74C85 which finally worked and proven that all this time it was them causing the odd behavior.

From this point onward rest of the issues were easy to handle.

I replaced the broken unobtainable DMB switch made by Jean-Renaud (France) with ordinary tactile switch. I had to retain the hinge and diode holder from the old switch and only replace the switch itself. This worked rather well. You can’t really tell from the top that something is different except of a different feel to the touch. DMB switches are pretty soft action while tactile have a distinct click to them.
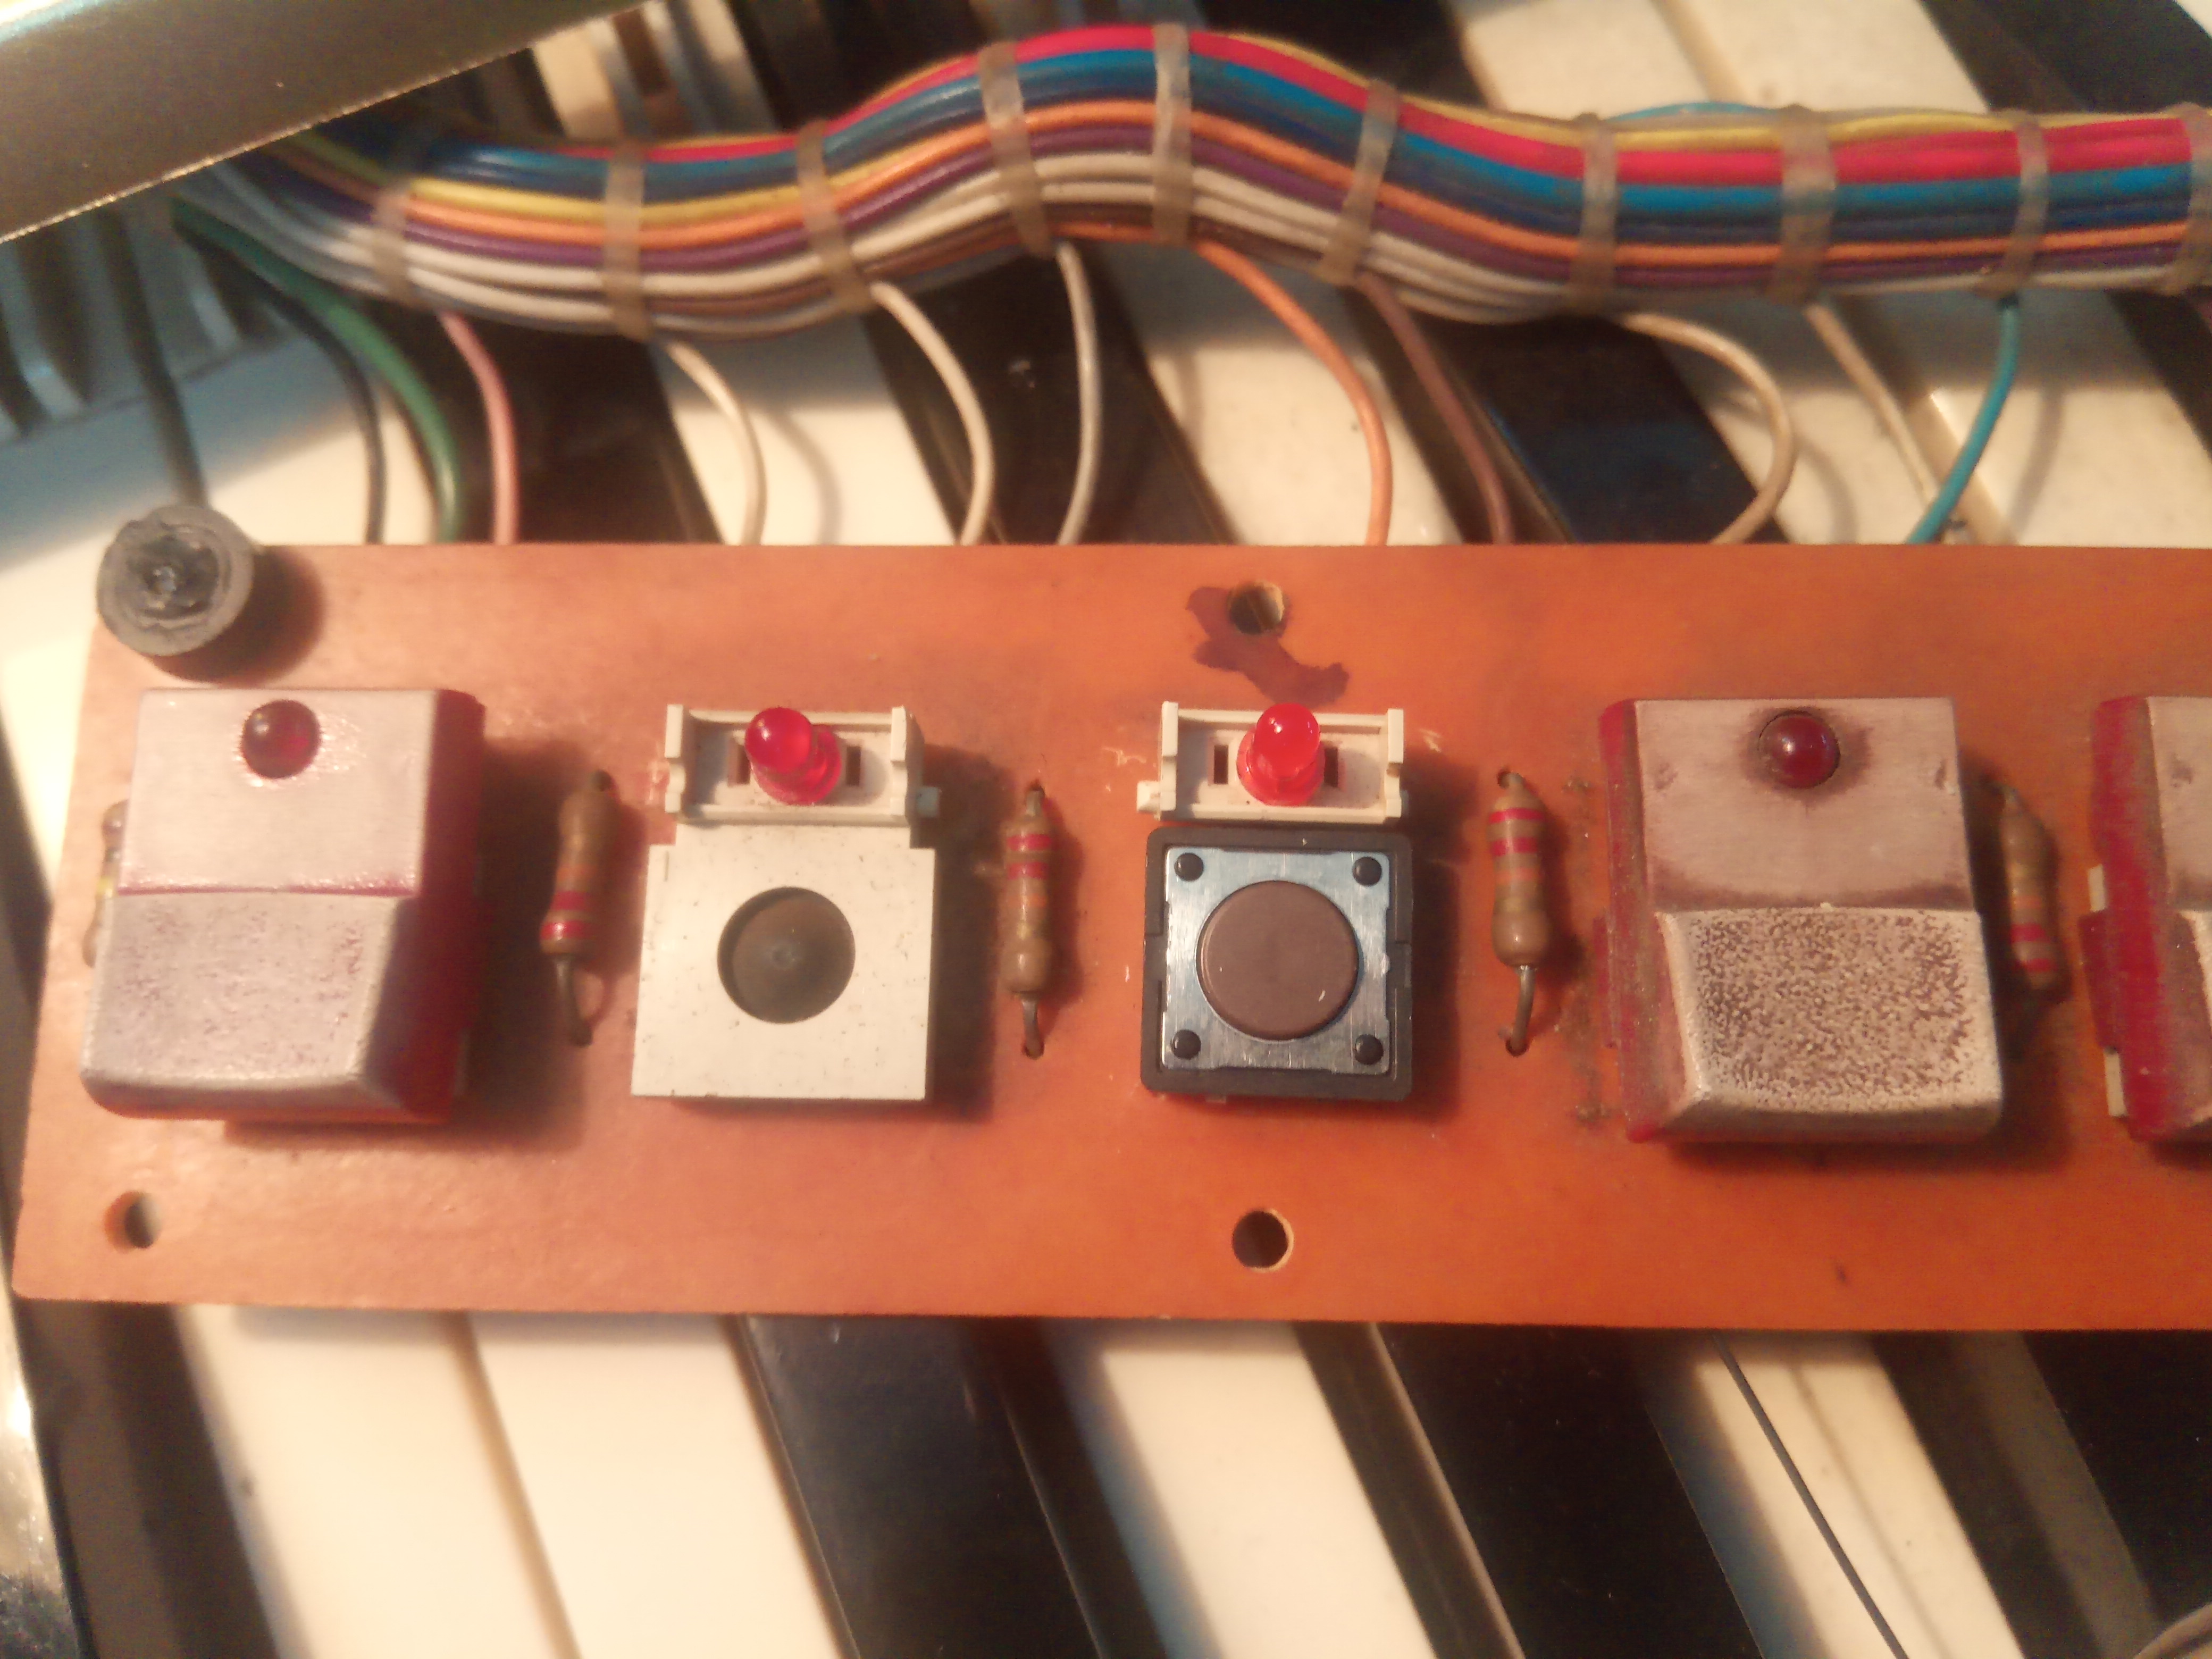
Aftertouch had just burnt bulb

Oscillator issue was just dirty rotary switch

Poly section volume fluctuation was corroded contact in the  connector,  I removed every pin, cleaned it and put it back. Tedious but worth it for long term reliability.

I traced the brass vibrato to faulty BC transistor

Crackling sounds were little bit harder to pinpoint. I eventually isolated it to the delay lines board. I tried heating / cooling various parts and the issue suddenly vanished and despite of the attempts never came back. Since it happened when I was heating things around the small BC transistors I decided to proactively replace all 6 in the section. Hopefully it was them and not the TDA1022 which would be quite costly to obtain.

Last thing I did was replacement of Tantalum caps in the trigger boards, most of them were fine but those which were 16V tants on the 15V rail were a fire hazard. I noticed somebody replaced few before me because they shorted so I changed the rest for modern solid tantalum caps but rated at 35V to give it better safety margin.

 

Hammond X2

This Hammond X2 came in a weird shape, it was basically working apart of last octave, upon opening the organ I could see there was somebody there before me. It was modified to add pedal octave mod. It was done sometimes during 70s or 80s in Czechoslovakia and it was predominantly made using integrated circuits from eastern Germany. I was for a while contemplating fixing the mod but after discussion with owner it was decided to chop the mod out and revert back to original design.

This extra board (impossible to read any labels but ended up being dividers) creates the pedal octave and the smaller board with double VCA and two transistors mixed the pedal octave and lowest octave together. Rest of the issues were down to thorough cleaning of switches and contacts.

It took me a while to find the service manual but at the end I managed to get hold of it.

Here is a link for those who might be in the same situation

Hammond_X2_service_manual

EKO TIGER

This wee little Italian Organ actually got brilliant sound. It came predominantly working with few little issues here and there.

Main problem was the bass section, it is bound to develop issues by design. All the secondary contacts for bass section C1 to G2 are connected in series and as they tarnish over the years you get regular random malfunctions affecting not just single key which might not have such a severe impact but the entire section stops working. Contacts are made of some alloy with high silver content and blacken if unused for long periods of time. The only effective way was to use Nitric acid with Thiourea and rinse it properly and neutralize.

There was one issue which really took me a while to discover. Selector for BASS chorus behaved in a very unusual fashion. With Bass Chorus disabled only bass section C1 to G2 would play but it would play both the Bass as well as the selected voices when it was  Enabled it would play both bass and selected voice on the lower part and selected voice on the top. I couldn’t figure out what have happened to it. At the end I found out somebody was there before me and swapped by mistake two wires from keyboard bus bars.

All there was left was to tune it and 3D print new slider handles.


Musical Blackboard

This is one of the weirdest instruments I had on my table for repair to date. 

It isn’t a synthesizer, or at least not the ordinary type, it is a analog touchscreen of old. Educational prop made in Czechoslovakia sometime during 1980’s. This blackboard is made of the large PCB painted over with  black paint. There is a separate thick PCB track for each note and you play touch. However since it’s a old school analog you need to hold the wire (or connect yourself using bracelet) for this to work.

The heart of this “thing” is a “organ in one package” Tesla MHB208. This is a Czechoslovakian clone of Thompson M208. It’s rather basic and foul sounding chip but it’s definitely got it’s use. It’s one of those “so bad it’s good”

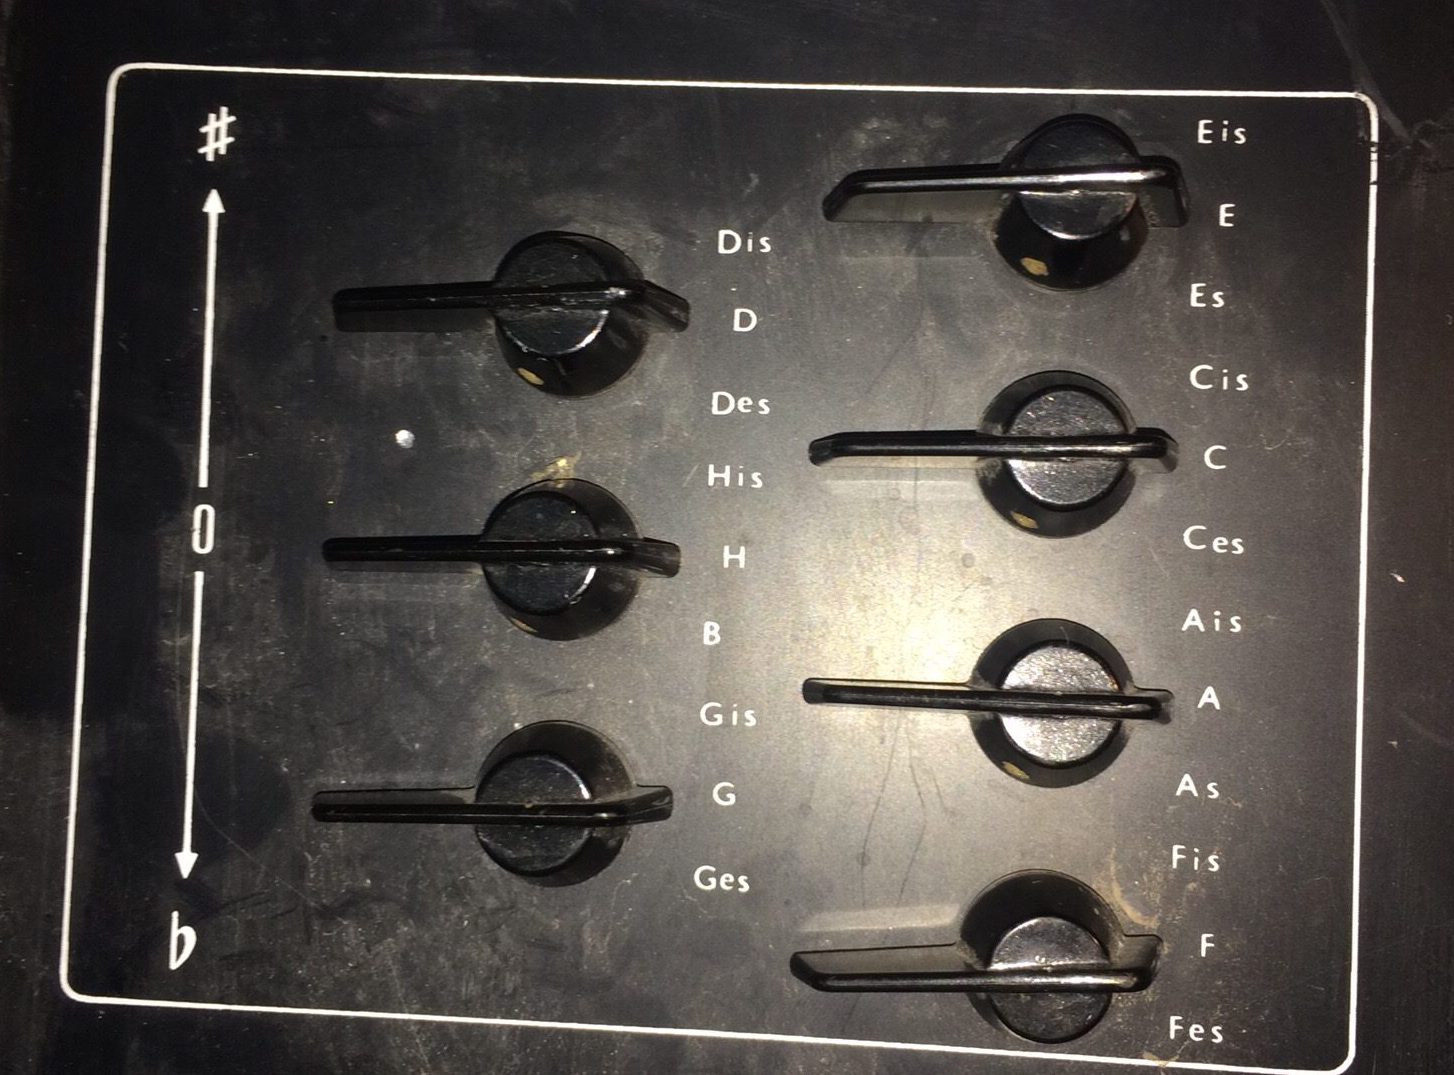
Whats different is how keyboard is simulated by the touch mechanism. There is a set of 3 state switches Flat, Regular, Sharp for each note. You select the key you want to play in by selecting respective #’s and b’s  for each note and go for it.


There are high impedance flip flops triggered by the small current carried over your body triggering individual notes. It is fully polyphonic and great fun to play once you get used to the individual notes boundaries.

This thing came without external PSU and I had to figure out the power and voltage requirements. It’s dead on straight forward AC input of anything between 15 and 40 V AC.

There is rectifier bridge and MA7812 which is a TO3 package for of usual 78xx.

I discussed with lucky owner and added separate internal transformer to make it easier to use on stage on mains.

clumsy demo below, enjoy the creepy sound