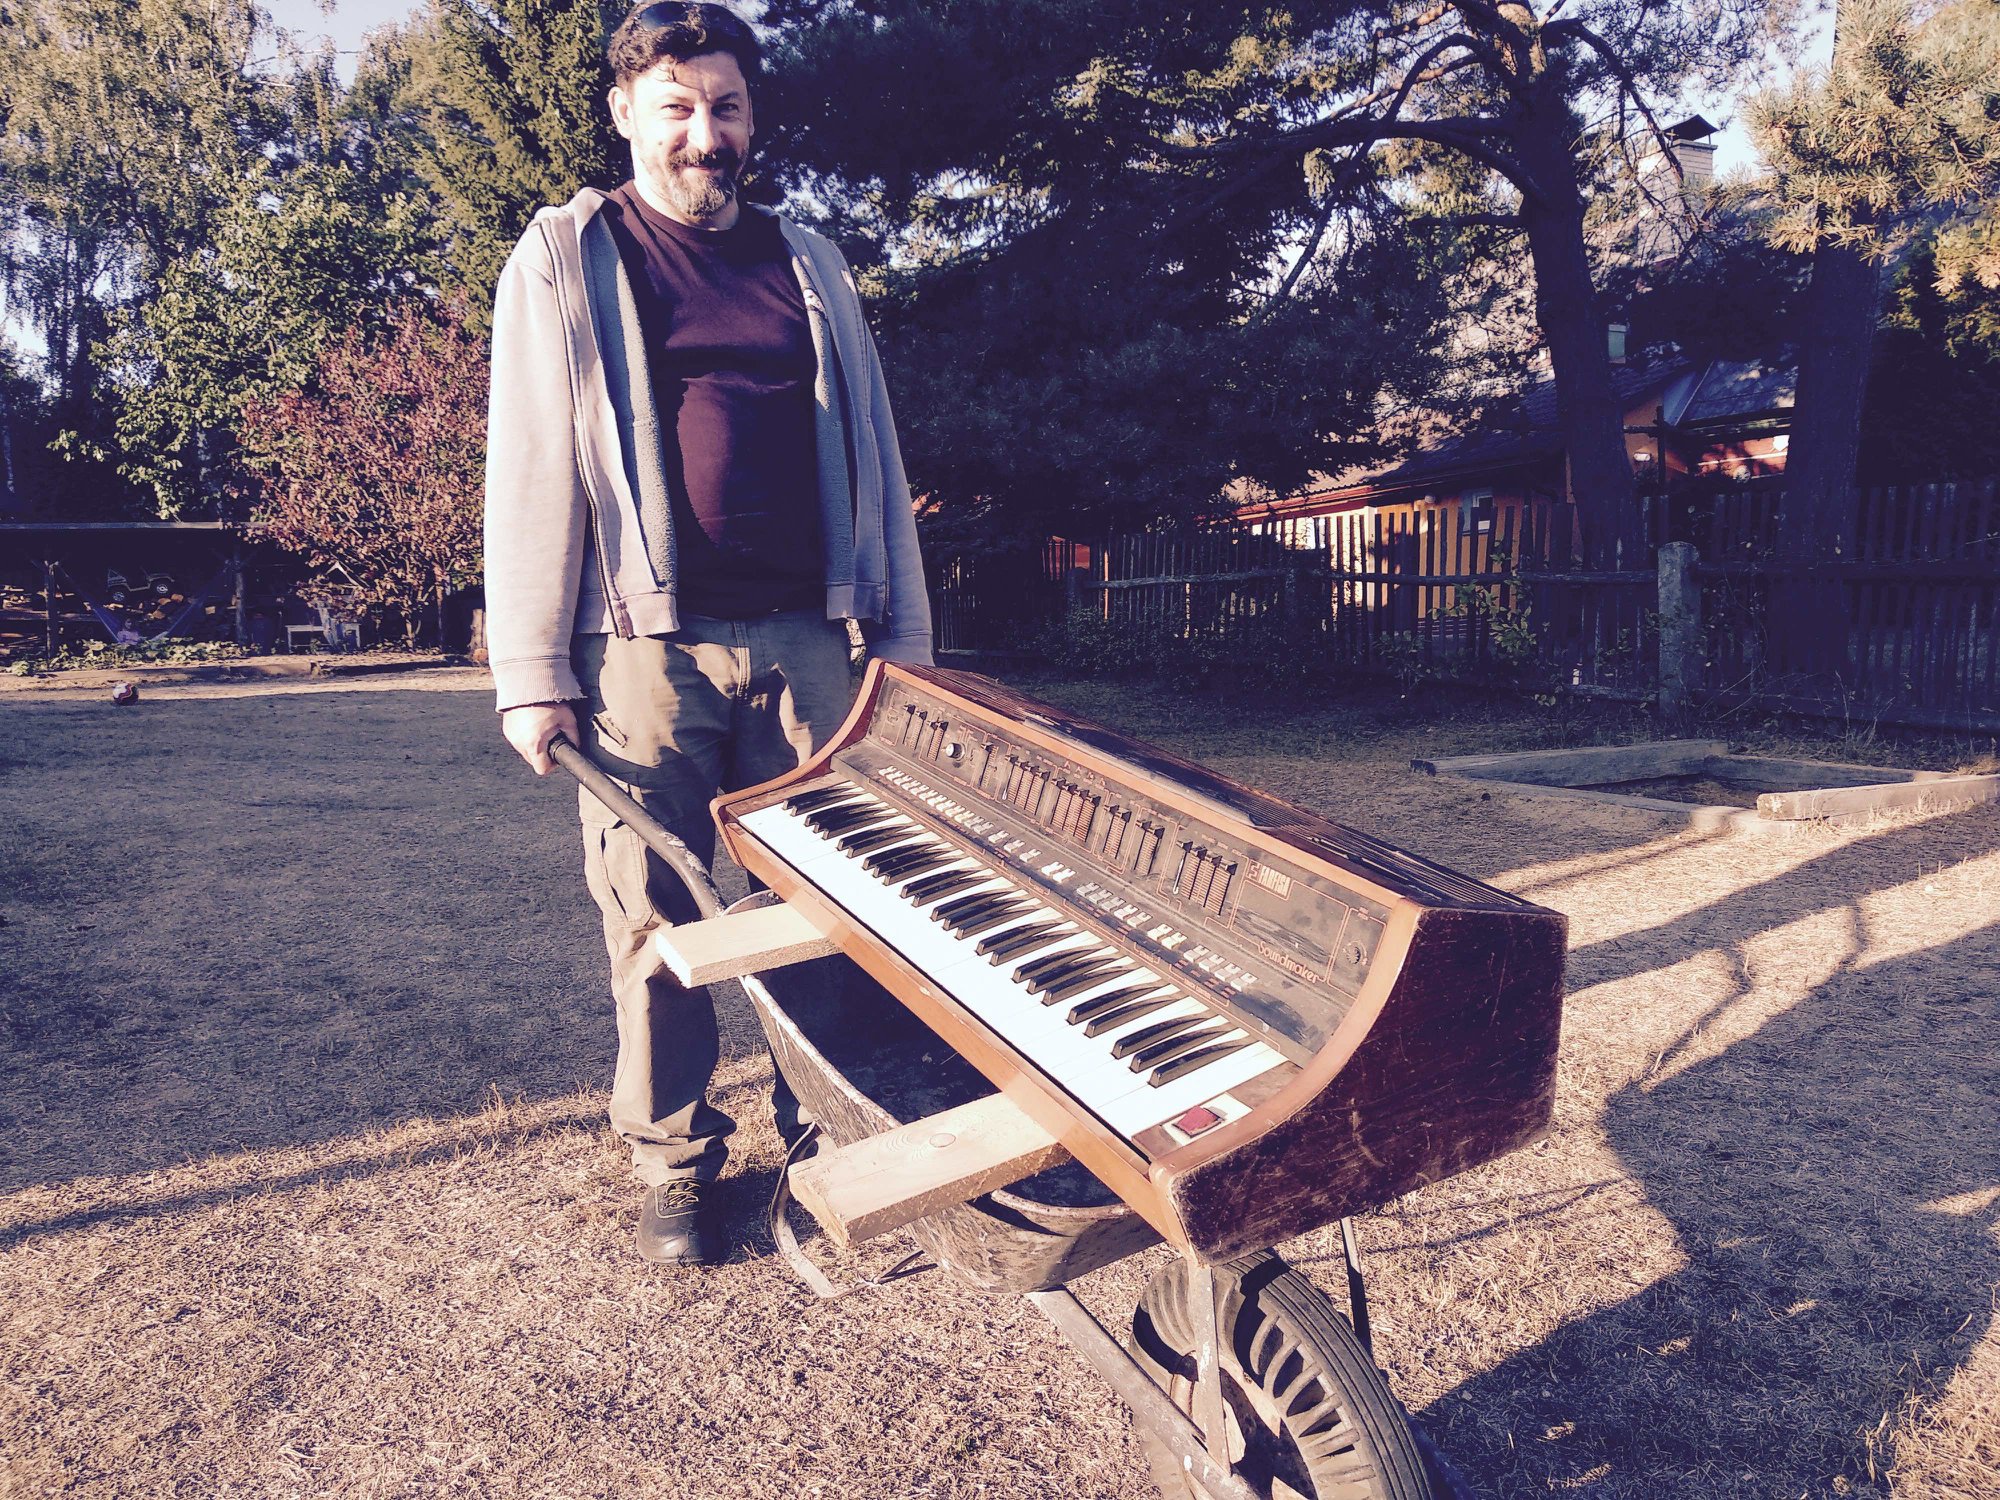
This Farfisa Soudmaker made it to my desk in style on the wheelbarrow.
What I didn’t expect was quite how many hours will this take me to bring back to life.
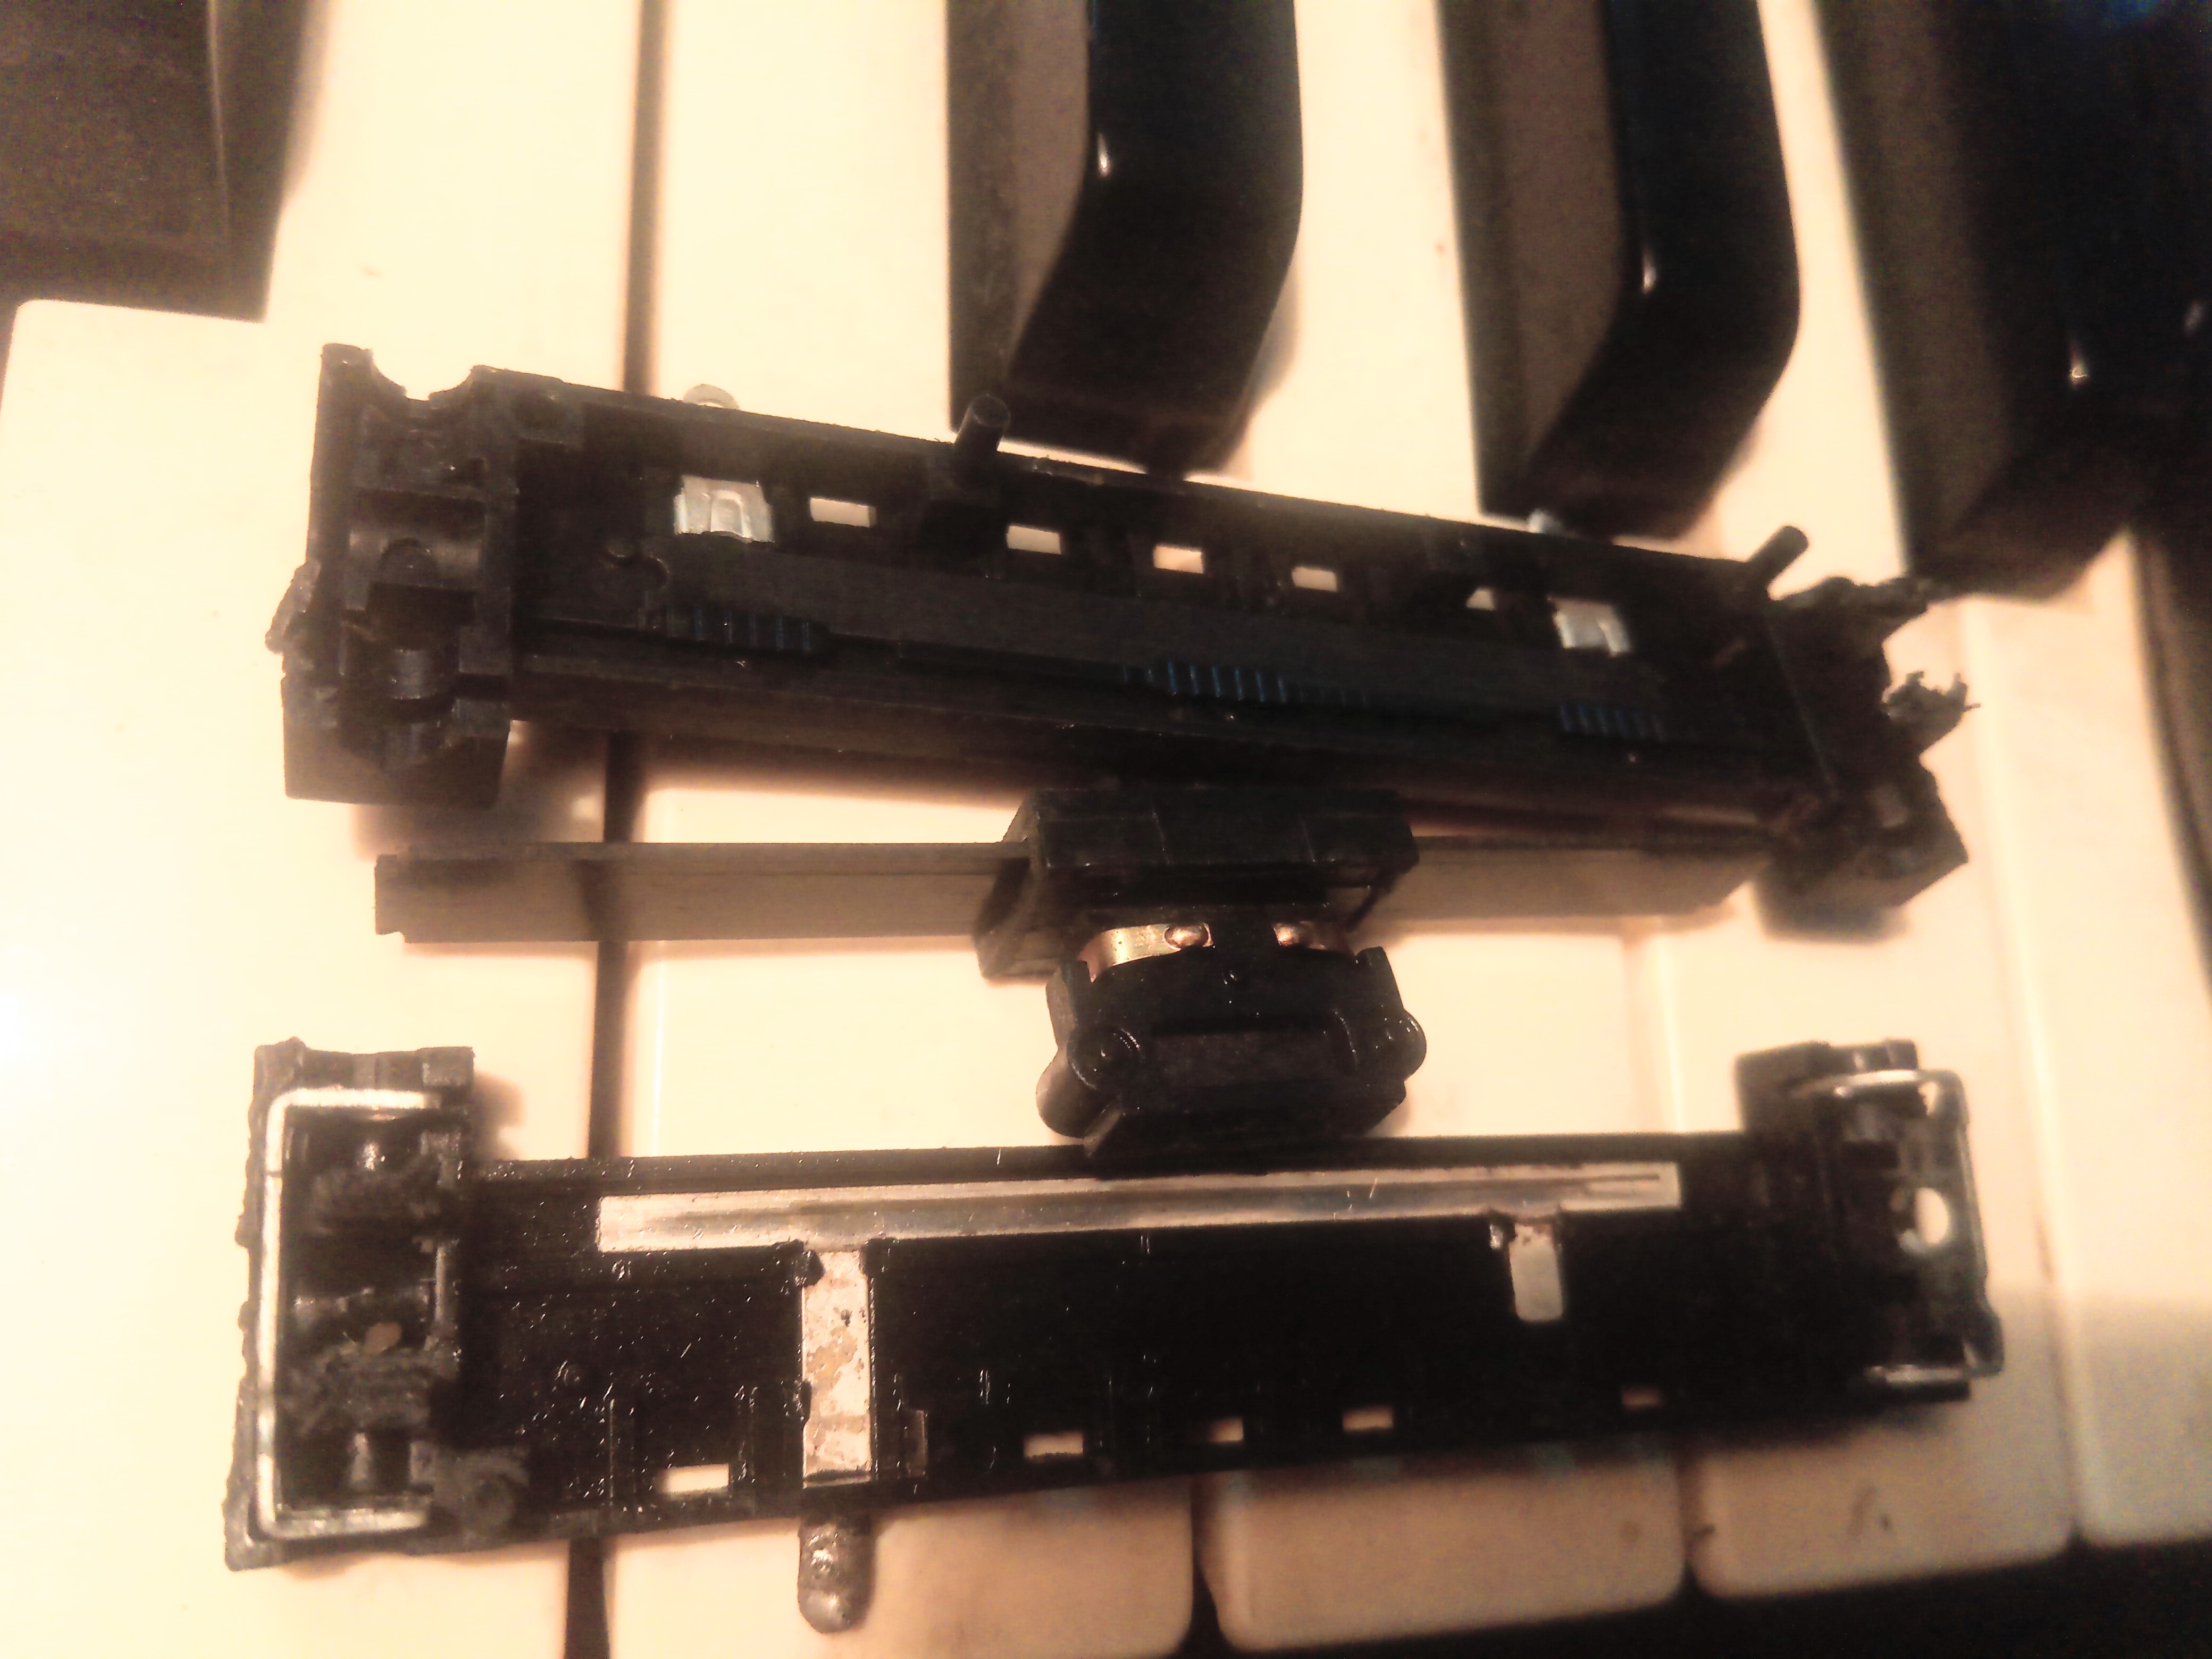
First things first I started with check of the PSU following thorough cleaning job of all the slider pots to see what the overall state of the instrument is. Each one taken apart, cleaned and lubricated and contacts adjusted if required to ensure good contact between the slider track and the wiper.
Symptoms were following.
- Persistent crackling shooting noise coming out.
- Poly section would work except of about 6 keys but the volume was jumping up and down and fading completely from time to time. Strings were the only thing without any issues.
- Mono section would play only one tone regardless of the key pressed unless portamento was on. In such case random changes to tone were happening from time to time but it was very unreliable.
- several of the presets had dead led diodes
- one of the preset switches wouldn’t react
- aftertouch wasn’t working
- oscillator wouldn’t react
- brass vibrato would only attempt to vibrate when you turn it on for fraction of the second and stop
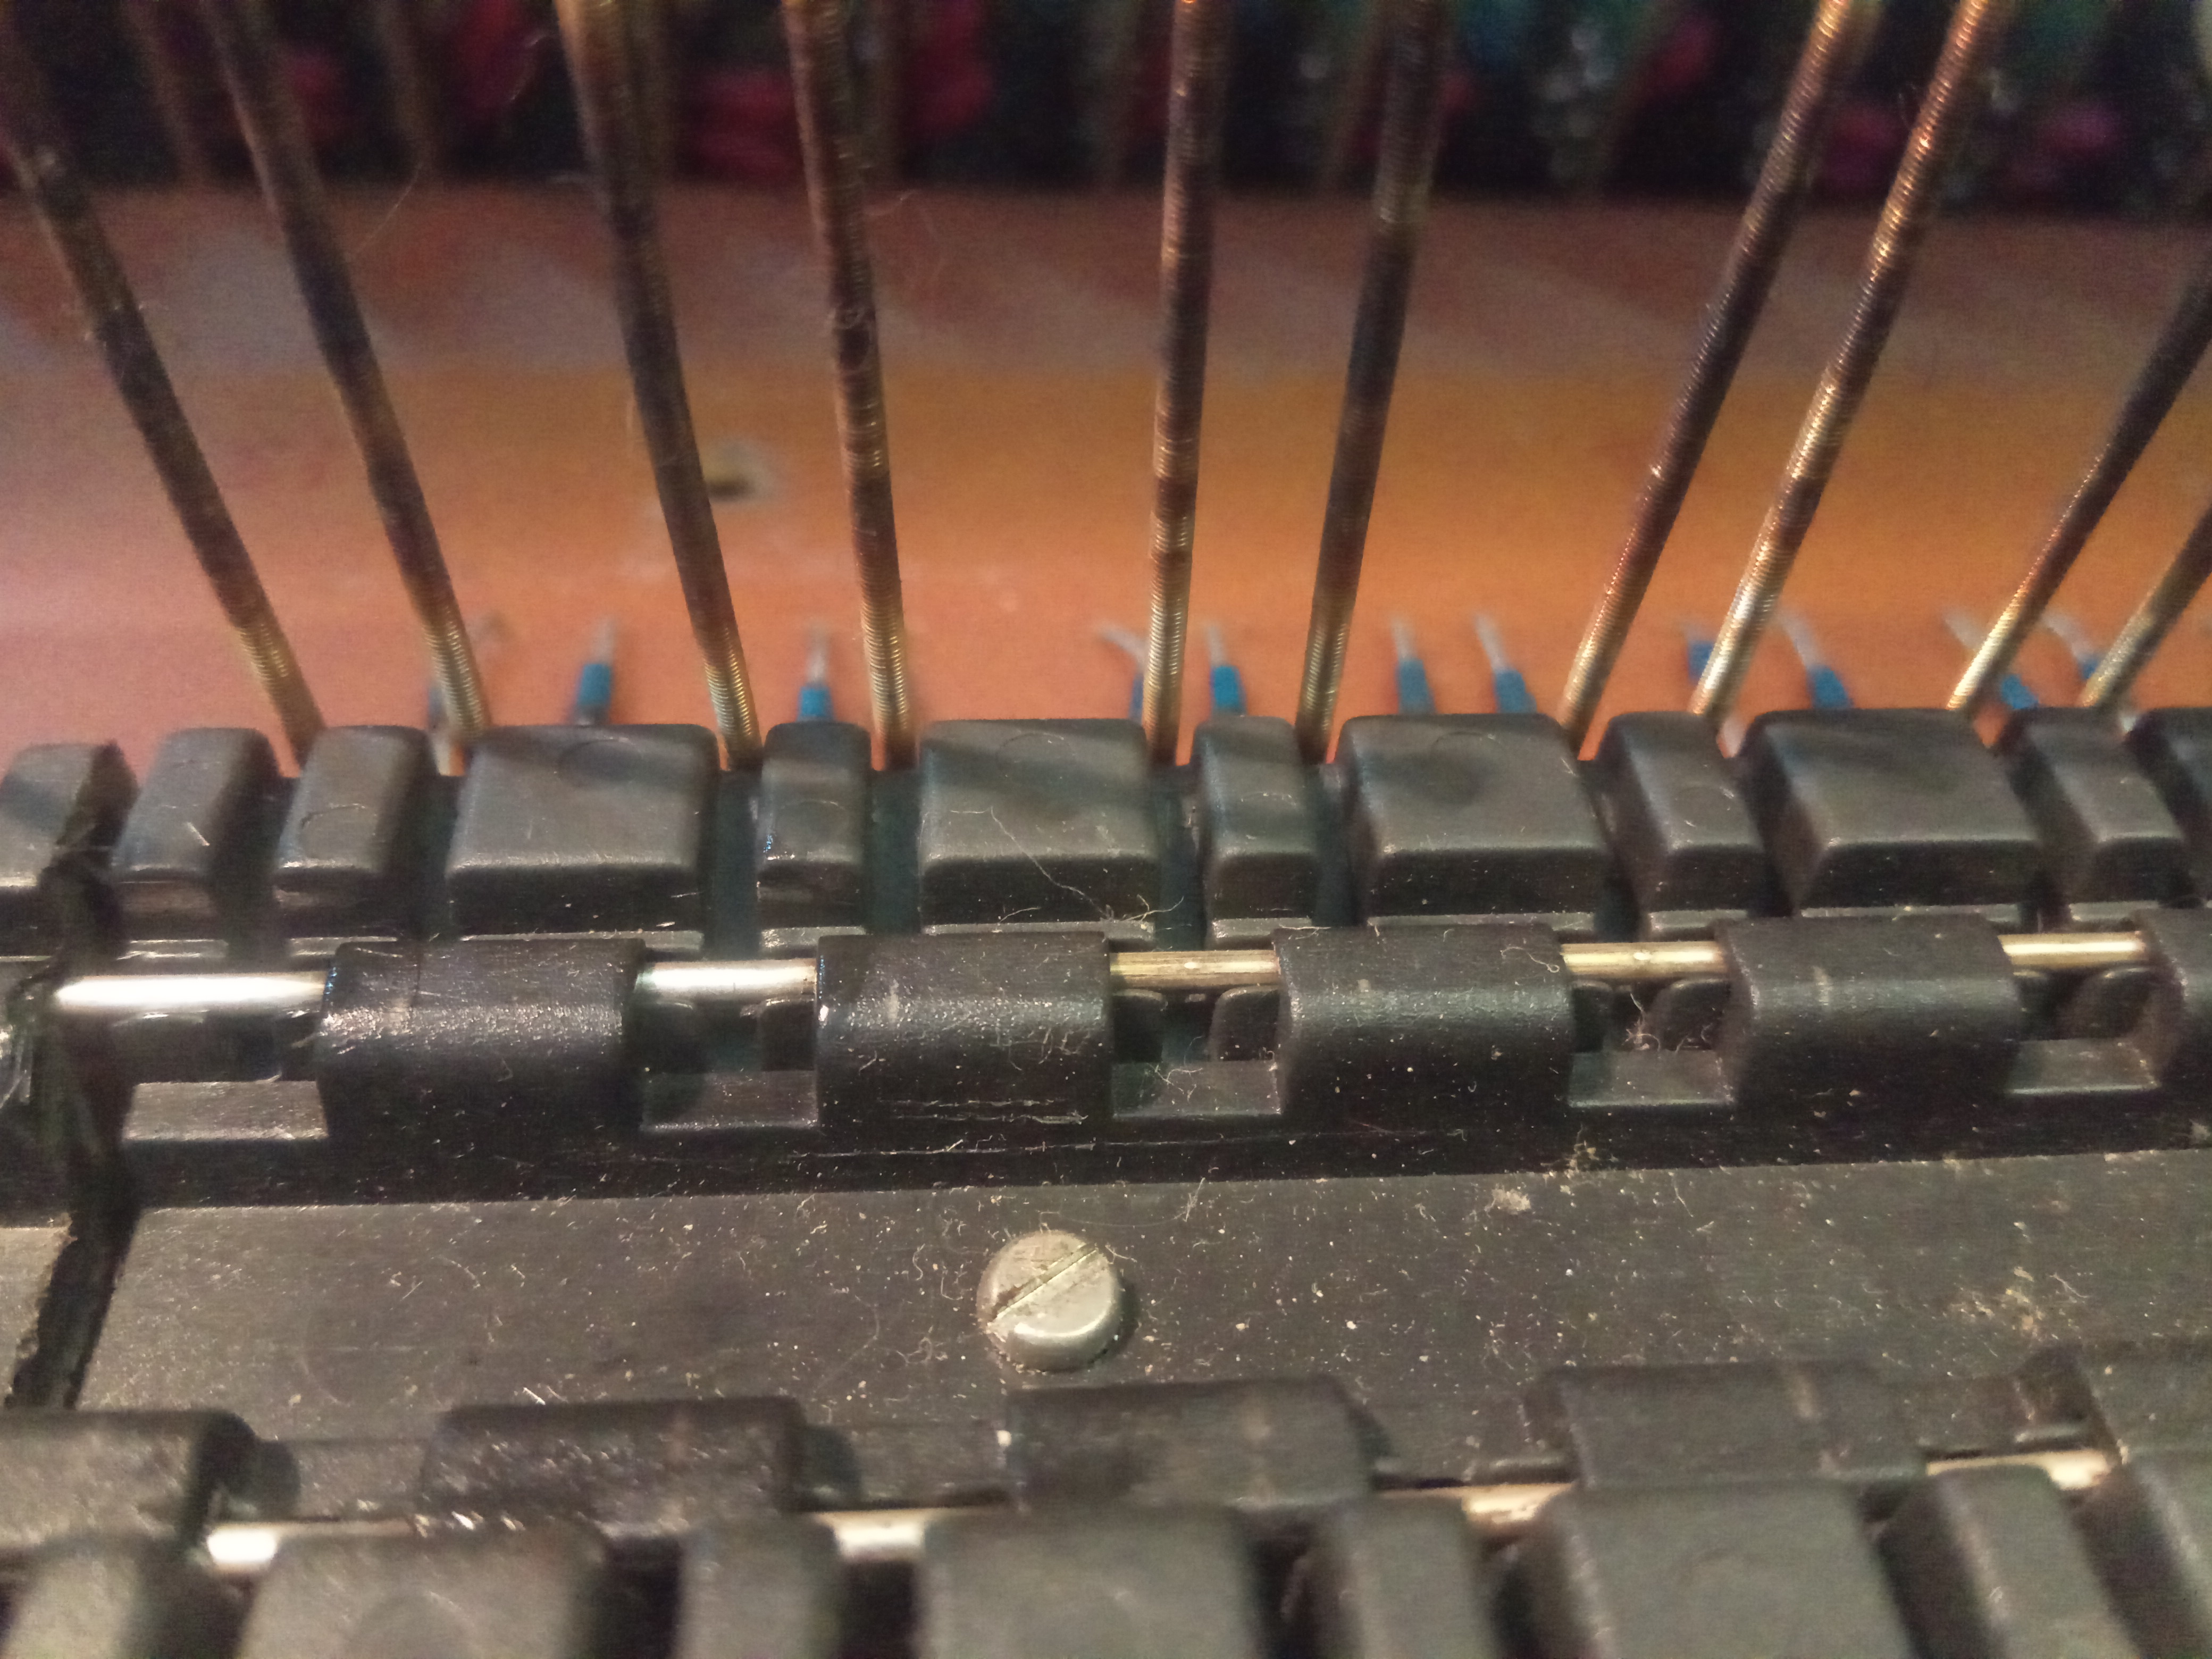
I started with cleanup of the key contacts, springs were completely black with years of sulfate corrosion
It was possible to clean it with Kontakt 60 and fiberglass brush following a proper wash with Kontakt WL
After this procedure all but one key were working fine, top C had a spring stretched and “repaired” by somebody before me. I couldn’t get this into proper working order and I had to replace the offending spring.
At this point poly section and strings were working perfectly all the keys made good contact. Mono section was still completely messed up and wouldn’t react consistently.
I traced the signals and master clock was stable up and running, priority latching circuit was correctly selecting the right hand most key, top octave generator was all good and logic circuits responsible for Octave information were working as well. I had clean square wave corresponding accurately to any key pressed. This was rather puzzling because same note would come out of the speakers. The way this synth is designed this oscillator square wave signal is converted into needle pulses 150-200nS in length. This signal is combined with 1MHz clock derived from the top octave oscillator clock. There are two other clock generators. Mono generator and Portamento generator with variable frequency based on the portamento slider setting.
Core of the signal generation board designed to provide portamento functionality consist of chain of 3 4bit magnitude comparators 74C85. If you press any key this information is coded into 12 bit word. When next key is pressed bank of programmable counters 40193 starts counting either up or down up until it reaches the same note and both sides of the comparator are equal. If the Portamento is OFF it uses the mono high speed clock to reach the final note pretty much instantly or if Portamento is ON it uses the slow portamento clock and reaches the destination note more slowly which creates the portamento effect.
The trouble was I couldn’t get consistent results, I tried to swap some of the ICs in the circuits responsible for the portamento function with new ones, but it behaved differently every time I touched it. Fellow tech from Facebook group helped me tremendously by suggesting this could be caused by bad sockets, these white Italian sockets are prone to make bad contact. I therefore decided to swap them all out and replace with gold plated precision sockets to be able to work on the problem methodically.
After all the sockets were replaced situation got lot better, with portamento ON mono section would play all the notes in the low octaves correctly but would jitter around and be noisy when it reached higher notes or when the Portamento was OFF it would only play few notes and then turn silent.
At this point I was finally getting consistent measuring results and I established that all 3 clock sources are good quality, correct voltage and proper squares. I could see the outputs from dividers at the top as well as the outputs from programmable dividers at the bottom. I even ended up comparing each on the oscilloscope and noted down the Hi/low states for each of the 12 inputs. trouble was at higher notes it wouldn’t stop at equal value. the >< output from the comparators was constantly oscillating between values
At this point i could also swap out 40193 for new or 4520 for new and the issue remained exactly the same. Finally the socket nightmare was out so it was very likely the issue were the 74C85. I purchased replacement pin compatible CD4585 but it wouldn’t work with them. Puzzled with the result I even simulated the circuit on standalone breadboard and there the CD4585 worked just fine. It took me several hours of head scratching before i ordered the much harder to get 74C85 which finally worked and proven that all this time it was them causing the odd behavior.
From this point onward rest of the issues were easy to handle.
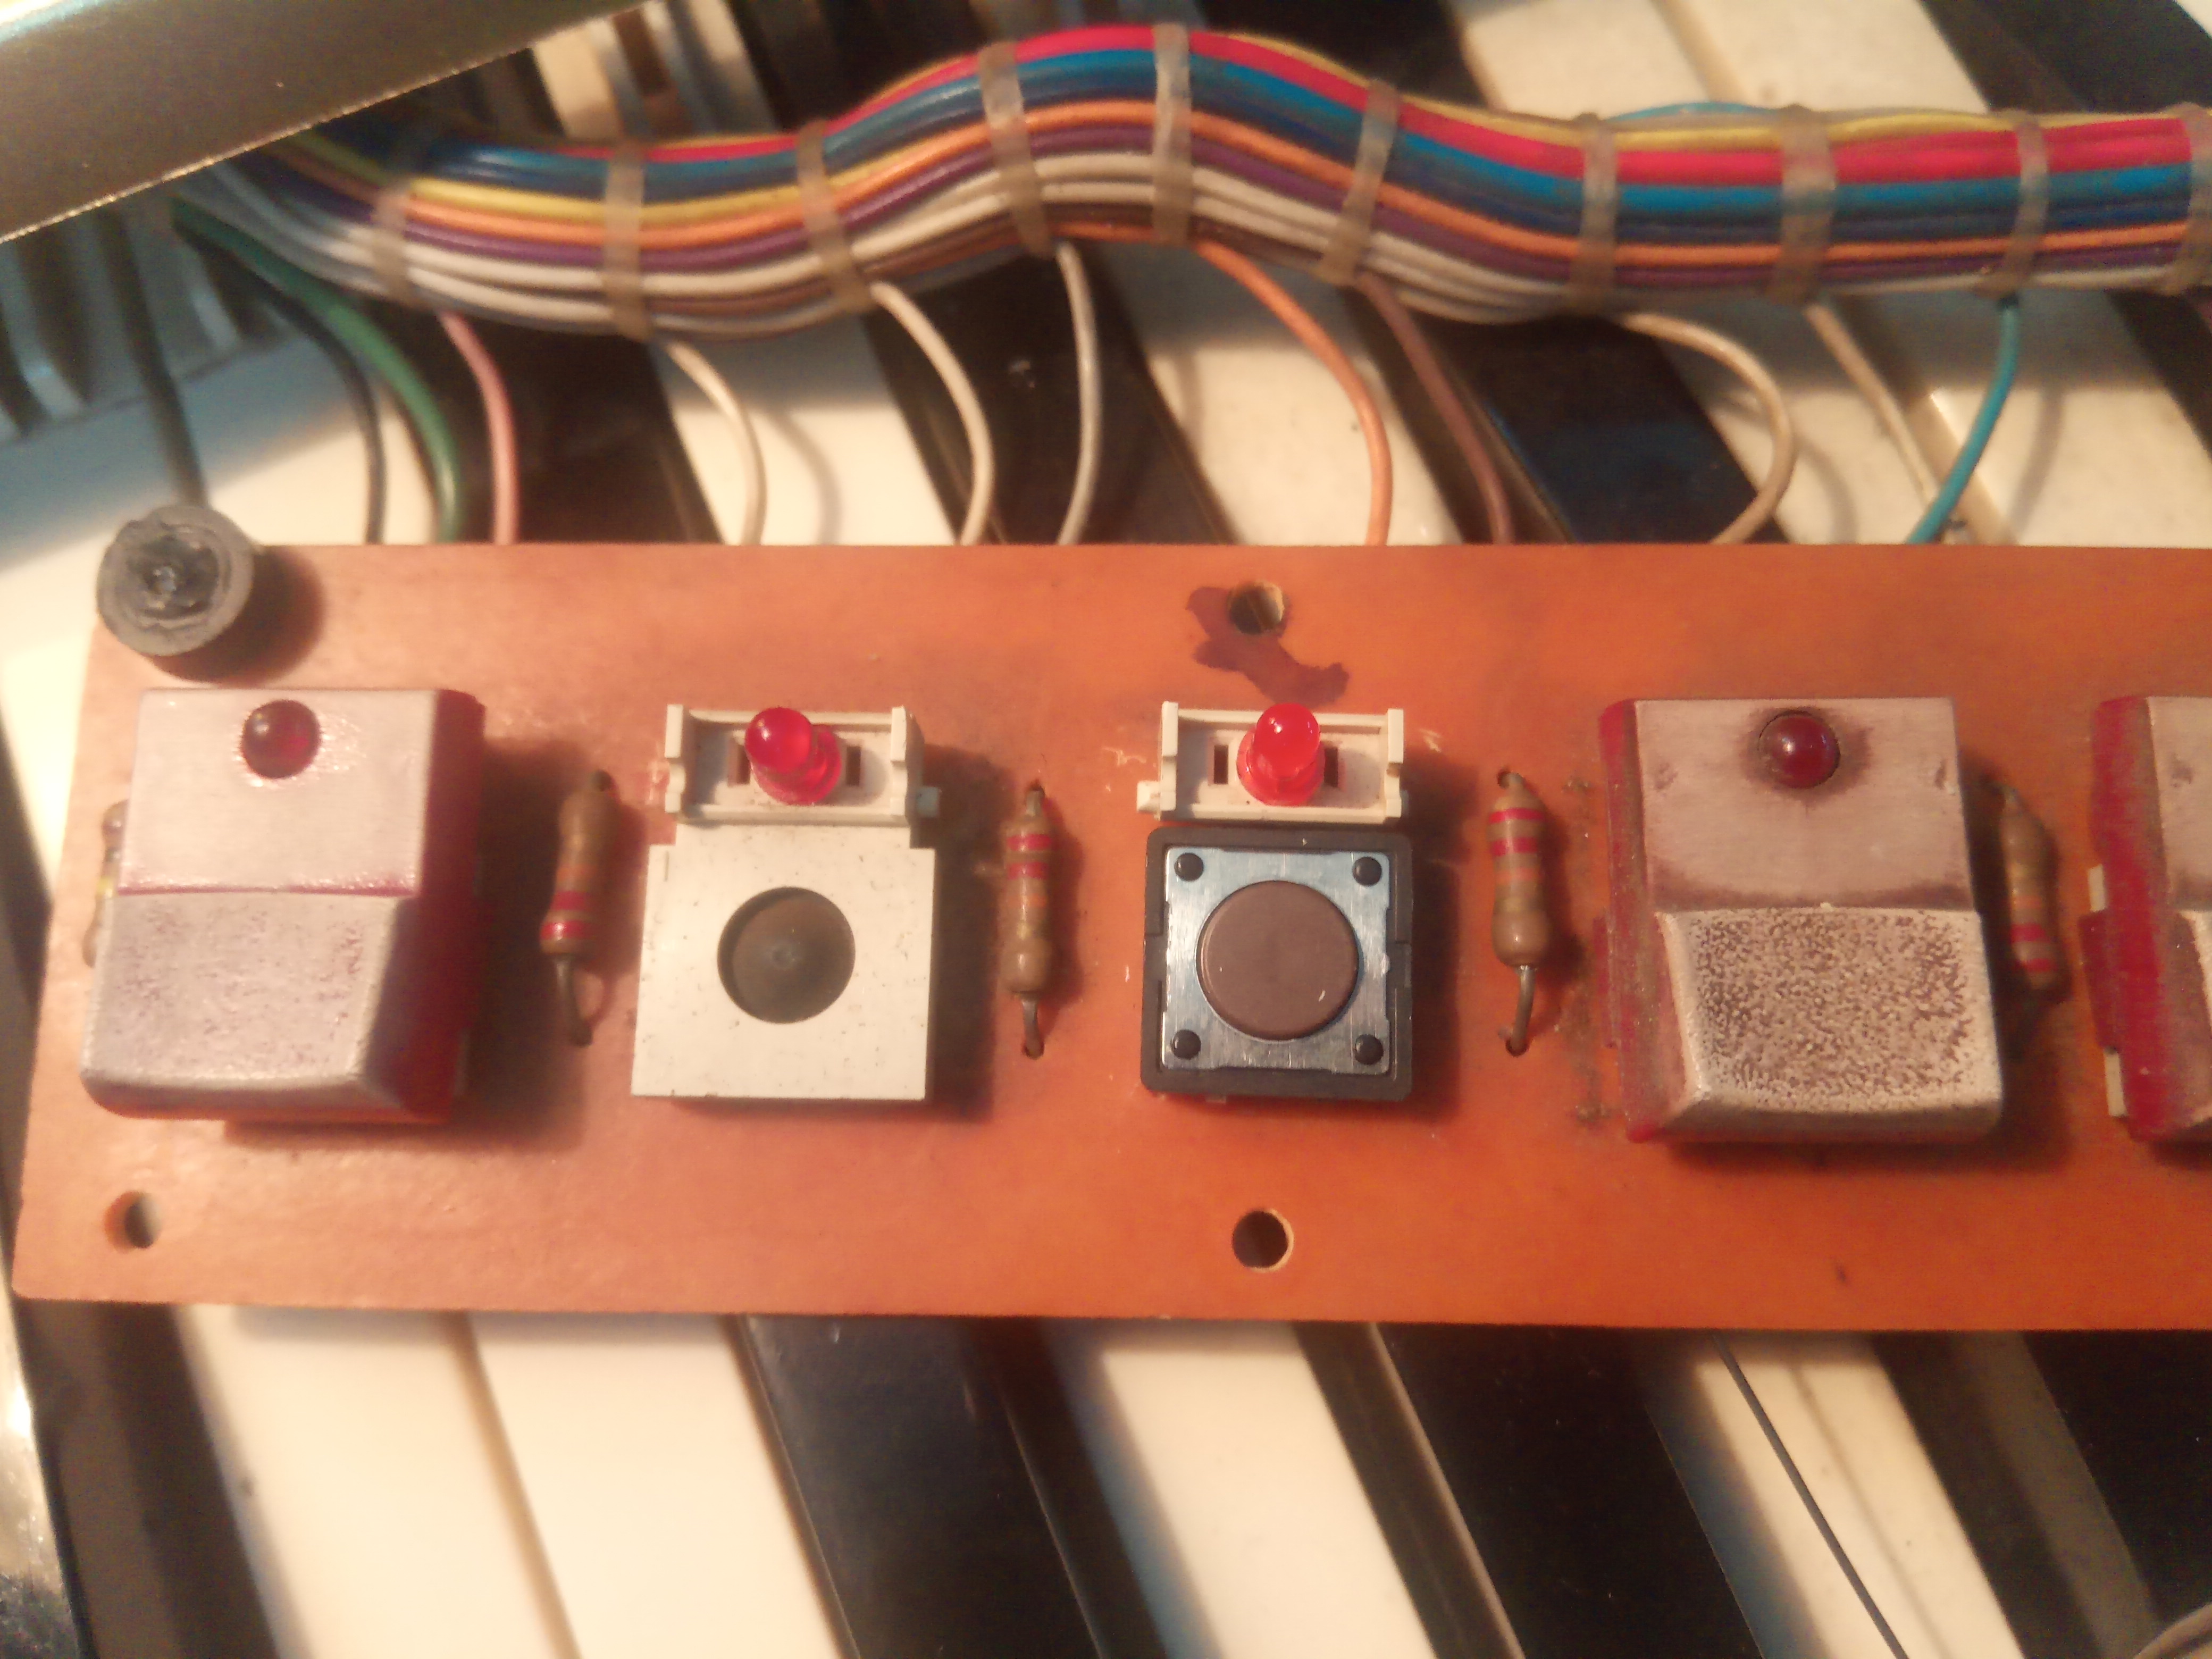
I replaced the broken unobtainable DMB switch made by Jean-Renaud (France) with ordinary tactile switch. I had to retain the hinge and diode holder from the old switch and only replace the switch itself. This worked rather well. You can’t really tell from the top that something is different except of a different feel to the touch. DMB switches are pretty soft action while tactile have a distinct click to them.
Aftertouch had just burnt bulb
Oscillator issue was just dirty rotary switch
Poly section volume fluctuation was corroded contact in the connector, I removed every pin, cleaned it and put it back. Tedious but worth it for long term reliability.
I traced the brass vibrato to faulty BC transistor
Crackling sounds were little bit harder to pinpoint. I eventually isolated it to the delay lines board. I tried heating / cooling various parts and the issue suddenly vanished and despite of the attempts never came back. Since it happened when I was heating things around the small BC transistors I decided to proactively replace all 6 in the section. Hopefully it was them and not the TDA1022 which would be quite costly to obtain.
Last thing I did was replacement of Tantalum caps in the trigger boards, most of them were fine but those which were 16V tants on the 15V rail were a fire hazard. I noticed somebody replaced few before me because they shorted so I changed the rest for modern solid tantalum caps but rated at 35V to give it better safety margin.


