DPA DAD4099

DPA4099 suddenly died within recording session. Input dual transistor labeled 3Ft was the culprit. Had to order it from Mouser. There are two types used throughout 1Ft and 3Ft, they are BC847/857 respectively.

I wouldn’t normally post about such a small repair but it was my first SMD repair. I recently acquired microscope and hot air station.


I need bit more practice but I hope it’s acceptable outcome. It works and that’s important.


For those new to SMD I learned few things.

  1. use loads of flux, more is better then not enough
  2. add leaded solder before removing the lead free, it makes things easier
  3. solder wick is your friend
  4. 340 degrees is enough
  5. kapton tape helps protect surrounding devices from displacing
  6. excess solder can easily be removed afterwards as long as there’s a plenty of flux


FOCAL SM9

My customer bought them while he lived in Ireland and upon return to Prague, Focal refused to repair them. I never seen such a poor customer service to refuse post warranty service.

I investigated and the problem was with the soft start circuit for the internal 800VA toroid transformer. It consists of triac and rectifier bridge. Both the triac and bridge were shot so I replaced them with beefier spec units and added additional heat sink on both.  

OXFORD SYNTHESIZER COMPANY – OSCar

Another visitor as of late was OSCar. The only problems with OSCar were damaged tracks of pots which I had to replace from same size but different mounting version of OMEG pot. These conductive plastic pots don’t last very well. They wear through pretty easily. 9 out of 28 were already worn through the tracks causing the erratic behavior. Other then this, it was just completely dead NiCd battery which partly leaked but lucky enough the leakage was contained withing the plastic wrapper and didn’t cause any havoc with the PCB.

There was a bit of a problem when loading software using SysEx. The file available on the web labeled as factory patches was corrupted and wouldn’t finish upload.

Luckily there is this version also available which is fine. I have uploaded it here as well to make sure it won’t get lost.


I noticed the original SysEx file was signed as SSL Oxford. I’m not sure exactly what the story was but OSCar and SSL consoles are somehow related it appears. Possibly same company or acquisition, I don’t know?

Working SysEx

OSCar_unknown


Badly worn track of OSCars pot

Moog – Micromoog Synthesizer

This machine came with but one problem. It was noisy with fair bit of hum.

Upon opening I could see that nobody was there before me, immaculate original condition, completely unmessed with. Nice and clean outside and in. The hum problem was caused by loose harness. There is a harness which needs to be strictly routed on the side and it’s held in a plastic clip. This clip was originally attached using double sided tape which dried out and the clip detached.

So this was literally 1 minute repair job. The only other thing to do was to clean the pots and blow out the dust.

Winner!

Farfisa Soundmaker

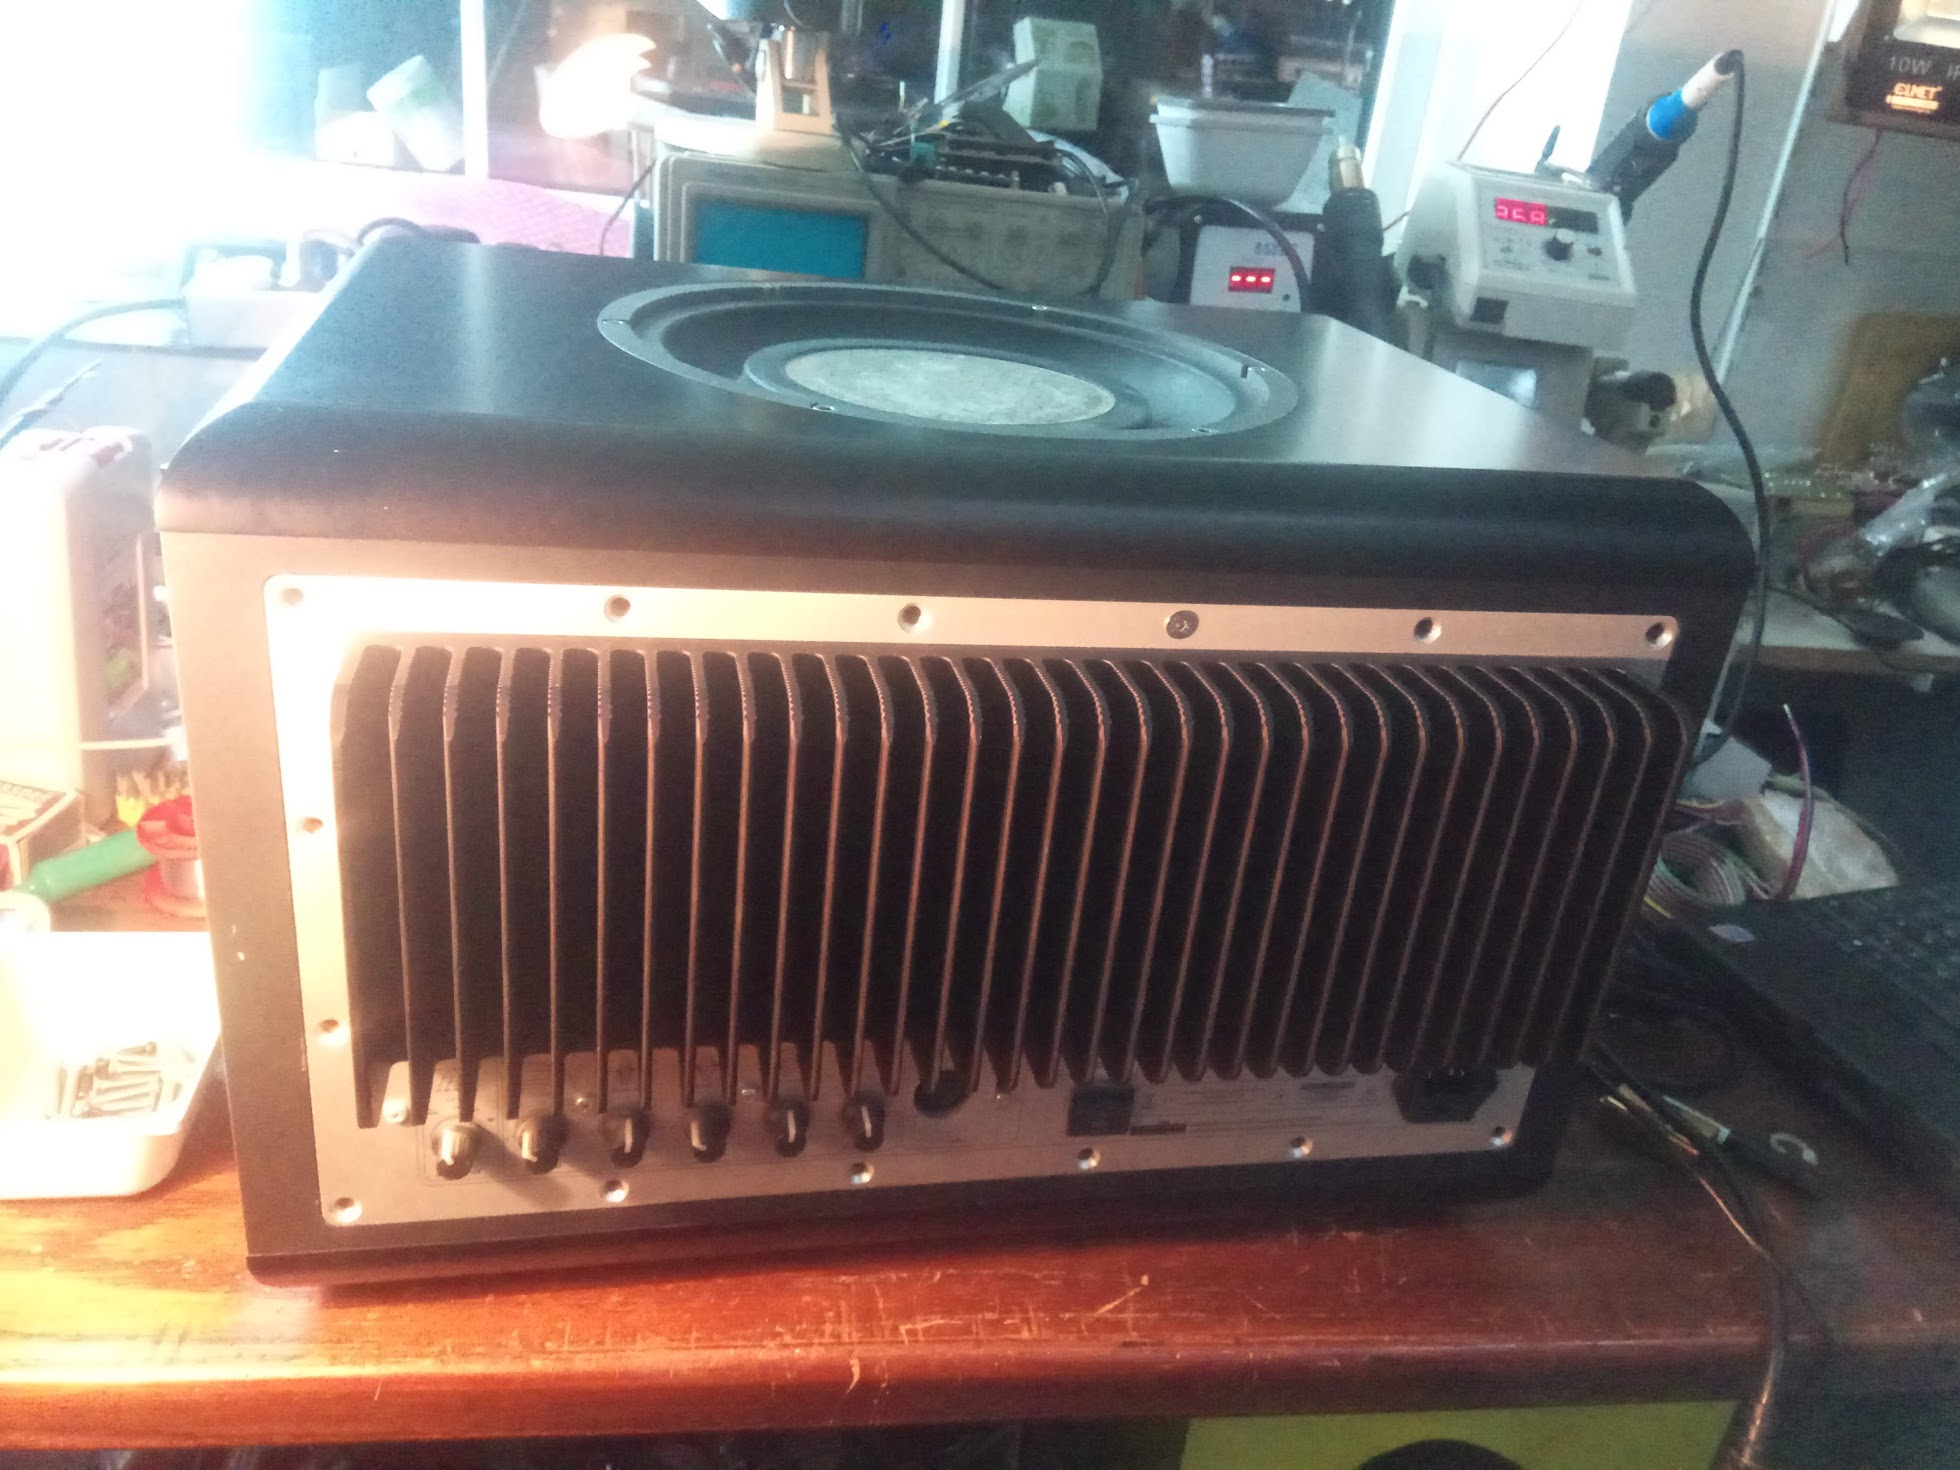
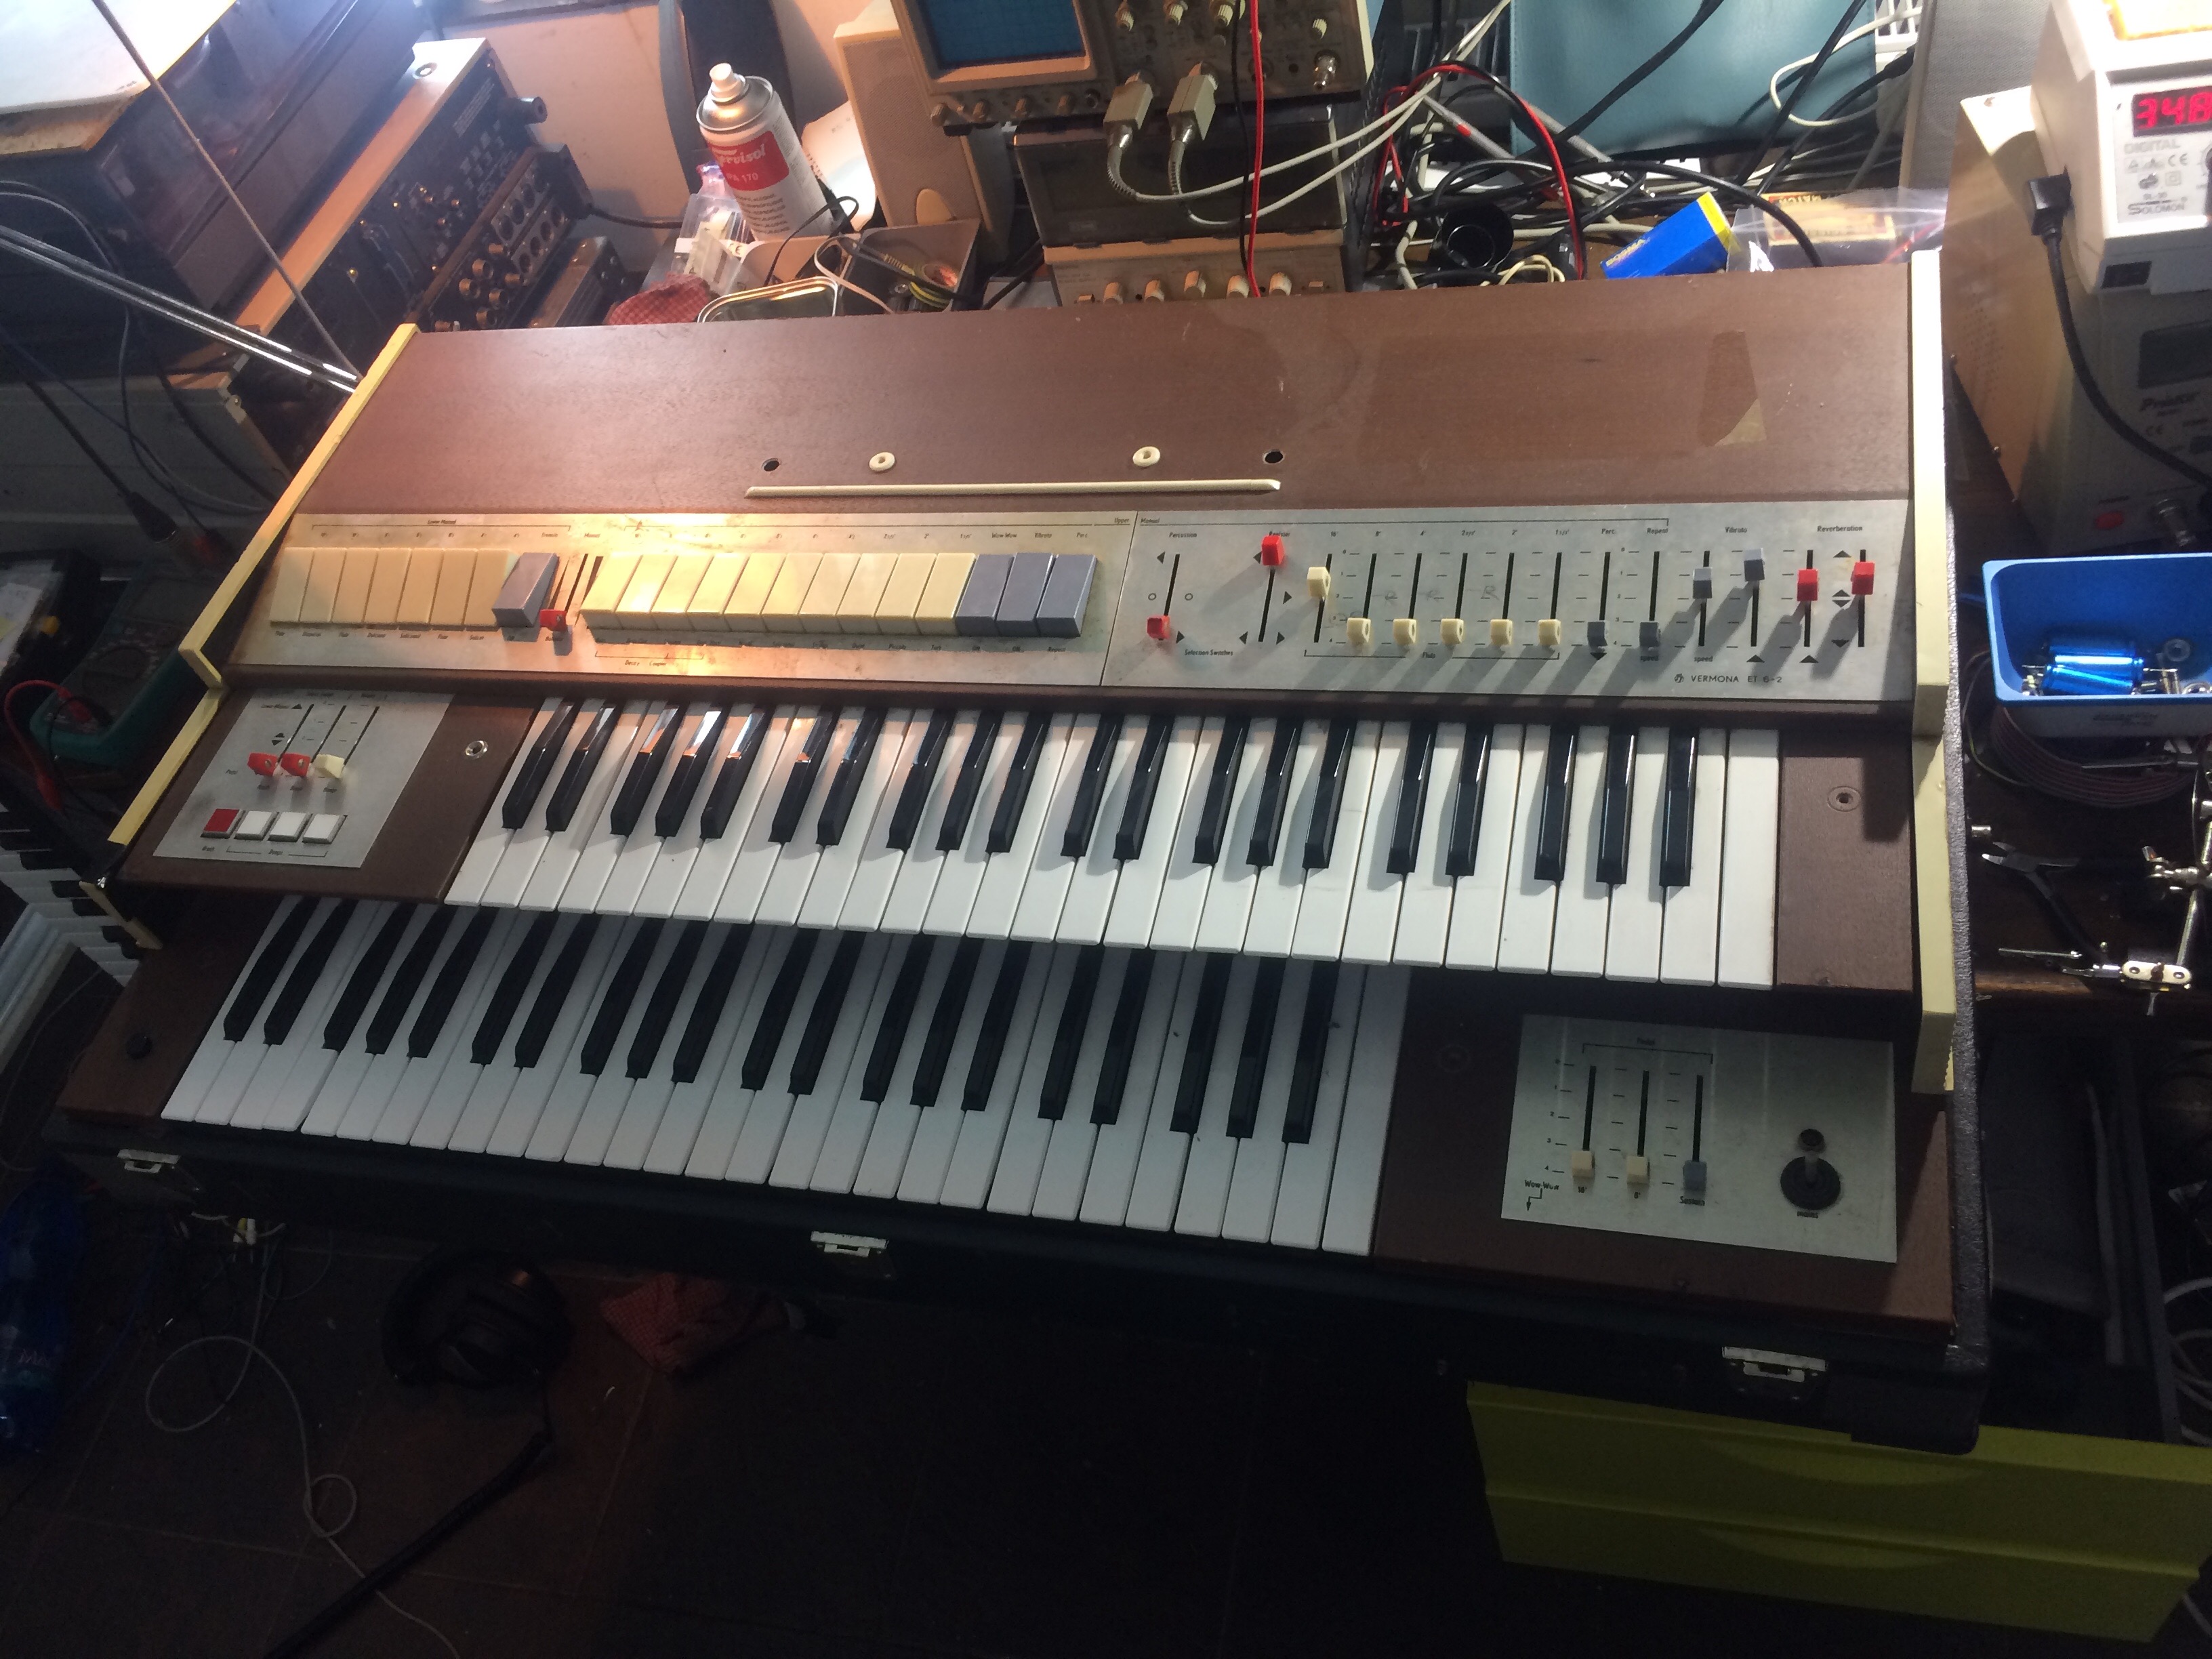
This Farfisa Soudmaker made it to my desk in style on the wheelbarrow.

What I didn’t expect was quite how many hours will this take me to bring back to life.

First things first I started with check of the PSU following thorough cleaning job of all the slider pots to see what the overall state of the instrument is. Each one taken apart, cleaned and lubricated and contacts adjusted if required to ensure good contact between the slider track and the wiper.


Symptoms were following.

  1. Persistent crackling shooting noise coming out.
  2. Poly section would work except of about 6 keys but the volume was jumping up and down and fading completely from time to time. Strings were the only thing without any issues.
  3. Mono section would play only one tone regardless of the key pressed unless portamento was on. In such case random changes to tone were happening from time to time but it was very unreliable.
  4. several of the presets had dead led diodes
  5. one of the preset switches wouldn’t react
  6. aftertouch wasn’t working
  7. oscillator wouldn’t react
  8. brass vibrato would only attempt to vibrate when you turn it on for fraction of the second and stop

I started with cleanup of the key contacts, springs were completely black with years of sulfate corrosion

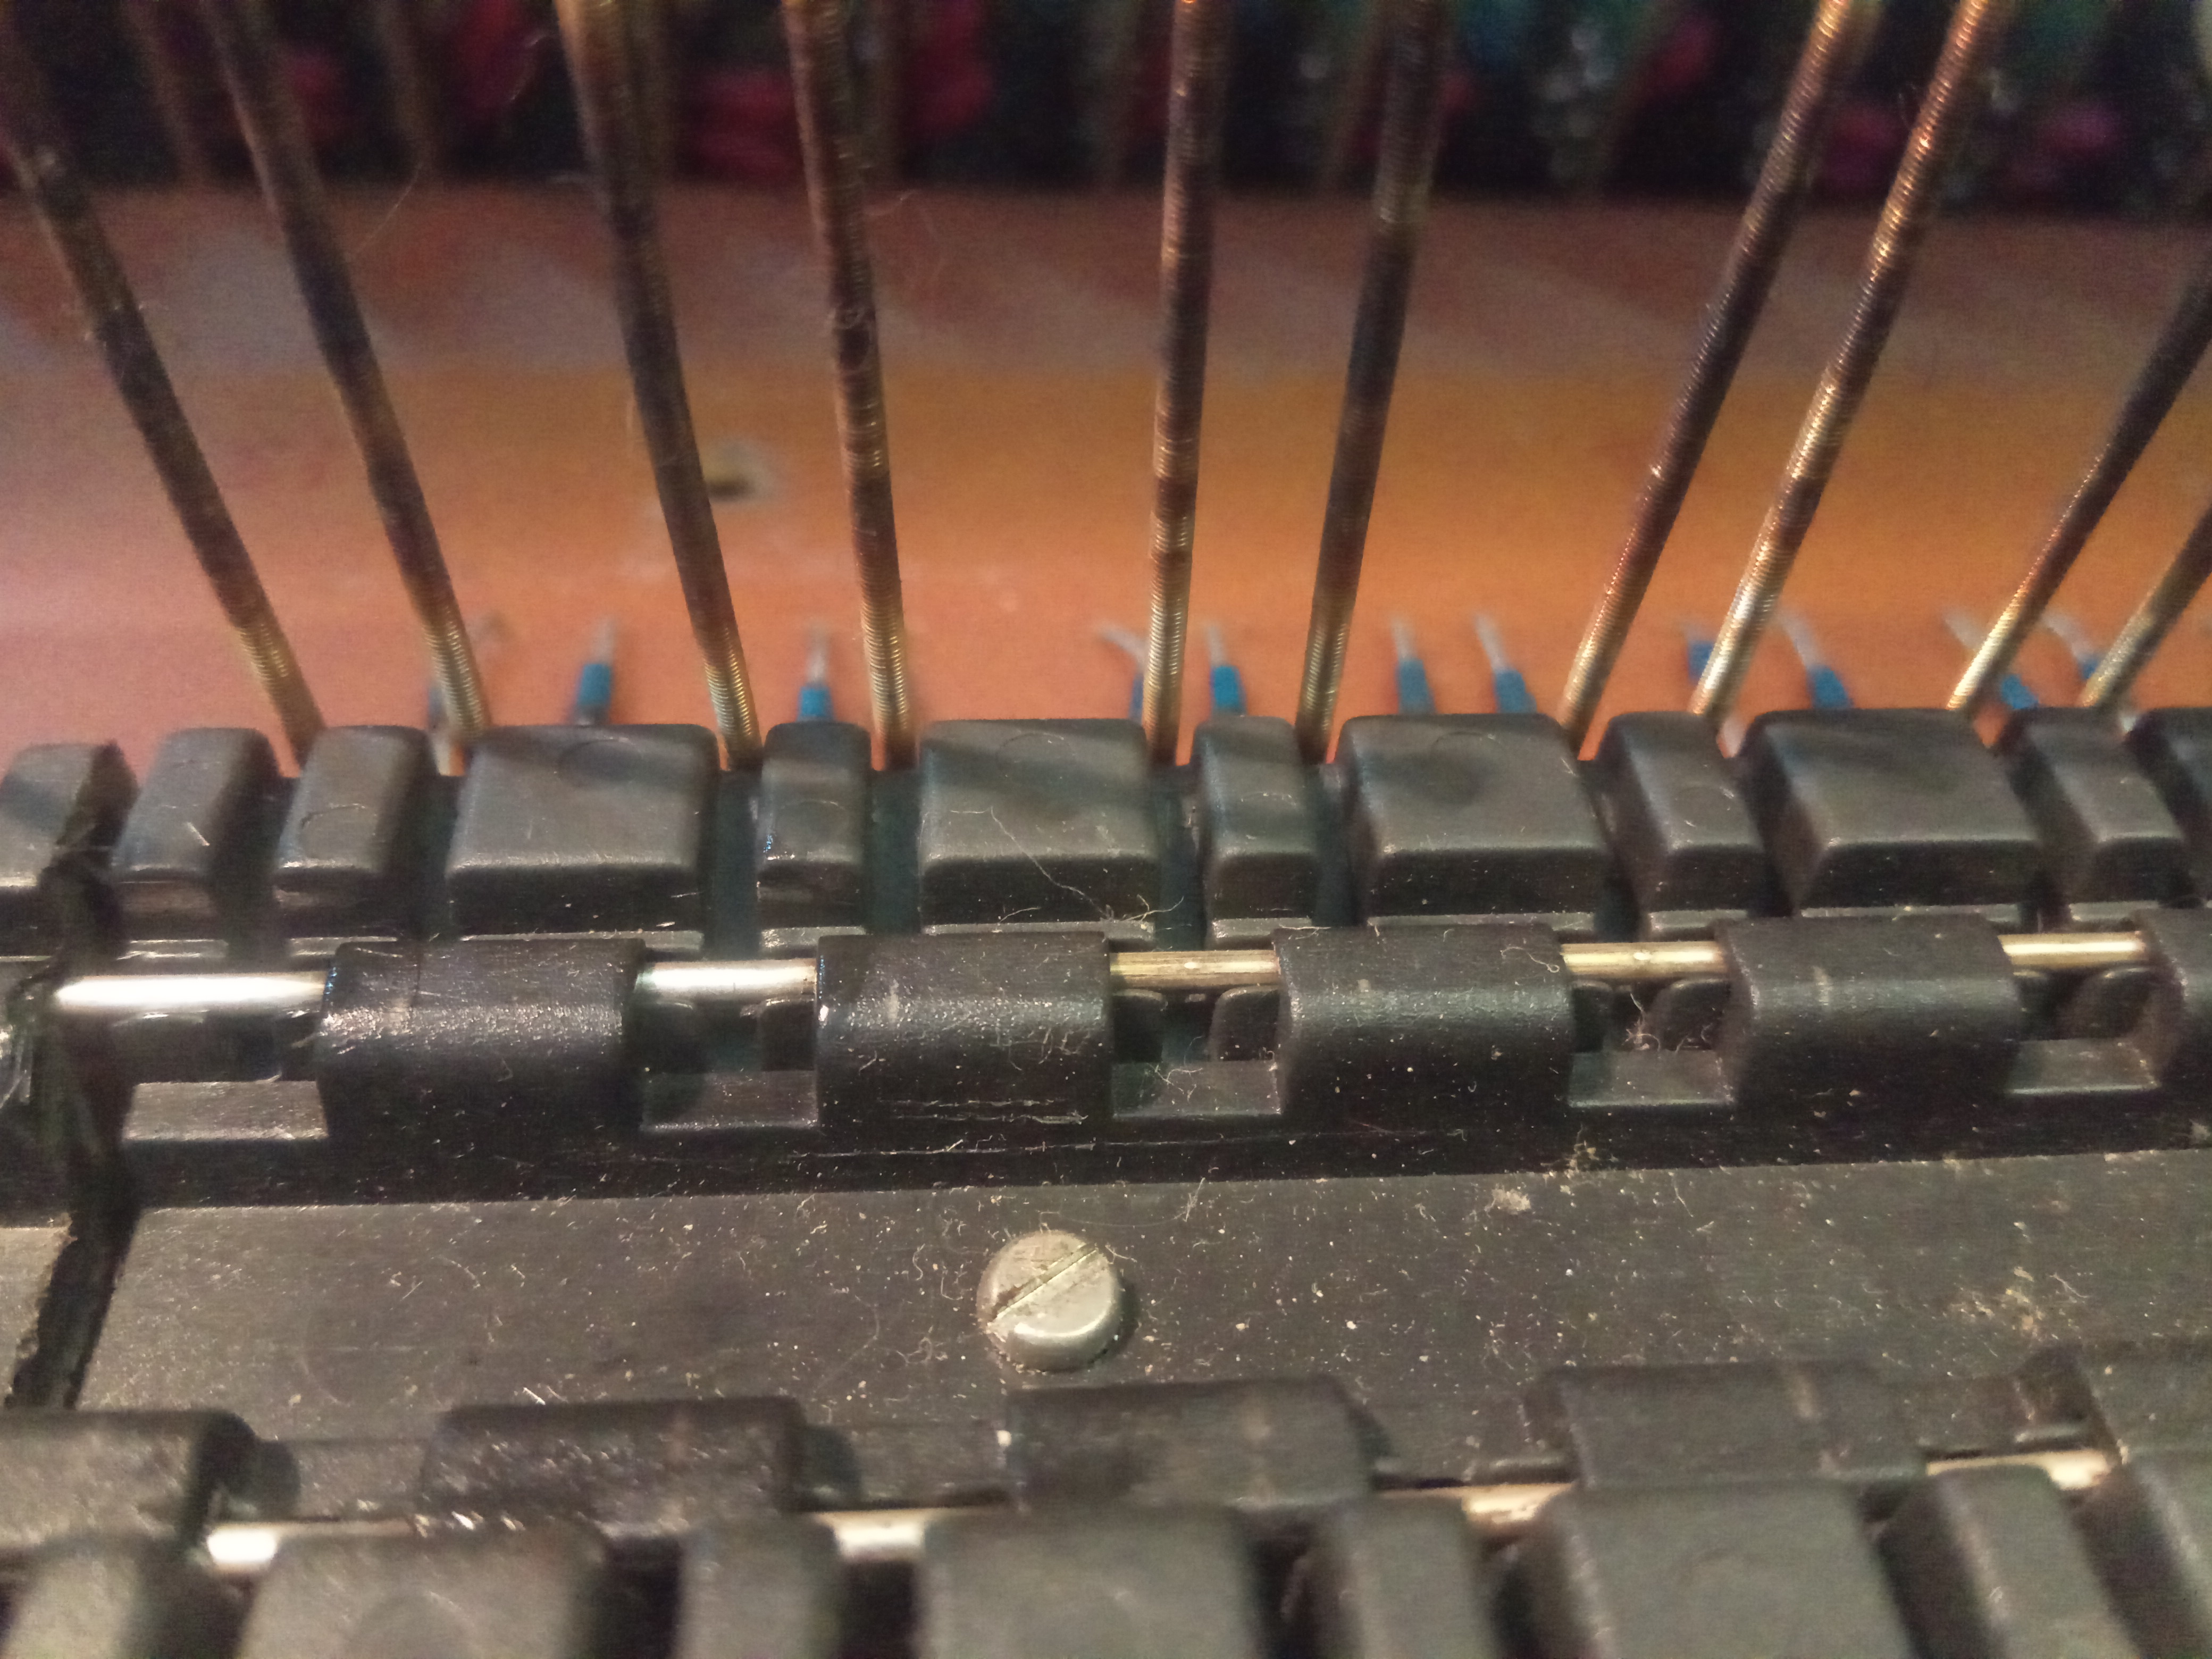
It was possible to clean it with Kontakt 60 and fiberglass brush following a proper wash with Kontakt WL

After this procedure all but one key were working fine, top C had a spring stretched and “repaired” by somebody before me. I couldn’t get this into proper working order and I had to replace the offending spring.

At this point poly section and strings were working perfectly all the keys made good contact. Mono section was still completely messed up and wouldn’t react consistently.

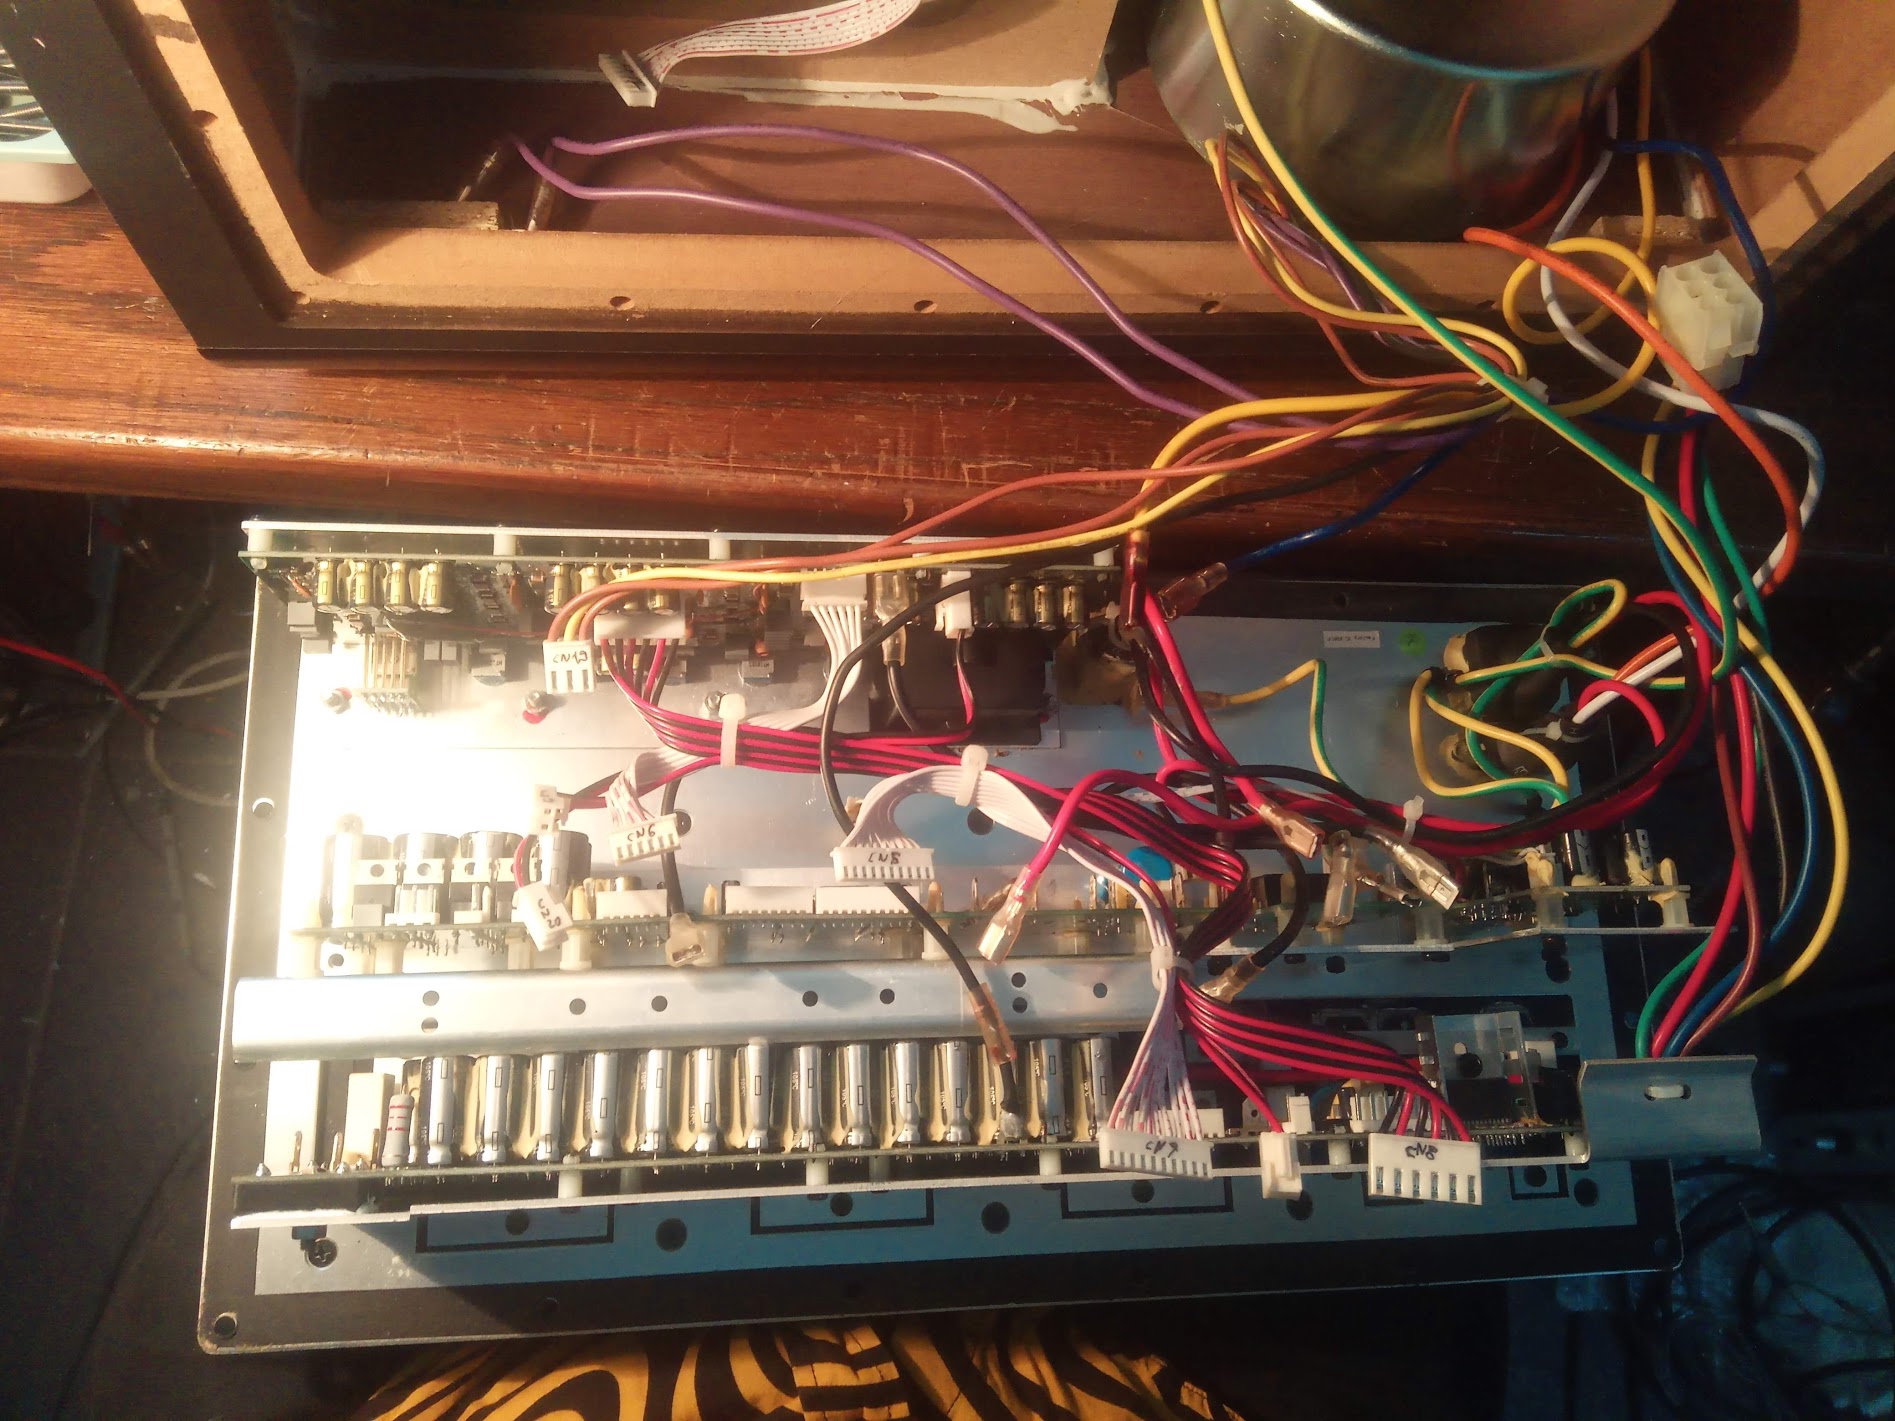
I traced the signals and master clock was stable up and running, priority latching circuit was correctly selecting the right hand most key, top octave generator was all good and logic circuits responsible for Octave information were working as well. I had clean square wave corresponding accurately to any key pressed. This was rather puzzling because same note would come out of the speakers. The way this synth is designed this oscillator square wave signal is converted into needle pulses 150-200nS in length.  This signal is combined with 1MHz clock derived from the top octave oscillator clock. There are two other clock generators. Mono generator and Portamento generator with variable frequency based on the portamento slider setting.

Core of the signal generation board designed to provide portamento functionality consist of chain of 3 4bit magnitude comparators 74C85. If you press any key this information is coded into 12 bit word. When next key is pressed bank of programmable counters 40193 starts counting either up or down up until it reaches the same note and both sides of the comparator are equal.  If the Portamento is OFF it uses the mono high speed clock to reach the final note pretty much instantly or if Portamento is ON it uses the slow portamento clock and reaches the destination note more slowly which creates the portamento effect.

The trouble was I couldn’t get consistent results, I tried to swap some of the ICs in the circuits responsible for the portamento function with new ones, but it behaved differently every time I touched it. Fellow tech from Facebook group helped me tremendously by suggesting this could be caused by bad sockets, these white Italian sockets are prone to make bad contact. I therefore decided to swap them all out and replace with gold plated precision sockets to be able to work on the problem methodically.

After all the sockets were replaced situation got lot better, with portamento ON mono section would play all the notes in the low octaves correctly but would jitter around and be noisy when it reached higher notes or when the Portamento was OFF it would only play few notes and then turn silent.

At this point I was finally getting consistent measuring results and I established that all 3 clock sources are good quality, correct voltage and proper squares.  I could see the outputs from dividers at the top as well as the outputs from programmable dividers at the bottom. I even ended up comparing each on the oscilloscope and noted down the Hi/low states for each of the 12 inputs. trouble was at higher notes it wouldn’t stop at equal value. the >< output from the comparators was constantly oscillating between values

At this point i could also swap out 40193 for new or 4520 for new and the issue remained exactly the same. Finally the socket nightmare was out so it was very likely the issue were the 74C85. I purchased replacement  pin compatible CD4585 but it wouldn’t work with them.  Puzzled with the result I even simulated the circuit on standalone breadboard and there the CD4585 worked just fine. It took me several hours of head scratching before i ordered the much harder to get 74C85 which finally worked and proven that all this time it was them causing the odd behavior.

From this point onward rest of the issues were easy to handle.

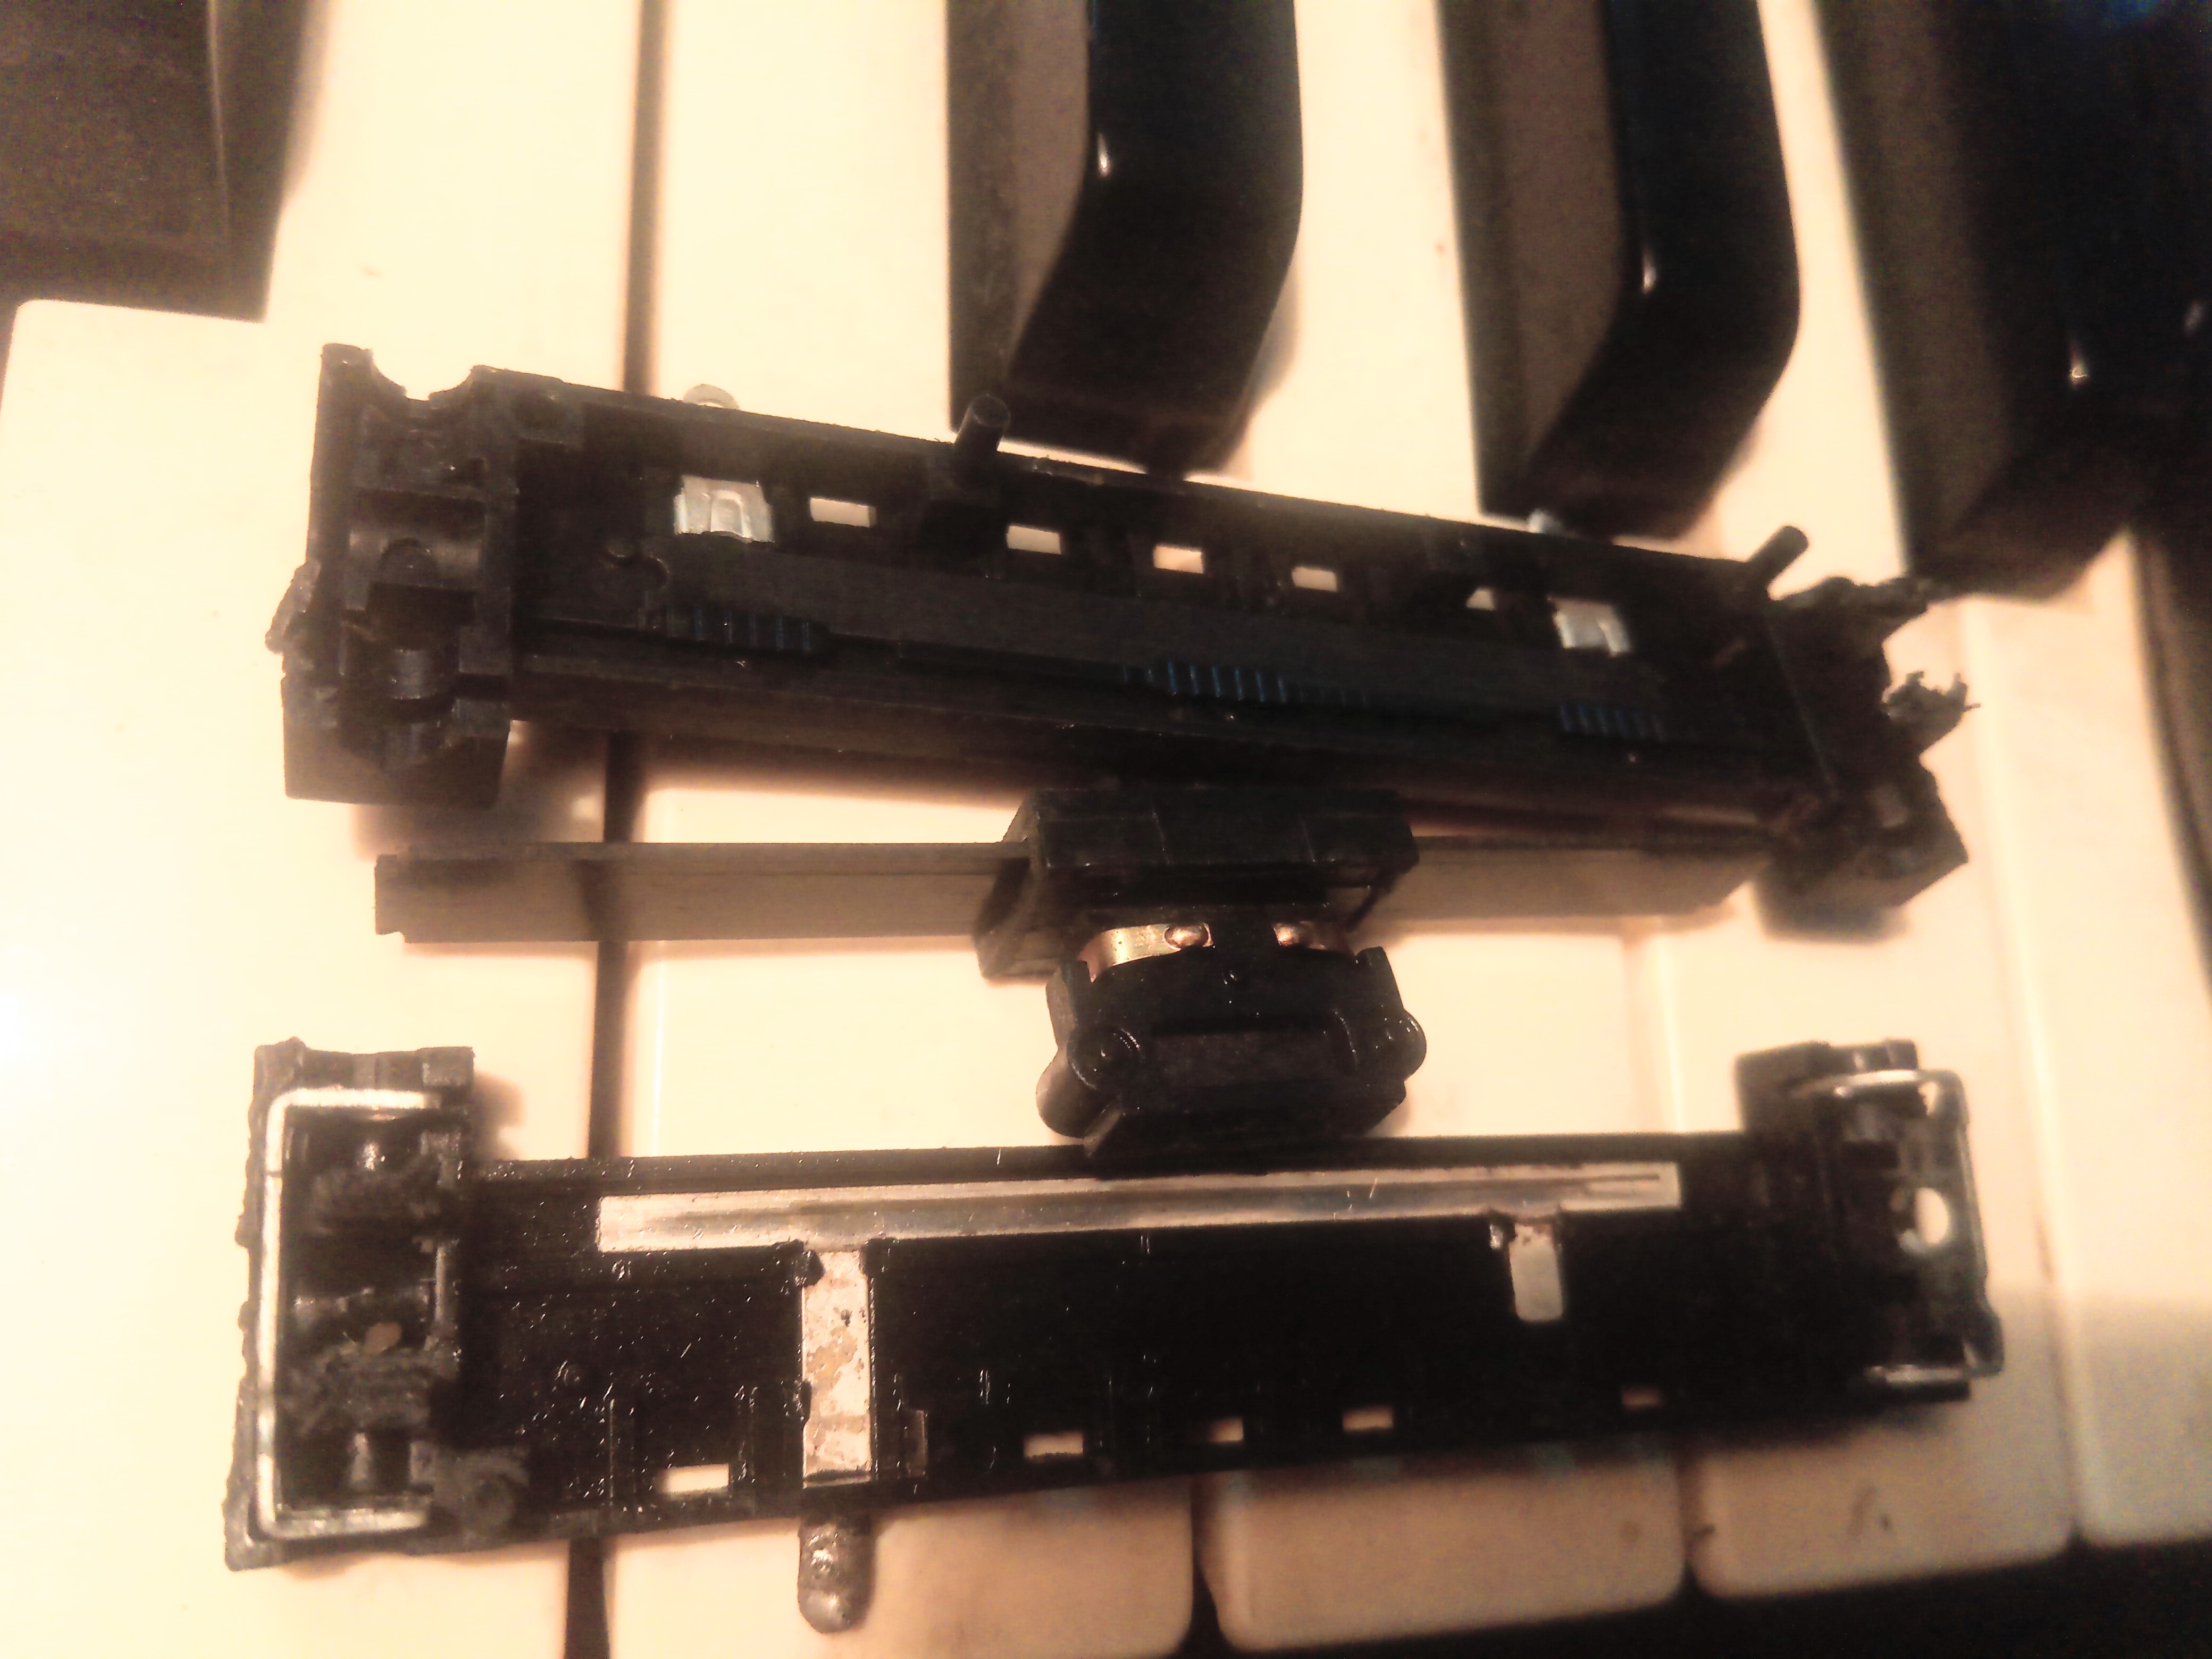
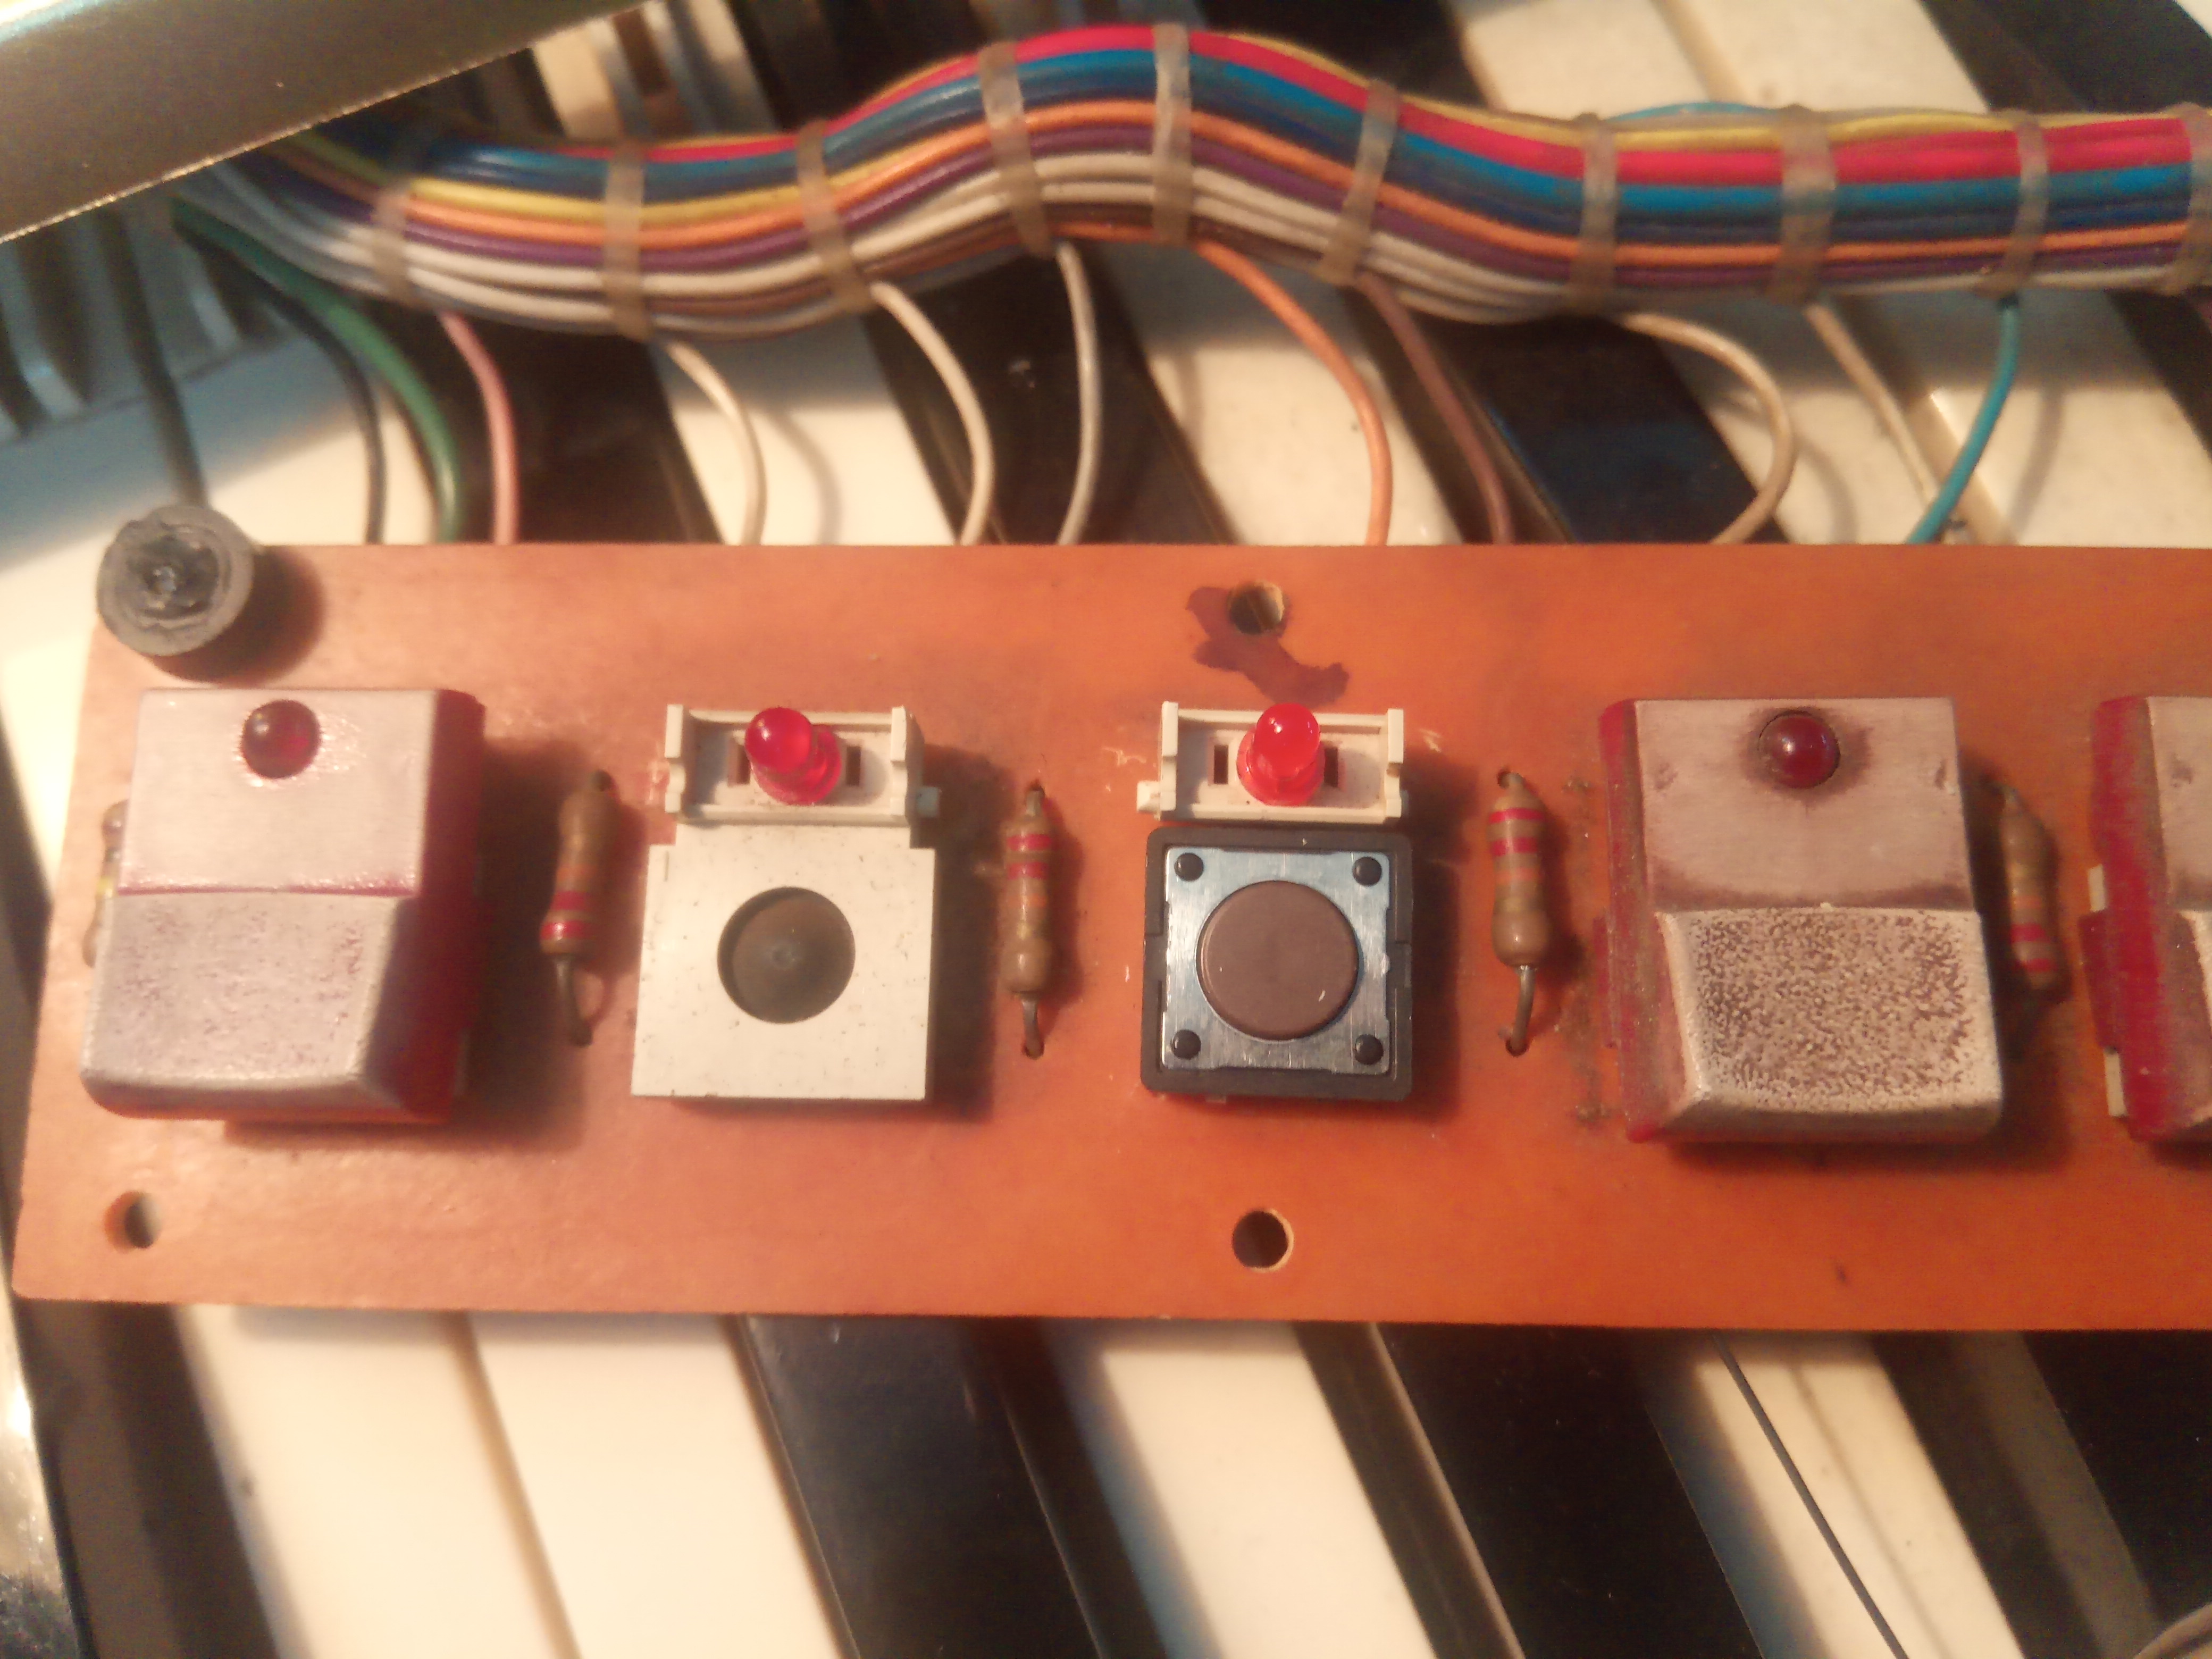
I replaced the broken unobtainable DMB switch made by Jean-Renaud (France) with ordinary tactile switch. I had to retain the hinge and diode holder from the old switch and only replace the switch itself. This worked rather well. You can’t really tell from the top that something is different except of a different feel to the touch. DMB switches are pretty soft action while tactile have a distinct click to them.

Aftertouch had just burnt bulb

Oscillator issue was just dirty rotary switch

Poly section volume fluctuation was corroded contact in the  connector,  I removed every pin, cleaned it and put it back. Tedious but worth it for long term reliability.

I traced the brass vibrato to faulty BC transistor

Crackling sounds were little bit harder to pinpoint. I eventually isolated it to the delay lines board. I tried heating / cooling various parts and the issue suddenly vanished and despite of the attempts never came back. Since it happened when I was heating things around the small BC transistors I decided to proactively replace all 6 in the section. Hopefully it was them and not the TDA1022 which would be quite costly to obtain.

Last thing I did was replacement of Tantalum caps in the trigger boards, most of them were fine but those which were 16V tants on the 15V rail were a fire hazard. I noticed somebody replaced few before me because they shorted so I changed the rest for modern solid tantalum caps but rated at 35V to give it better safety margin.


RTW Porta Monitor

This Porta monitor had what appears to be common fault. It would sometimes fail to boot, it would boot but the display would turn off while still glowing dimly after few seconds following bootup. Failure was caused by the SMPS LM2577ADJ. It would start passing 15V instead of 9.5V and the display would turn itself into protection mode. It appears voltage is gradually drifting away from the set 9.5V and eventually will lead to failure of the panel itself in certain cases but most of a time it can be caught in time and repaired before further damage is done.

It is the first sort of TO220 ish based chip with 5 legs screwed to the heatsink.

Thanks to somebody at GroupDIY for identifying the voltage issue which helped me find and eliminate the fault

Hammond X2

This Hammond X2 came in a weird shape, it was basically working apart of last octave, upon opening the organ I could see there was somebody there before me. It was modified to add pedal octave mod. It was done sometimes during 70s or 80s in Czechoslovakia and it was predominantly made using integrated circuits from eastern Germany. I was for a while contemplating fixing the mod but after discussion with owner it was decided to chop the mod out and revert back to original design.

This extra board (impossible to read any labels but ended up being dividers) creates the pedal octave and the smaller board with double VCA and two transistors mixed the pedal octave and lowest octave together. Rest of the issues were down to thorough cleaning of switches and contacts.

It took me a while to find the service manual but at the end I managed to get hold of it.

Here is a link for those who might be in the same situation

Hammond_X2_service_manual

EKO TIGER

This wee little Italian Organ actually got brilliant sound. It came predominantly working with few little issues here and there.

Main problem was the bass section, it is bound to develop issues by design. All the secondary contacts for bass section C1 to G2 are connected in series and as they tarnish over the years you get regular random malfunctions affecting not just single key which might not have such a severe impact but the entire section stops working. Contacts are made of some alloy with high silver content and blacken if unused for long periods of time. The only effective way was to use Nitric acid with Thiourea and rinse it properly and neutralize.

There was one issue which really took me a while to discover. Selector for BASS chorus behaved in a very unusual fashion. With Bass Chorus disabled only bass section C1 to G2 would play but it would play both the Bass as well as the selected voices when it was  Enabled it would play both bass and selected voice on the lower part and selected voice on the top. I couldn’t figure out what have happened to it. At the end I found out somebody was there before me and swapped by mistake two wires from keyboard bus bars.

All there was left was to tune it and 3D print new slider handles.


Musical Blackboard

This is one of the weirdest instruments I had on my table for repair to date. 

It isn’t a synthesizer, or at least not the ordinary type, it is a analog touchscreen of old. Educational prop made in Czechoslovakia sometime during 1980’s. This blackboard is made of the large PCB painted over with  black paint. There is a separate thick PCB track for each note and you play touch. However since it’s a old school analog you need to hold the wire (or connect yourself using bracelet) for this to work.

The heart of this “thing” is a “organ in one package” Tesla MHB208. This is a Czechoslovakian clone of Thompson M208. It’s rather basic and foul sounding chip but it’s definitely got it’s use. It’s one of those “so bad it’s good”

Whats different is how keyboard is simulated by the touch mechanism. There is a set of 3 state switches Flat, Regular, Sharp for each note. You select the key you want to play in by selecting respective #’s and b’s  for each note and go for it.


There are high impedance flip flops triggered by the small current carried over your body triggering individual notes. It is fully polyphonic and great fun to play once you get used to the individual notes boundaries.

This thing came without external PSU and I had to figure out the power and voltage requirements. It’s dead on straight forward AC input of anything between 15 and 40 V AC.

There is rectifier bridge and MA7812 which is a TO3 package for of usual 78xx.

I discussed with lucky owner and added separate internal transformer to make it easier to use on stage on mains.

clumsy demo below, enjoy the creepy sound


Vermona ET 6-2

Reviving old records and doing a retro tours became huge trend lately. I was asked by local band  Tatabojs to resurrect their dual manual organ Vermona for their upcoming retro tour Futuretro

Upon inspection I discovered several functions weren’t working.  No Vibrato or Tremolo, no Reverb, whole percussive section was dead. bongos were rather crunchy, synth section (bass pedal) controls weren’t working  and there were about 3 or 4 keys not playing the 16′ register. Not to mention all the switches and pots were properly noisy.


Actual oscillators themselves were in good shape and only troublesome devices were the electrolytic decoupling caps. Following the replacement with new ones signal was much stronger and according to the specs in the manual.

Design is rather simple, it consist of precision foil caps and adjustable coil master oscillator for each note followed by transistor dividers. These circuits are incredibly stable and don’t drift noticeably at all.

I started slowly one by one following the smaller daughter boards and tackle issues one by one.

Tremolo and Vibrato functions are based on low frequency oscillator and there were no oscillations at all. Problem was with 3 foil capacitors in the oscillator circuit. They deteriorated over time and following the replacement with modern WIMA foil caps both Tremolo and Vibrato function sprung to life.

The further I was troubleshooting individual functions it became apparent capacitors (predominantly the electrolytic ones) are the main cause of all the issues. I have therefore decided to do full recap of the instrument. Pretty much all of the old caps with few exceptions I removed measured really bad ESR or some were actually partly conductive as if they had a resistor in parallel.

Following the full recap most of the organ functionality was restored, WAH WAH, Vibrato, Tremolo, Bongos, Percussive section to some extend as well and overall signal to noise ratio changed dramatically. Especially top manual was giving really strong signal but the lower manual remained weak and the manual ratio pot had to be pushed all the way towards the lower manual to have any decent balance between the two. Issues with missing 16′ notes remained and percussive section while now working was rather short and the slider made no difference to its length.

One of the missing 16′ notes was due to bad germanium transistor in the divider circuit while the others were due to physical wires not being soldered on properly. There were cold solder joints on two and one wire fallen off completely.

Percussive section just needed trim pot cleanup and re-calibration and all was good.

Broken reverb was purely due to broken off wires from the spring reverb, all was good when i re-soldered them in place.

Now with entire organ working and all functions doing what they should I remained puzzled by the sheer volume difference between top and lower manual. It took me several hours of head scratching just to realize after all that somebody who repaired the instrument before me wasn’t thinking quite right.

Slider pots used by Vermona are of amazing construction. Virtually indestructible and easy to access to clean them. They were clearly designed to be maintained and the tracks themselves are made out of some sort of conductive plastic which doesn’t wear at all. After just a brief wipe with IPA and re-lubrication with fader lube, they are like new. The only weak spot is the track itself is secured to the rest of the mechanism by plastic lugs which ends are melted to secure it in place. These get fragile over time and break which results in the track coming loose. Somebody before me didn’t think quite right and replaced this plastic lug with screw and didn’t think about the need to insulate the nut and bolt. It cause this dual pot to be partly short connected between each other and therefore it was impossible to get the manual balance right. I have used some fiber washers and all was good since. Use of plastic M3 nuts and bolts would be even better, but I didn’t have any at hand.

Once this last issue was resolved only left to do was new hinges, locks and handles on the case and this monstrous organ was ready to go back to the customer.


Audio Repairs Synthesizer Repairs Synth Restoration